
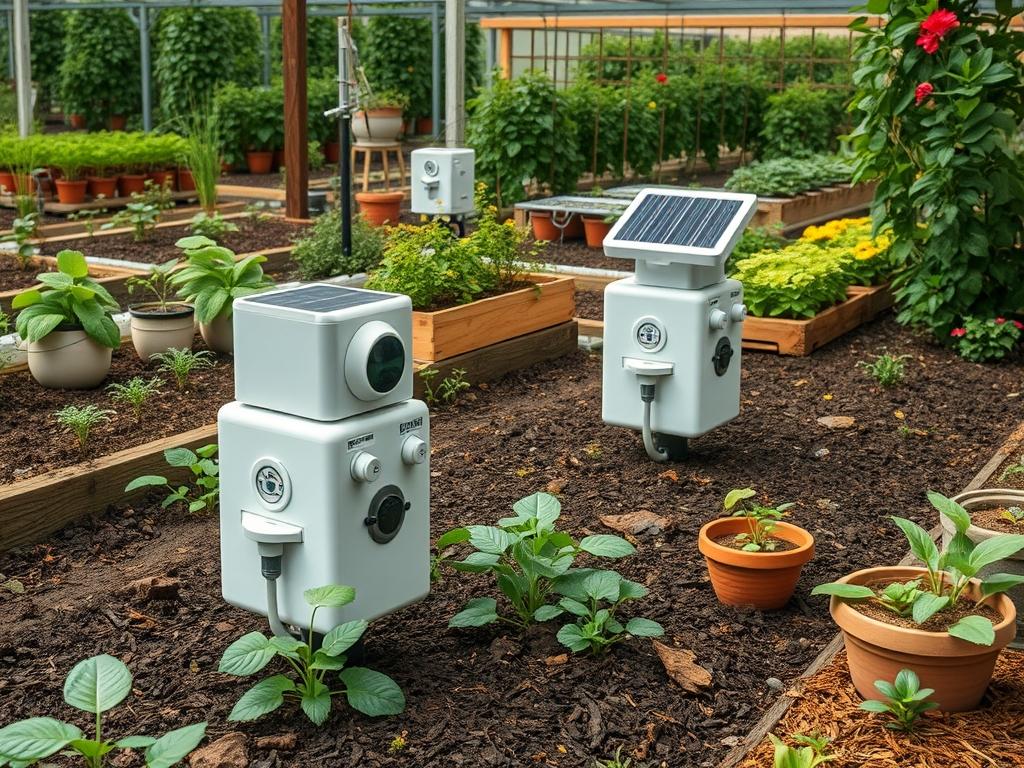
Modern outdoor living demands a seamless blend of natural beauty and technical efficiency. As we transition toward smarter environments, the placement of Solar Powered Sensor Hubs becomes a pivotal architectural consideration. These devices act as the central nervous system for irrigation controllers and soil monitors; however, their success depends on a landscape design that respects both radio frequency propagation and photovoltaic requirements. A poorly placed hub leads to dead zones in the network or battery failure due to insufficient light. Successful integration requires a deep understanding of site topography, the natural path of the sun, and the eventual height of mature vegetation. When we design these spaces, we treat the hub not as an eyesore to be hidden, but as a functional element that requires its own micro-climate within the broader garden scheme.
The primary challenge involves balancing curb appeal with signal reliability. If a hub is buried deep within a dense thicket of Leyland Cypress, the signal strength will drop significantly. Conversely, placing it in the middle of a pristine lawn interrupts the visual flow and creates a maintenance obstacle for mowing. The goal is to identify high-point locations that offer a clear line of sight to secondary sensors while ensuring the solar panels receive at least six hours of direct sunlight daily. This requires a sophisticated approach to site grading and the strategic use of hardscape elements like stone plinths or decorative fence posts to elevate the hardware above the moisture-heavy ground level.
Landscape Design Principles
Effective landscape design relies on the core concepts of symmetry, focal points, and elevation layers. When integrating Solar Powered Sensor Hubs, elevation is the most critical factor. Signal range improves dramatically when the transmitter is raised even 3 feet above the ground. We often utilize existing focal points, such as a timber pergola or the top of a stacked stone retaining wall, to house these units. This elevation prevents signal diffraction caused by the ground and local foliage. By incorporating the hub into a structural element, we maintain the aesthetic integrity of the garden without sacrificing the technical performance of the smart system.
Symmetry and visual balance also play a role in placement. A hub should be positioned so that it does not disrupt the “Golden Ratio” of a garden bed. If you have a formal garden with paired Boxwood hedges, placing a hub off-center can create a jarring visual distraction. Instead, we advocate for placing hubs near the transition zones between different garden rooms. These areas often feature paths or gravel walkways, providing easy access for occasional maintenance. Furthermore, the selection of materials around the hub is vital. Avoid placing hubs directly behind large metal structures or dense masonry walls that can reflect or absorb the radio waves. Instead, use organic materials or open-wood latticework to camouflage the device while allowing signals to pass through freely.
Plant and Material Selection
Selecting the right plant palette is essential to ensure that your hardware remains functional as the garden matures. Fast-growing species can quickly overshadow a solar panel, rendering the hub useless within a single growing season. We prefer low-stature or airy plants that provide texture without blocking the sun.
| Plant Type | Sun Exposure | Soil Needs | Water Demand | Growth Speed | Maintenance |
| :— | :— | :— | :— | :— | :— |
| Creeping Thyme | Full Sun | Well-drained | Low | Moderate | Low |
| Blue Fescue | Full Sun | Sandy/Loamy | Moderate | Slow | Low |
| Lavender | Full Sun | Alkaline | Low | Moderate | Medium |
| Dwarf Yaupon Holly | Part Shade | Adaptable | Moderate | Slow | Low |
| Mexican Feather Grass | Full Sun | Fast-draining | Low | Fast | Medium |
| Pachysandra | Shade | Acidic | High | Moderate | Low |
For areas immediately surrounding the Solar Powered Sensor Hubs, we recommend using decomposed granite or river rock. These materials do not retain excessive moisture, which helps protect the internal electronics from high humidity levels near the ground. Furthermore, mineral-based mulches do not shift as easily as wood chips, ensuring that the base of your mounting post remains stable and level throughout the year.
Implementation Strategy
The implementation phase begins with a thorough site survey. Use a laser level or transit level to identify the highest points in the yard. Once the peak elevations are mapped, cross-reference these locations with a solar shade study. You can use a pathfinder tool to track the sun’s trajectory across the sky during both the summer and winter solstices. This ensures the Solar Powered Sensor Hubs will not be shaded by the house or large canopy trees like Oak or Maple during the shorter days of the year.
Once the location is finalized, begin the installation by preparing the ground. If you are mounting the hub on a dedicated post, dig a hole at least 18 inches deep and fill the bottom with 4 inches of crushed gravel to facilitate drainage. This prevents frost heave from tilting the post during winter. For hubs mounted on retaining walls, ensure the mounting bracket is secured with stainless steel masonry anchors to prevent corrosion. When laying out the surrounding garden, use steel edging to create a clear border between the tech zone and the planted zones. This prevents aggressive groundcovers from climbing the mounting hardware and eventually obscuring the solar panel.
Common Landscaping Failures
The most frequent mistake in smart landscape design is failing to account for plant maturity. A magnolia sapling planted 5 feet away from a hub might look fine today, but in a decade, its broad leaves will create a permanent shadow. Homeowners also frequently neglect the impact of irrigation spray patterns. While most Solar Powered Sensor Hubs are rated for outdoor use, constant direct blasting from a high-pressure rotor head can eventually lead to seal failure. Position hubs so they are in the “rain shadow” of large plants or outside the direct path of the irrigation spray.
Another common failure involves soil compaction and poor drainage. If a hub is placed in a low-lying area of the yard, water will pool around the base. This increases the humidity levels and attracts insects that may attempt to nest inside the housing. Always ensure the area around the hub is graded at a 2 percent slope away from the hardware. Finally, avoid using heavy metallic privacy screens near your hubs. These screens act as Faraday cages; they effectively trap the signal and prevent the hub from communicating with sensors located just a few meters away.
Seasonal Maintenance
Landscape management is a year-round commitment. In the spring, the primary task is to inspect the Solar Powered Sensor Hubs for any damage caused by winter storms. Use a soft microfiber cloth and plain water to wipe down the photovoltaic surface. Dust, pollen, and bird droppings can reduce charging efficiency by up to 30 percent. This is also the time to prune back any “volunteer” weeds or vines that have started to climb the mounting post.
As summer progresses, monitor the heat levels. If a hub is mounted against a dark surface, such as a black metal fence, it may overheat. During autumn, leaf removal is the priority. Falling leaves can quickly cover a ground-mounted hub or get caught in the mounting brackets. Use a leaf blower on a low setting or a stiff brush to clear the area. In the winter, focus on snow removal. A heavy blanket of snow will completely block the sun, causing the battery to drain. Regularly clear the panels after every significant snowfall to ensure the system stays online for security and freeze-monitoring purposes.
Professional Landscaping FAQ
What is the ideal height for mounting a sensor hub?
We recommend mounting the device at least 3 feet to 5 feet above the ground. This elevation clears most low-growing shrubs and reduces signal interference caused by ground-level moisture and solid obstacles like limestone borders.
Can I hide my hub inside a decorative birdhouse?
You can, provided the birdhouse has a clear, sun-exposed roof for the solar panel and is made of non-metallic materials like cedar or plastic. Ensure the walls are thin enough to allow radio waves to pass through easily.
How does mulch type affect sensor performance?
Organic mulches like pine bark retain moisture, which can increase local humidity. Inorganic mulches, such as pea gravel or lava rock, provide better drainage and a more stable environment for electronic components located near the soil surface.
Will my irrigation system damage the solar panels?
While most hubs are weather-resistant, recurring high-pressure water from impact sprinklers can cause wear. It is best to place the hub in a location that receives only indirect overspray or misty coverage rather than a direct hit.
How do I know if my plants are blocking the signal?
Monitor the signal strength via your system’s app. If you notice a significant drop after the spring growth spurt, it is likely that deciduous shrubs or tall grasses like Miscanthus are obstructing the line of sight to your sensors.