
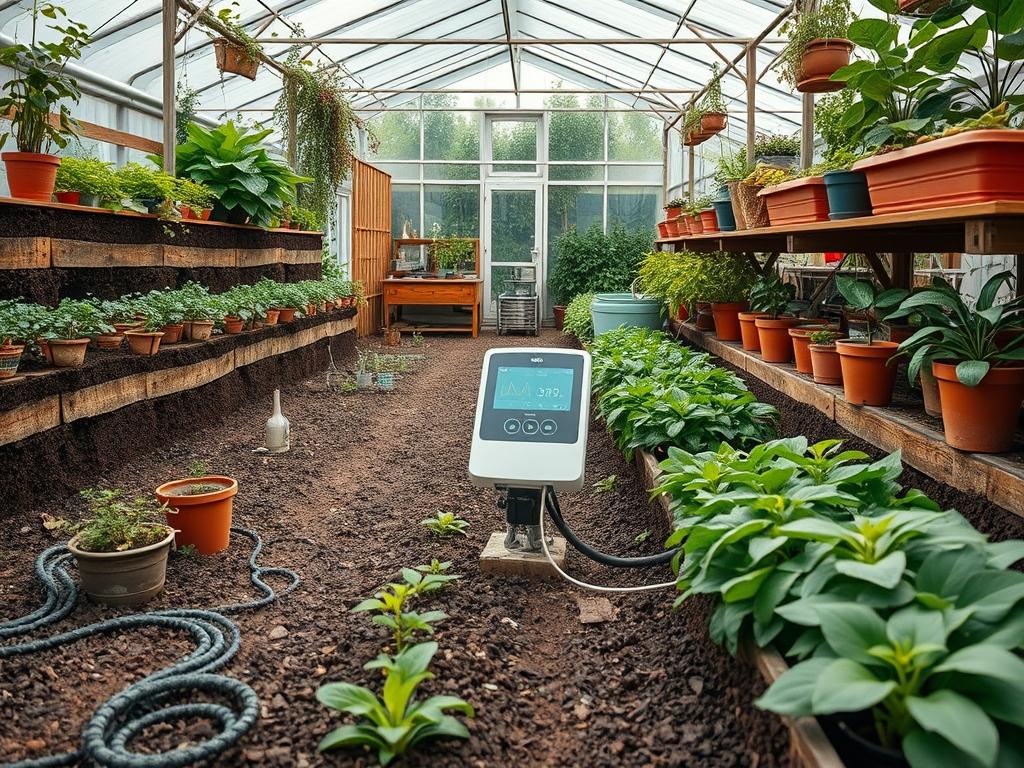
The evolution of modern outdoor spaces requires a shift from purely aesthetic considerations to functional integration. As a senior landscape architect, I have observed that the most successful projects today are those that treat technology as a foundational element rather than an afterthought. Achieving a seamless Smart Garden Device Setup involves more than just plugging in sensors; it requires a deep understanding of how digital hardware interacts with biological systems and environmental stressors. The challenge lies in maintaining curb appeal while burying the infrastructure necessary for a high tech garden. We must account for the microclimates of a property, ensuring that moisture sensors are placed in drainage low points and that solar powered hubs receive adequate southern exposure. When done correctly, the technology disappears into the foliage, leaving behind a responsive ecosystem that maintains itself through precision data.
The goal is to enhance the outdoor living experience without cluttering the visual field with wires and plastic. We consider the property’s topography and the way light moves across the land throughout the day. A smart landscape is a layered environment where elevation changes, retaining walls, and plant densities all play a role in how signals move. We must prioritize the functionality of the soil and the health of the root zones, ensuring that our technical installations do not interfere with the natural growth of the garden. By planning for technology during the initial design phase, we create a landscape that is both resilient and intelligent.
Landscape Design Principles
Symmetry and visual balance are the bedrock of any professional landscape. When integrating smart devices, these principles guide the placement of hardware to ensure they harmonize with focal points. For example, Smart Path Lighting should be spaced mathematically to provide a consistent rhythm along a walkway, rather than being scattered at random. We use the rule of thirds to place larger focal points, such as an Automated Water Feature, ensuring it captures the eye while remaining accessible for maintenance.
Elevation layers are equally critical. We design the “vertical garden” by placing moisture and UV sensors at various heights to get a comprehensive reading of the garden’s health. Irrigation planning must be discretized into specific zones based on the water demands of different species. A smart controller is only as effective as the hydraulic design it manages. We often use Retaining Walls to create distinct microclimates, where a dry stone wall might house a hidden Wi-Fi extender to ensure signal reliability in the far corners of the lot. Walkways should be planned not just for foot traffic, but as corridors for low voltage wiring, often tucked under a 1 inch layer of polymeric sand or bedding stone to protect the lines from the elements.
Plant and Material Selection
Choosing the right flora is essential for concealing smart hardware and ensuring the longevity of your sensors. Dense evergreens can hide control boxes, while groundcovers protect buried cables from surface erosion.
| Plant Type | Sun Exposure | Soil Needs | Water Demand | Growth Speed | Maintenance Level |
| :— | :— | :— | :— | :— | :— |
| Boxwood (Buxus) | Full Sun to Shade | Well-Drained | Moderate | Slow | Medium |
| Blue Star Creeper | Full Sun / Part Shade | Moist Soil | High | Fast | Low |
| Dwarf Fountain Grass | Full Sun | Sandy/Loamy | Low | Moderate | Low |
| Japanese Maple | Filtered Sunlight | Acidic / Rich | Moderate | Slow | High |
| Native Switchgrass | Full Sun | Adaptable | Very Low | Fast | Low |
For materials, we favor non-conductive and weather resistant options. Cedar and Teak are excellent for building custom enclosures for outdoor hubs. When selecting stone for hardscaping, we prefer Permeable Pavers which allow moisture to reach the sensors buried in the subgrade. For mulching, a 3 inch layer of Triple Shredded Hardwood Mulch is standard. This depth is sufficient to regulate soil temperature for root health while providing a protective buffer for irrigation lines and sensor leads running just beneath the surface.
Implementation Strategy
A successful backyard layout begins with a detailed site survey. Before any soil is moved, we mark the locations of existing utilities and plan our new digital grid. The first step involves grading the land to ensure that water moves away from the home and toward designated drainage areas. This is where we install French Drains if the site has heavy clay soil. During the grading process, we also lay down Schedule 40 PVC Conduit for all future wiring needs. This foresight prevents the need to dig up the lawn later if you decide to expand your Smart Garden Device Setup.
Edging provides the clean lines necessary for a professional look. We use Steel Edging or Heavy Duty Plastic Benders to create a clear barrier between turf and planting beds. This at as a safety zone for smart mowers and edge trimmers. Once the structural elements are in place, we focus on mulch depth. A consistent 3 inch application prevents weed growth and protects the sensors from direct UV degradation. For drainage, we often incorporate a Dry Creek Bed using River Rock and Cobblestone to manage runoff gracefully while hiding larger irrigation valves or outdoor power sockets within the rock formations.
Common Landscaping Failures
The most frequent mistake in a Smart Garden Device Setup is failing to account for signal interference from biological growth. Homeowners often install a hub in the spring, only to find it loses connectivity by mid summer once the canopy of a Willow Oak or Hydrangea fills in. Furthermore, improper drainage remains a leading cause of device failure. If a sensor is placed in a depression where water pools, the electronics will eventually succumb to moisture intrusion, causing short circuits.
Root overcrowding is another silent killer of outdoor technology. If a Silver Maple is planted too close to a buried conduit, its aggressive root system can crush the pipe over time. We also see many irrigation inefficiencies stemming from poor sensor calibration. If a moisture probe is placed too close to a sprinkler head, it will provide a false reading that the entire zone is saturated, leading to drought stress in other areas. Finally, soil compaction caused by heavy foot traffic or construction equipment can physically damage shallow buried wires and prevent oxygen from reaching the roots, undermining the very health the smart system is meant to protect.
Seasonal Maintenance
Maintenance is a year round commitment that changes with the tilt of the earth. In the Spring, we focus on recalibration. This involves checking every Drip Emitter for clogs and testing the battery levels in all wireless sensors. We also refresh the mulch to maintain that critical 3 inch barrier. This is the time to prune any branches that have grown over solar panels or blocked the line of sight for wireless bridges.
During the Summer, the focus shifts to water management. We monitor the data from our smart controllers to ensure that the irrigation schedule matches the heat index. In Autumn, we prepare for the dormant season. This is when we clear leaves from drainage grates and check the integrity of all outdoor enclosures. For Winter, landscape management involves winterizing the irrigation lines. We use a High Volume Air Compressor to blow out any remaining water to prevent frozen pipes. Batteries should be removed from devices located in extreme cold zones, and sensitive controllers should be covered with insulated thermal jackets to ensure they survive until the following spring.
Professional Landscaping FAQ
How deep should I bury my smart irrigation wires?
You should bury low voltage wires at least 6 inches deep to avoid damage from aerators or shovels. If you are using a higher voltage, check local codes, as they often require a depth of 12 to 18 inches within a conduit.
Will my Wi-Fi signal reach the back of my garden?
Dense foliage and water in leaves can significantly degrade signals. We recommend using a Mesh Network Node housed in a weather-resistant enclosure located at the midpoint between your house and the furthest reaches of your property for a stable connection.
How do I hide smart sensors without affecting their accuracy?
Strategically place sensors behind airy plants like Ornamental Grasses or hide them within the shadow of a Large Boulder. Ensure the sensing element remains in direct contact with the soil or air as required, using mulch to blend the base.
What is the best way to prevent cable corrosion?
Always use Gel Filled Wire Nuts and waterproof connectors for all outdoor splices. Exposed copper will oxidize rapidly in moist soil. Enclosing connections within a Weatherproof Junction Box further shields the components from the corrosive effects of fertilizers and rain.
Can I integrate smart tech into an existing landscape?
Yes, but it requires careful trenching to avoid damaging existing root systems. We often use a Vibratory Plow for minimal turf disruption or run wires along the underside of fence rails and decks to avoid digging through established garden beds entirely.