
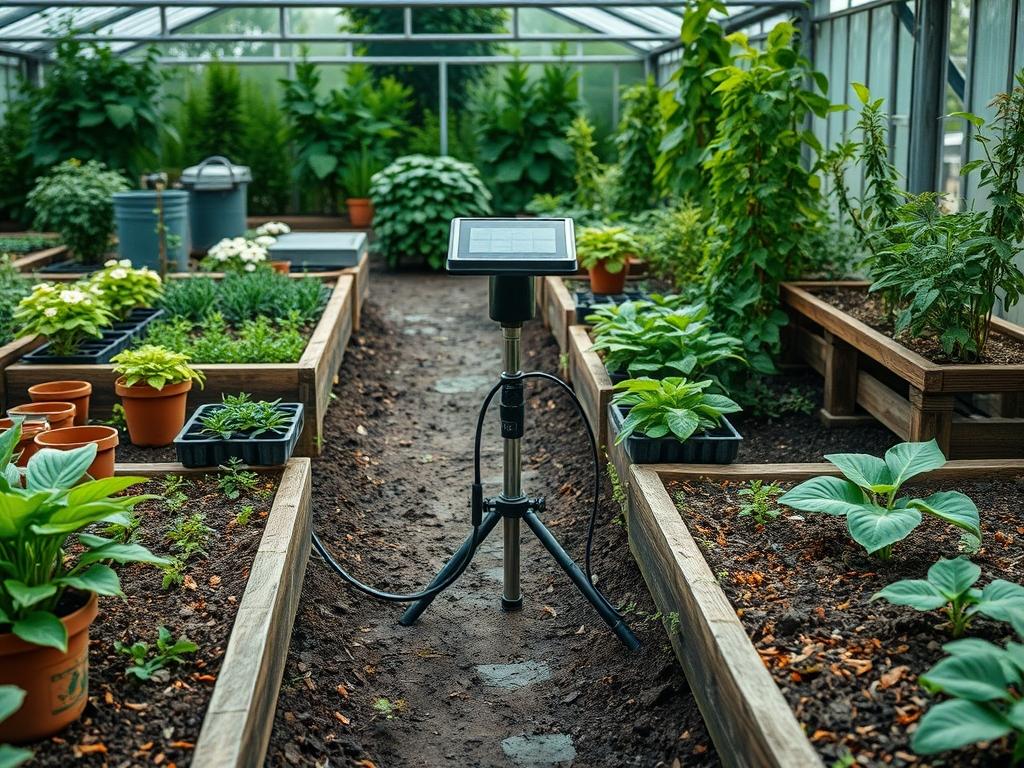
Designing a high performance landscape requires more than a simple eye for aesthetics; it demands a deep understanding of site specific conditions and resource management. The modern homeowner faces a complex challenge when trying to balance curb appeal with environmental sustainability. Climate volatility, rising water costs, and the desire for low maintenance functionality have transformed the way we approach outdoor spaces. A successful garden is no longer a static arrangement of greenery. It is a living, breathing ecosystem that must respond to the unique topography of the property while serving as a functional extension of the home. Integrating a Solar Powered Irrigation Pro system into the initial planning stages provides a technological foundation that ensures these living investments survive the transition from nursery pot to native soil. By treats the landscape as an integrated machine, we can achieve a professional grade finish that maintains its luster without excessive manual labor or waste.
Functional outdoor design begins with an assessment of the microclimates within a single lot. One corner of a property may receive six hours of intense afternoon heat, while the area beneath a mature Oak tree remains consistently damp and shaded. These variations dictate the hydraulic needs of the site. When we architect a garden for a client, we prioritize the “right plant, right place” philosophy, but we also ensure that the infrastructure, such as poly-tubing and solar emitters, is hidden beneath the surface to preserve the visual integrity of the design. The goal is to create a space that feels intentional, where every retaining wall and flagstone path serves both a structural and a visual purpose.
Landscape Design Principles
Symmetry and visual balance act as the anchors for any professional landscape. While a perfectly symmetrical garden can feel formal and rigid, asymmetrical balance uses different objects of similar visual weight to create interest. For example, a large Japanese Maple on the left side of a driveway might be balanced by a dense cluster of Ornamental Grasses and a limestone boulder on the right. This prevents the eye from feeling restless and gives the property a sense of established permanence. We often use the “Rule of Three” when grouping plants, as odd numbers tend to look more natural and less forced than pairs.
Elevation layers are equally critical in establishing a sense of depth. We approach the garden in three distinct tiers: the groundplane, the midplane, and the overhead plane. The groundplane consists of turf, creeping thyme, or mulch paths. The midplane contains the bulk of the visual interest, featuring shrubs, perennials, and hedgerows that stand between 3 feet and 6 feet tall. The overhead plane is defined by canopy trees and pergolas. By layering these heights, we can obscure unsightly views, such as a neighbor’s HVAC unit, while framing desirable vistas. Irrigation planning must account for these layers; tall trees require deep, infrequent soaking via root zone feeders, whereas the groundplane thrives on the consistent, light application provided by a Solar Powered Irrigation Pro setup.
Walkways and focal points provide the “bones” of the garden. A focal point might be a weathered steel sculpture, a fountain, or a particularly striking specimen tree. Every path should lead the eye toward these features. We recommend walkways be at least 36 inches wide to allow two people to walk comfortably side by side. Using materials like crushed granite or pea gravel allows for natural drainage, reducing the runoff that often plagues properties with too much concrete. When the hardscape is permeable, the soil remains oxygenated, and the automated irrigation systems can work more efficiently by replenishing groundwater rather than contributing to street level flooding.
Plant and Material Selection
Selecting the right materials involves a meticulous comparison of growth habits and environmental needs. The following table outlines standard selections for a balanced temperate landscape.
| Plant Type | Sun Exposure | Soil Needs | Water Demand | Growth Speed | Maintenance Level |
| :— | :— | :— | :— | :— | :— |
| Boxwood | Full to Part Sun | Well-Drained | Moderate | Slow | Medium |
| Lavender | Full Sun | Sandy/Dry | Low | Medium | Low |
| Hostas | Full Shade | Rich/Moist | High | Medium | Medium |
| Switchgrass | Full Sun | Adaptable | Low | Fast | Low |
| Hydrangea | Part Shade | Loamy/Humus | High | Fast | High |
| Sedum | Full Sun | Poor/Gravelly | Very Low | Medium | Low |
Beyond the plants themselves, the materials used for stabilization and nutrition are vital. We utilize non-woven geotextile fabric beneath hardscapes to prevent weed intrusion and soil shifting. For garden beds, a 3 inch layer of shredded hardwood mulch is the industry standard for moisture retention and weed suppression. In areas where the Solar Powered Irrigation Pro system is active, mulch serves the dual purpose of protecting the 0.25 inch distribution tubing from UV degradation and extreme temperature fluctuations.
Implementation Strategy
The transition from a design on paper to a physical landscape requires a disciplined sequence of events. First, the site must be graded to ensure that water moves away from the home’s foundation. A 1 percent to 2 percent slope is usually sufficient to prevent pooling. Once the grading is complete, we mark the locations of the primary hardscape features using marking paint. This allows the homeowner to walk the space and feel the flow before any heavy machinery arrives.
After the retaining walls and patios are set, we focus on the irrigation skeleton. We install the Solar Powered Irrigation Pro main controller in a location that receives at least 6 hours of unobstructed sunlight. The main 0.5 inch supply line is buried 8 inches deep to avoid accidental damage from shovels or aerators. We then install offtake valves at each planting zone. This modular approach allows us to customize the water delivery for the Hydrangeas without over-saturating the Lavender.
Next, we address the soil. Most residential soil is compacted from construction. We use a rototiller to incorporate 2 inches of organic compost into the top 6 inches of the native earth. When planting, we dig holes twice as wide as the root ball but no deeper. This ensures the plant sits at the correct height while providing loose soil for new roots to penetrate. After planting, the final layer of mulch is applied, making sure to keep it 2 inches away from the trunks of trees to prevent bark rot.
Common Landscaping Failures
The most frequent mistake in amateur landscaping is improper spacing. A Juniper that looks perfect in a 3 gallon pot might eventually reach a width of 10 feet. When plants are overcrowded, they compete for nutrients and air circulation diminishes, leading to fungal diseases. Always research the mature spread of a species before digging. Another common failure is the “mound” effect, where mulch is piled high against tree trunks like a volcano. This traps moisture against the bark and invites Boring Beetles and decay.
Drainage mistakes can be subterranean and costly. Many installers fail to account for “clogging” over time. If a French drain is installed without a silt sock, it will likely fail within five years. Similarly, irrigation inefficiency often stems from using the wrong emitters. Putting a high flow bubbler on a sandy slope will lead to immediate erosion. Professionals use a Solar Powered Irrigation Pro system to dial in specific flow rates, ensuring the water matches the soil’s infiltration rate. This prevents the “runoff” phenomenon where water sits on top of a compacted surface and simply evaporates or flows into the gutter.
Seasonal Maintenance
Landscape management is a year round commitment. In the Spring, the focus is on “awakening” the garden. This involves removing dead perennial foliage with bypass pruners, applying a fresh layer of compost, and checking the Solar Powered Irrigation Pro sensors for debris. It is the best time to perform a “system flush” to remove any sediment that settled in the lines over winter.
Summer maintenance is centered on moisture management and deadheading. As temperatures rise, we adjust the irrigation timers to provide water during the early pre-dawn hours to minimize evaporation. We monitor the solar panel on the irrigation controller to ensure summer growth hasn’t shaded the photovoltaic cells.
Autumn is the season for “planting and prep.” The warm soil and cool air are ideal for establishing new shrubs and trees. We also perform a “deep soak” for evergreens before the ground freezes. In the Winter, we focus on protection. We drain the irrigation lines to prevent freeze expansion damage and apply a 4 inch layer of straw or mulch to tender perennials to provide thermal insulation against frost heave.
Professional Landscaping FAQ
How does solar irrigation handle consecutive cloudy days?
Most systems, including the Solar Powered Irrigation Pro, utilize high capacity lithium-ion batteries that store enough energy during sunny periods to power the pump and timers for several days of overcast weather without interruption.
Will mulch attract termites to my home foundation?
While some mulch provides a moist environment, keeping a 12 inch gravel “buffer zone” between your mulch beds and the home’s foundation significantly reduces the risk. Always ensure mulch depth does not exceed 3 inches near structures.
What is the best way to prevent weeds permanently?
Permanent prevention is a myth, but a combination of geotextile fabric, dense planting to “shade out” weed seeds, and a consistent 3 inch layer of mulch will reduce weed emergence by up to 90 percent.
How deep should I bury my irrigation lines?
Main distribution lines should be buried at least 8 inches to 12 inches deep to protect them from garden tools. Lateral lines heading to individual emitters can be shallower, often just 3 inches deep under mulch.
Can I mix different plant types on one solar zone?
It is possible if you use pressure compensating emitters with different flow rates. For example, a 2 gallon per hour emitter for a thirsty shrub and a 0.5 gallon per hour emitter for a drought tolerant succulent.