
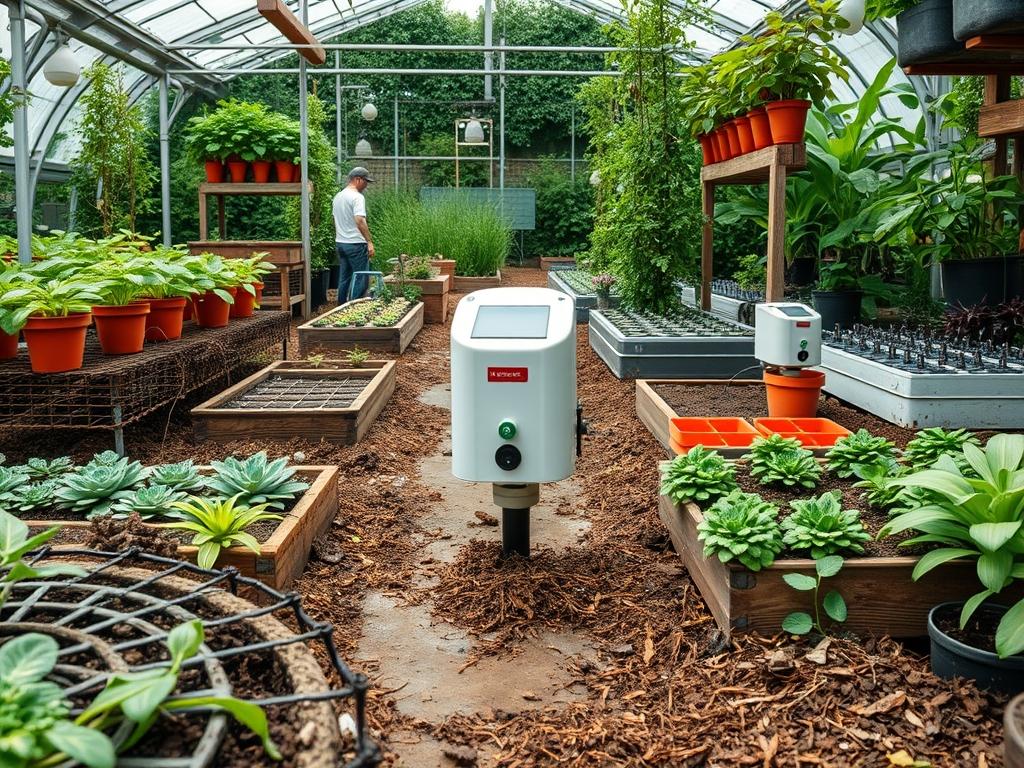
The entrance to a residential estate represents more than a functional boundary; it is a curated introduction to the property’s architectural narrative. When designing the threshold of a modern home, landscape architects must balance security requirements with aesthetic continuity. Incorporating Solar Powered Gate Sensors into a master plan allows for a seamless transition between the natural environment and home automation without the invasive trenching required for traditional low-voltage wiring. This preservation of the soil profile is critical when working near the root zones of Specimen Trees or within established Hardscape environments. A professional approach ensures that the utility of the gate does not compromise the visual flow of the driveway or the health of the surrounding ecosystem.
Effective landscape planning for entryways considers the local microclimate and the solar window available for the duration of the year. Because Solar Powered Gate Sensors rely on consistent UV exposure, the placement of evergreen anchors and deciduous screening must be calculated with precision. If the gateway is flanked by high-walled Retaining Walls or dense Hedgerows, the solar collector may fail during the shorter days of winter. Architects should analyze the sun’s path to ensure that the hardware receives at least 4 to 6 hours of direct light. This foresight prevents the need for drastic pruning later in the landscape’s life cycle, maintaining the integrity of the original design vision.
Landscape Design Principles
Symmetry is the most common tool used to create a formal entry, but in modern landscapes, asymmetrical balance often provides a more dynamic experience. When installing Solar Powered Gate Sensors, the placement should be treated as a functional focal point that complements the gate’s material, whether it is Wrought Iron, Cedar, or Composite Steel. The height of the sensor must be integrated into the elevation layers of the garden. A low-profile sensor can be hidden among Groundcover plants, while taller units may require a dedicated Pedestal that matches the stone or timber used in the home’s construction.
Elevation changes are equally important for both aesthetics and hardware functionality. If the driveway entrance is located at the base of a slope, the design must prioritize Drainage to prevent water from pooling around the gate footings or sensor mounting posts. Utilizing French Drains or Infiltration Basins disguised with River Rock can move water away from sensitive electronic components. Furthermore, the walkway leading from the gate to the main residence should follow the natural topography, using Flagstone or Pavers to create a stable, non-slip surface that remains clear of the sensor’s infrared beam.
Visual balance is achieved by “grounding” the gate structure with appropriate plantings. Massive stone pillars can feel heavy if not softened by ornamental elements. Utilizing a mix of textures, such as the fine needles of a Juniper against the broad leaves of a Hosta, creates a sophisticated backdrop. However, the architect must ensure that no foliage encroaches on the Solar Powered Gate Sensors‘ visual path. A clear “Line of Sight” is required for the sensors to communicate, meaning that fast-growing species should be kept at a distance of at least 2 feet from the equipment to allow for natural sway during wind events.
Plant and Material Selection
| Plant Type | Sun Exposure | Soil Needs | Water Demand | Growth Speed | Maintenance Level |
| :— | :— | :— | :— | :— | :— |
| Boxwood (Buxus) | Full Sun to Shade | Well-Drained | Low | Slow | Moderate |
| Lavender (Lavandula) | Full Sun | Gritty / Sandy | Very Low | Medium | Low |
| Red Yucca (Hesperaloe) | Full Sun | Well-Drained / Dry | Low | Slow | Very Low |
| Blue Star Creeper | Partial Sun | Moist / Humus | Medium | Fast | Moderate |
| Japanese Maple | Partial Shade | Loamy / Acidic | Medium | Slow | High |
| Feather Reed Grass | Full Sun | Moist / Clay | Medium | Fast | Low |
Implementation Strategy
The implementation of a modern entrance begins with a detailed site survey. Use a Laser Level to determine the exact grading of the driveway. If the grade exceeds a 2 percent incline, the gate sweep and sensor alignment must be adjusted to prevent dragging or false triggers. Begin by marking the perimeter with Landscape Stakes and string lines to visualize the transition between the hardscape and the planting beds. Excavate to a depth of 8 inches for any stone walkways and ensure a sub-base of Class 5 Gravel is compacted to 95 percent density to prevent settling over time.
For the installation of Solar Powered Gate Sensors, mount the units on Galvanized Steel Posts or integrated stone columns. To ensure long-term stability, the posts should be set in concrete footings that extend below the local Frost Line, which is often 36 to 48 inches in northern climates. Use 3/4-inch Crushed Stone at the base of the footing to facilitate drainage. Once the hardware is secure, install Steel Edging to create a crisp border between the driveway and the garden beds. This prevents invasive turf grass from migrating into the sensor area.
The final layer involves the application of Organic Mulch. A depth of 3 inches is ideal for moisture retention and weed suppression; however, keep the mulch at least 2 inches away from the base of the sensor posts and the trunks of trees to prevent rot and pest infestation. When choosing mulch, select a double-ground hardwood that will not wash away during heavy rain, which could potentially obstruct the lower lenses of the gate sensors.
Common Landscaping Failures
The most frequent error in estate landscaping is poor drainage planning. When water is allowed to collect near the entrance, it can cause Soil Liquefaction, leading to the tilting of gate posts and the subsequent misalignment of the Solar Powered Gate Sensors. Even a shift of 1/4 inch can be enough to break the connection between the transmitter and receiver. Always ensure that the grade slopes away from the gate hardware at a minimum of 1 inch per foot.
Root overcrowding is another significant issue. Many homeowners plant fast-growing privacy screens like Leyland Cypress too close to the gate. Over several years, the aggressive root systems can heave the surrounding hardscape and even interfere with the underground footings of the sensor posts. Additionally, improper spacing leads to “shrub creep,” where the plant’s canopy grows into the sensor’s path, causing the gate to reverse or fail to close. Regularly monitor the “mature width” of all species before planting.
Irrigation inefficiencies also contribute to landscape failure. If Sprinkler Heads are aimed toward the gate, the constant exposure to reclaimed water can lead to mineral buildup on the sensor lenses. This “Hard Water Scaling” blocks UV rays and infrared signals. To avoid this, utilize Drip Irrigation systems that deliver water directly to the root zone of the plants, keeping the gate hardware dry and functioning at peak efficiency.
Seasonal Maintenance
Spring is the time for structural audits. Check the alignment of your Solar Powered Gate Sensors after the winter thaw to ensure no frost heaves have displaced the mounts. Clean the solar panels with a soft, lint-free cloth and plain water to remove the accumulation of winter salt and grime. Prune back any deadwood from nearby Ornamental Shrubs and apply a fresh 1-inch layer of mulch to maintain the barrier against weeds.
In Summer, the focus shifts to growth management. Fast-growing perennials and Ornamental Grasses may begin to lean into the sensor’s path. Use Hedge Shears to maintain a clear buffer zone. Monitor the health of the lawn; if the soil becomes too dry and compacted, it can pull away from the gate posts, creating gaps. Deep, infrequent watering is the best strategy for promoting deep root growth and soil stability during heat waves.
Autumn maintenance involves leaf management. A single large leaf from a Maple or Oak tree stuck to the sensor lens can deactivate the entire system. Use a Leaf Blower or rake to keep the area around the gate clear. This is also the time to apply a “dormant oil” to any woody plants to prevent pest outbreaks in the coming spring. Ensure all Solar Powered Gate Sensors are fully charged before the daylight hours decrease significantly.
Winter requires vigilant monitoring for snow accumulation. If your region receives significant snowfall, ensure that the plow path does not pile snow against the sensors. Use a Soft Bristle Brush to clear snow from the solar collectors after every storm. For properties in extreme cold, check the battery health of the solar units, as sub-zero temperatures can temporarily reduce the storage capacity of the cells.
Professional Landscaping FAQ
How do I choose the best spot for gate sensors?
Locate sensors where they have a clear line of sight across the driveway. Ensure the mounting surface is stable and positioned to receive maximum sunlight, avoiding the deep shadows cast by large Evergreen Trees or building overhangs.
Can I hide sensors within some of the shrubbery?
While you can place sensors near plants, they must remain unobstructed. Use low-growing species like Creeping Thyme or Lavender that will not grow tall enough to block the infrared signal or the solar charging panel.
What is the best way to prevent weeds near the gate?
Install a professional-grade Landscape Fabric topped with 3 inches of mulch or decorative stone. This creates a durable barrier that keeps the area clean and prevents weeds from interfering with the Solar Powered Gate Sensors‘ operation.
Does cold weather affect my solar gate system?
Modern Solar Powered Gate Sensors are designed for outdoor durability, but extreme cold can slow battery chemical reactions. Ensure the solar panel is clean and angled toward the low winter sun to maximize daily charging potential during the colder months.
How often should I clean the sensor lenses?
Perform a visual inspection monthly. Use a damp cloth to remove dust, pollen, or water spots. Keeping the lenses clear is essential for maintaining the integrity of the safety beam and ensuring the gate operates reliably for visitors.