
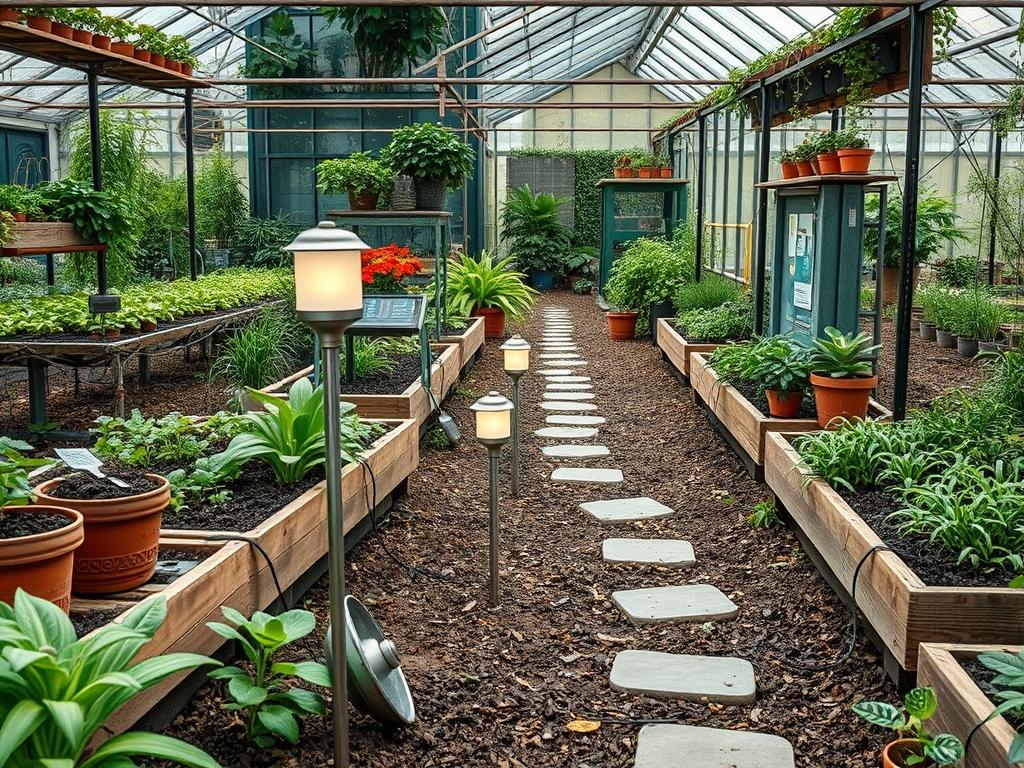
Landscape architecture is as much about the manipulation of shadow as it is about the curation of light. When the sun dips below the horizon, a well-manicured property can quickly disappear into a dark void without a thoughtful illumination strategy. For years, the primary challenge for homeowners and developers was the prohibitive cost and complexity of hardwired lighting systems, which often required extensive trenching and professional electrical oversight. The emergence of Solar Powered Path Markers has fundamentally shifted this dynamic. These units offer a sophisticated, autonomous solution that allows for agile design changes while enhancing safety and curb appeal. Integrating these markers effectively requires a balance of technical knowledge and aesthetic intuition. By understanding how light interacts with hardscaping and plant biology, a landscape architect can transform a simple walkway into a guided experience that emphasizes the property’s architectural strengths and natural textures.
Landscape Design Principles
A professional landscape relies on several core principles to achieve harmony, with symmetry and focal points serving as the primary pillars. When placing Solar Powered Path Markers, one must consider the visual weight of the light. Symmetrical placement along a straight Flagstone Path creates a formal, stately appearance that leads the eye directly to an entrance or a focal piece like a Stone Sculpture. Conversely, asymmetrical or staggered placement works better for winding woodland paths, as it mimics the organic flow of nature and prevents the “runway effect” where lights look too rigid or industrial.
Elevation layers are equally critical. Most novices place markers at a uniform height on flat ground, but a senior consultant looks for opportunities to highlight changes in grade. Utilizing markers near Retaining Walls or Timber Steps serves the dual purpose of safety and architectural emphasis. By positioning a light source at the base of a rise, you can cast long shadows that accentuate the texture of Stacked Stone or Rough-Hewn Cedar.
Irrigation planning must also be synchronized with your lighting layout. It is vital to ensure that Micro-Spray Emitters or Rotary Sprinklers are not positioned to blast the markers directly. While high-quality Solar Powered Path Markers are rated for weather resistance, constant high-pressure water impact can lead to mineral buildup on the Photovoltaic Cells, reducing their energy absorption over time. Visual balance is achieved when the light intensity complements the surrounding foliage without overpowering it. Using warm-toned LEDs rather than harsh blue-white lights ensures that the colors of your Ornamental Grasses and Perennial Borders remain vibrant and true to life even after dark.
Plant and Material Selection
The success of a lighting plan often depends on the biological backdrop against which the lights are set. High-reflectance foliage or low-growing groundcovers can amplify the effect of your Solar Powered Path Markers, while dense, dark shrubs may absorb too much light.
| Plant Type | Sun Exposure | Soil Needs | Water Demand | Growth Speed | Maintenance Level |
| :— | :— | :— | :— | :— | :— |
| Lavender (Lavandula) | Full Sun | Well-drained, Sandy | Low | Moderate | Prune Annually |
| Boxwood (Buxus) | Full to Part Sun | Loamy, Neutral pH | Moderate | Slow | High (Shearing) |
| Hostas (Hosta) | Shade to Part Sun | Rich, Organic | Moderate to High | Fast | Low |
| Creeping Thyme | Full Sun | Poor to Average Soil | Low | Fast | Minimal |
| Daylilies (Hemerocallis) | Full to Part Sun | Adaptable | Moderate | Fast | Low |
| Japanese Forest Grass | Part to Full Shade | Moist, Fertile | High | Slow | Cut back in Winter |
When selecting materials for the pathway itself, consider using Decomposed Granite or Pea Gravel. these materials provide a permeable surface that allows for excellent drainage around the stake of the marker. For a more modern look, Large Format Concrete Pavers with a 2 inch gap filled with Mexican Beach Pebbles offer a high-contrast environment that makes the light from the markers pop.
Implementation Strategy
Planning a backyard or garden layout requires a structured approach to ensure the final result is both functional and durable. The first step in any professional installation is site grading. Ensure that the ground slants slightly away from walkways at a 2 percent slope to prevent pooling water, which can destabilize both the path and the lighting fixtures. Once the grade is established, define your borders using Steel Edging or Paver Restraints. This keeps your Hardwood Mulch and gravel in place, preventing them from washing over your markers during heavy rain.
Next, determine your spacing. For standard Solar Powered Path Markers, a distance of 6 to 8 feet between units is usually sufficient to create a continuous guide without light overlap. Use a Measuring Tape to mark these spots before you begin any digging. If you are working in an area with heavy clay soil, use a Hand Auger or a large Screwdriver to create a pilot hole for the marker stake. Never force a marker into compacted earth by pushing on the top of the lamp housing, as this can crack the internal circuitry or the Tempered Glass covering the solar panel.
For the surfacing, apply a layer of Landscape Fabric to suppress weeds, then top with at least 3 inches of mulch or 2 inches of stone. When installing the markers, ensure the solar panel is completely unobstructed by nearby foliage. A common mistake is placing a marker under a maturing shrub that will eventually grow over the sensor, rendering the light useless within a single growing season.
Common Landscaping Failures
One of the most frequent errors encountered by consultants is the failure to account for subsoil drainage. Even the most expensive Solar Powered Path Markers will fail if they are submerged in a “bathtub” of saturated soil. If your yard has high clay content, consider installing a French Drain parallel to the path to whisk excess moisture away from the lighting line.
Root overcrowding is another significant issue. Planting Aggressive Groundcovers too close to the markers can result in the units being swallowed by vegetation within months. Always research the mature spread of your plants; a Hosta that looks small in a 1 gallon pot can easily reach a 36 inch diameter, effectively hiding your light source.
Improper spacing and “light pollution” also degrade a design. Installing too many units turns a serene garden into a busy commercial-looking strip. Focus on “pools of light” rather than a continuous fence of brightness. Furthermore, soil compaction is the silent killer of landscape longevity. If you do not aerate the soil around your path and markers, the roots of your border plants will struggle to breathe, and the lack of pore space will lead to poor drainage and eventual marker frost-heave during winter months.
Seasonal Maintenance
To maintain the efficiency and aesthetic of your landscape, a seasonal schedule is mandatory. In the spring, inspect all Solar Powered Path Markers for battery health. Most rechargeable NiMH or Li-ion batteries have a lifespan of 1 to 2 years. Clean the solar panels with a damp, lint-free cloth and a mild soap to remove the film of pollen and dust that accumulates during the transition from winter. This ensures maximum charging capacity as the days begin to lengthen.
During the summer, the primary task is pruning. Trim back any Ornamental Grasses or overhanging branches that cast shadows on the sensors. This is also the time to check your Irrigation System for leaks that might be over-saturating the base of your markers.
Autumn requires the removal of fallen leaves. Decaying organic matter trapped against the base of a lighting fixture can harbor pests or mold, which may damage the finish of the marker. As daylight hours dwindle, ensure the markers are positioned to catch the low-angle sun. In winter, if you live in a region with heavy snowfall, it is often best to pull the markers and store them indoors to prevent damage from snow blowers and salt corrosion. If they remain outside, keep the panels clear of snow and ice to prevent deep-discharge of the batteries, which can permanently reduce their capacity.
Professional Landscaping FAQ
How do I choose the right brightness for markers?
Look for the lumen output. For subtle path definition, 5 to 10 lumens are ideal. For area safety or highlighting specific features, look for markers providing 15 to 30 lumens to create a broader splash of light.
Can solar markers work in shaded gardens?
Generally, they require at least 6 hours of direct sunlight. In shaded areas, use markers with detached solar panels that can be mounted in a sunny spot and connected via a discreet, low-voltage wire to the fixtures.
What is the best way to prevent stake breakage?
Always pre-drill or soften the ground before installation. In extremely hard or rocky soil, use a Masonry Bit to create a pilot hole. Avoid applying downward pressure on the light head; only push the stake itself.
How do I clean mineral deposits off the lens?
Use a mixture of white vinegar and water to gently dissolve calcium or lime buildup caused by irrigation overspray. Rinse with distilled water and dry with a soft cloth to restore the clarity of the Photovoltaic Cell cover.
Will cold temperatures affect the light duration?
Yes, battery chemical reactions slow down in the cold. You can expect shorter runtimes during winter months. Using high-capacity Lithium Phosphate batteries can help maintain better performance in temperatures below freezing compared to standard NiMH versions.