
Modern landscaping requires a sophisticated synergy between environmental stewardship and technological advancement. Integrating Solar Powered Garden Systems is no longer a niche hobby for enthusiasts; it is a fundamental pillar of contemporary outdoor architecture. Professional designers must consider how energy capture impacts the layout, ensuring that photovoltaic panels do not disrupt the visual flow of a property. Curb appeal is significantly influenced by the hardware chosen to support the flora. A garden that functions autonomously through solar energy creates a resilient ecosystem that responds to local climate shifts. By planning for functionality through high quality irrigation and lighting, we enhance the longevity of the landscape and reduce the long term maintenance burden on the property owner. The goal of any modern installation is to create a space that feels both organic and highly efficient, where the technology serves the growth of the plants without dominating the aesthetic experience.
Effective outdoor environments necessitate a deep understanding of microclimates and soil topography. When we implement Solar Powered Garden Systems, we are essentially building a self-sustaining life support network for the vegetation. This requires careful coordination between the site’s orientation and the daily path of the sun. We must calculate the “Solar Access,” ensuring that panels receive at least 6 hours of direct light while the plants themselves occupy zones that match their specific biological needs. A balanced landscape design treats the solar hardware as a structural element, much like a statue or a trellis, rather than an afterthought. By utilizing professional landscape architecture principles, we can transform a standard backyard into a high-yielding, energy-independent sanctuary that adds significant value to the property.
Landscape Design Principles
Successful garden planning relies on the core concepts of symmetry and visual balance. In a modern solar-integrated landscape, we use focal points to draw the eye and provide a sense of purpose to the space. A centralized Solar-Powered Water Feature or a decorative solar array mounted on a Pergola can serve as an anchor for the surrounding foliage. We organize these elements using Elevation Layers, which involve placing taller shrubs and structural trees in the background while keeping low-growing groundcovers in the foreground. This technique adds depth and prevents the garden from appearing flat or disorganized.
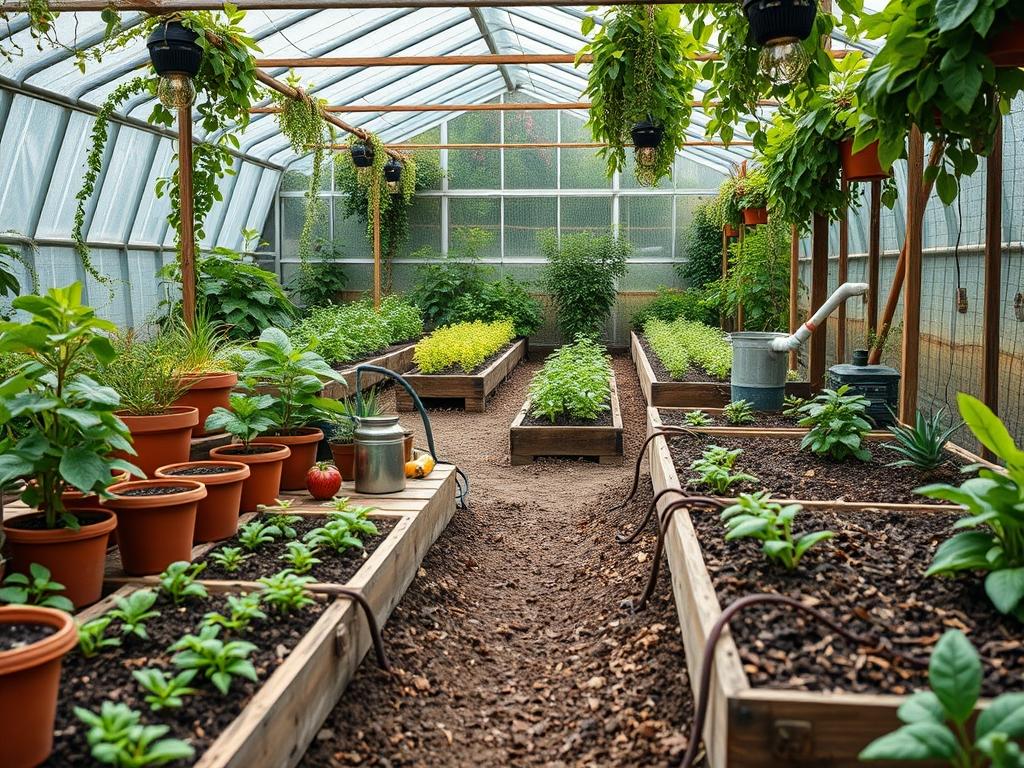
Irrigation Planning is perhaps the most critical component of the design phase. We utilize “Hydro-zoning,” which is the practice of grouping plants with similar water requirements together. This allows the solar-powered pump to deliver precise amounts of water via Drip Lines, minimizing waste. Walkways should be designed to facilitate movement while also serving as borders between these zones. Using Pervious Pavers or Crushed Stone for paths helps with water infiltration, ensuring that the ground remains hydrated and reducing the load on the drainage system. Visual balance is achieved by mirroring shapes and textures across these paths, creating a harmonious environment that feels intentional and professionally curated.
Plant and Material Selection
The success of Solar Powered Garden Systems depends heavily on selecting the right biological components. We prioritize species that thrive in the local climate while resisting common pests. The following table outlines optimal selections for a modern integrated landscape.
| Plant Type | Sun Exposure | Soil Needs | Water Demand | Growth Speed | Maintenance Level |
| :— | :— | :— | :— | :— | :— |
| Lavender | Full Sun | Well-Drained | Low | Moderate | Low |
| Boxwood | Partial Shade | Loamy | Moderate | Slow | Medium |
| Native Grasses | Full Sun | Sandy/Rocky | Very Low | Fast | Low |
| Japanese Maple | Filtered Sun | Acidic/Rich | Moderate | Slow | Medium |
| Sedum | Full Sun | Gritty | Low | Fast | Very Low |
| Coneflower | Full Sun | Clay/Loam | Moderate | Moderate | Low |
In addition to plant life, material selection is vital. We utilize Weathering Steel for edging to create clean, sharp lines that define the garden beds. For mulching, Organic Cedar Bark is preferred as it decomposes slowly and provides excellent thermal regulation for the root systems. When installing solar components, we use UV-Rated Conduit to protect wiring from degradation, ensuring the electrical integrity of the system for decades.
Implementation Strategy
The transition from a design on paper to a physical landscape requires a methodical approach. First, we address Grading. The land must be sloped away from house foundations and toward designated Bio-swales or drainage basins. Proper grading prevents water from pooling around the solar battery enclosures, which is a common cause of system failure. Once the levels are set, we move to Hardscaping. This includes the installation of Retaining Walls and the footings for any solar pole mounts.
Next, we lay the Irrigation Sub-structure. We bury Polyethylene Tubing at a depth of at least 8 inches to protect it from garden tools like a Spade or Tiller. After the infrastructure is hidden, we focus on soil preparation. We mix Compost and Perlite into the existing earth to improve aeration. The planting process follows, with each specimen placed according to the spacing requirements noted in the design. We finish the installation with a consistent Mulch Depth of 3 inches, which suppresses weeds and retains the moisture delivered by the solar-powered emitters. Finally, we install the Edging to keep the mulch and soil from migrating into the walkways.
Common Landscaping Failures
One of the most frequent errors in professional landscaping is inadequate drainage. Even the most advanced Solar Powered Garden Systems cannot compensate for waterlogged soil that lacks oxygen. Without proper Drainage Pipes or Gravel Pans, roots will rot, and the solar sensors may provide false readings due to saturated conditions. Soil compaction is another silent killer; when heavy machinery is used during construction without subsequent aeration, the soil becomes as hard as concrete, preventing deep root penetration.
Improper spacing is a mistake often made by those seeking “instant” curb appeal. Planting Shrubs too close together leads to overcrowding within three years, which restricts airflow and encourages fungal diseases like Powdery Mildew. Furthermore, many installers fail to consider the mature height of trees, which eventually cast shadows over the solar panels, rendering the energy system useless. Irrigation inefficiency also occurs when “one size fits all” timers are used instead of Moisture Sensors. Over-watering not only wastes resources but also leaches essential nutrients out of the soil, leaving plants stunted despite receiving plenty of light.
Seasonal Maintenance
Maintaining a high-end landscape requires a calendar-based approach. In the Spring, the focus is on “un-wintering” the system. We check the solar battery health and clean the Photovoltaic Glass with a soft cloth to remove pollen and dust. We prune Perennials to encourage new growth and apply a fresh layer of Slow-Release Fertilizer.
During the Summer, the priority shifts to water management. We monitor the solar pump performance during heat waves and adjust the Drip Emitters if certain zones show signs of stress. This is also the peak time for weeding to ensure that nutrients are going to the intended plants rather than invasive species.
Autumn is for preparation. We clear fallen leaves to prevent them from shading the solar panels or clogging the drainage grates. This is the ideal time for planting Bulbs and applying a thicker layer of mulch to insulate roots against the coming frost.
In Winter, we focus on structural integrity. We prune dormant trees to prevent heavy snow or ice from snapping branches. For colder climates, we may disconnect the water lines from the solar pump to prevent freezing and bursting, while the solar panels continue to trickle-charge the batteries to maintain their lifespan.
Professional Landscaping FAQ
How do I hide solar panels in a formal garden?
Integrate panels onto the roofs of Garden Sheds or use them as a “lid” for a modern Pergola. You can also use low-profile mounts behind Hedges to keep the hardware out of the primary line of sight.
What is the best mulch for solar-irrigated beds?
Triple-Shredded Hardwood or Cedar Mulch is ideal. These materials stay in place during irrigation cycles and provide a consistent barrier against moisture evaporation, which optimizes the battery life of your solar-powered water pump system.
Can I run a fountain and irrigation on one solar kit?
Yes, provided the Wattage of the panel exceeds the combined draw of the pumps. Use a Splitter Valve and a high-capacity Deep Cycle Battery to ensure both systems function during overcast days or nighttime hours.
How often should I clean my solar garden sensors?
Inspect sensors every 3 months. Wipe the moisture probes with a damp cloth to remove mineral buildup. Clean the light-sensing apertures to ensure the system accurately triggers your outdoor lighting and irrigation schedules based on real-time conditions.
What happens to my solar garden in a drought?
The system’s Moisture Sensors will detect low soil water content and prioritize delivery to high-value plants. Because solar energy is abundant during droughts, your pumps will have maximum power to draw from any stored rainwater or greywater sources.