
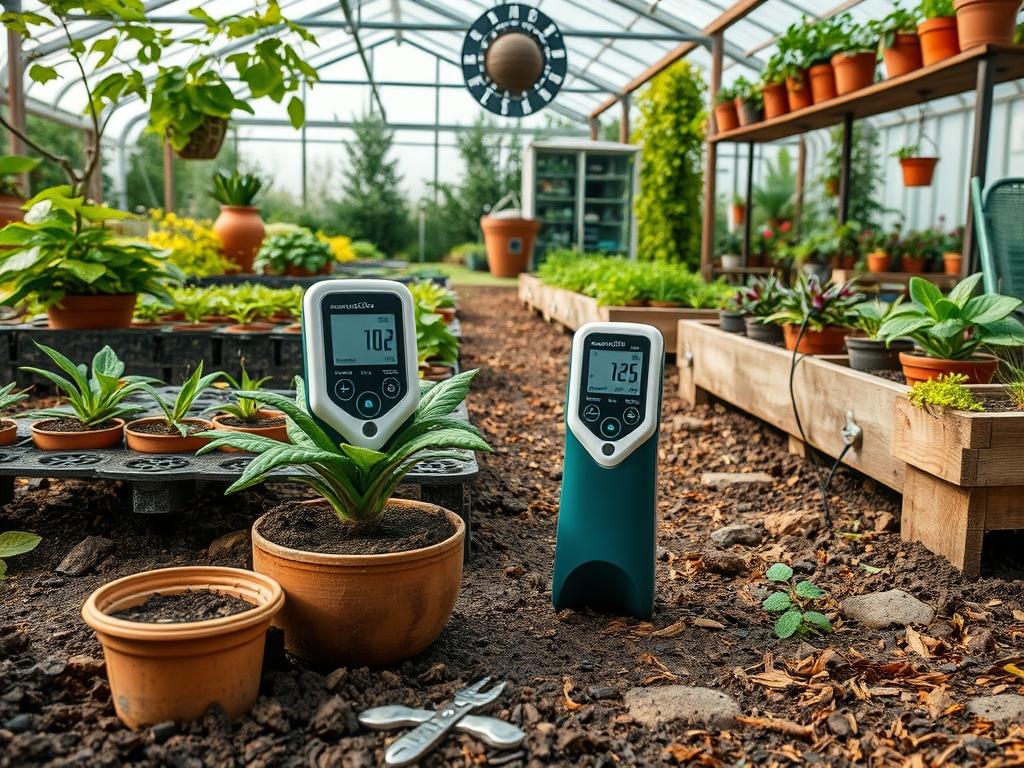
Achieving a pristine landscape requires more than just aesthetic intuition; it demands an analytical approach to the invisible variables beneath the soil surface. Homeowners often struggle with the delicate balance between hydration and drainage, leading to expensive plant losses and diminished curb appeal. Modern outdoor environments are subject to erratic climate shifts that render traditional, timer-based irrigation systems obsolete. To maintain a functional and flourishing garden, landscape architects now rely on precision data provided by Smart Garden Moisture Meters. These devices bridge the gap between human observation and biological necessity, ensuring that every Quercus alba or delicate Hydrangea receives exactly what it needs to thrive. By integrating these sensors into a comprehensive landscape plan, you move beyond guesswork and into a realm of data driven horticultural success.
Landscape Design Principles
Effective landscape design functions through a marriage of visual symmetry and functional engineering. When planning a site, I first look at focal points and how they behave in relation to elevation layers. A high point in your yard will naturally shed water faster than a low-lying basin. This creates disparate microclimates within a single property. To address this, we use the principle of hydrozoning, which involves grouping plants with similar hydration requirements together. Smart Garden Moisture Meters are indispensable in this phase. By placing sensors in different zones, you can identify precisely where the soil retains moisture and where it suffers from rapid evaporation.
Symmetry is often disrupted when one side of a gated entrance receives more sun or wind than the other, causing uneven growth. By monitoring these variances with moisture sensors, you can calibrate your irrigation to ensure visual balance. Walkways should also be designed with drainage in mind. When hardscaping intersects with softscaping, the soil at the edge of pavers or flagstone often becomes compacted or overly saturated. Placing sensors near these transitions allows you to manage the moisture levels and prevent the “edge effect” where plants near concrete structures struggle due to heat radiation or water runoff.
Plant and Material Selection
The following table outlines common selections for a professional landscape and how their specific needs interact with intelligent monitoring systems.
| Plant Type | Sun Exposure | Soil Needs | Water Demand | Growth Speed | Maintenance Level |
| :— | :— | :— | :— | :— | :— |
| Buxus sempervirens | Full Sun to Shade | Well-drained | Moderate | Slow | Medium |
| Echinacea purpurea | Full Sun | Rocky/Lean | Low | Fast | Low |
| Hydrangea macrophylla| Partial Shade | Rich/Moist | High | Medium | High |
| Lavandula angustifolia| Full Sun | Sandy/Alkaline | Very Low | Medium | Medium |
| Acer palmatum | Dappled Shade | Loamy/Acidic | Moderate | Slow | High |
| Miscanthus sinensis | Full Sun | Most Types | Moderate | Fast | Low |
Implementation Strategy
The transition from a design on paper to a tangible garden requires a strict sequence of operations. First, address the grading of the site. A professional grade should slope away from permanent structures at a minimum of two percent. Once the land is shaped, identify the primary moisture zones. I recommend installing Smart Garden Moisture Meters at varying depths, typically 4 inches for turf and annuals and 8 to 12 inches for shrubs and trees. This allows you to monitor the root zone where the plant actually absorbs nutrients.
Next, focus on edging and mulch. Use steel or heavy duty plastic edging to create clean lines and prevent grass from encroaching on your ornamental beds. When applying mulch, maintain a depth of 2 to 3 inches. Avoid the common mistake of “volcano mulching” around tree trunks, as this traps moisture against the bark and invites rot. The sensors should be placed under the mulch layer to gather data on how well the organic material is retaining subterranean humidity. For hardscaping elements like retaining walls, ensure there is a layer of crushed stone and a perforated drain pipe behind the wall to prevent hydrostatic pressure from causing a structural failure.
Common Landscaping Failures
The most frequent failure I encounter in high end landscapes is improper drainage. Even the most expensive Smart Garden Moisture Meters cannot save a plant sitting in standing water if the soil lacks pore space. Soil compaction is a silent killer; it occurs when heavy machinery or foot traffic squeezes the air out of the soil, preventing water infiltration. If your sensors consistently read “saturated” even days after rain, you likely have a compaction or clay lens issue.
Another significant failure is improper spacing. It is tempting to plant for immediate impact, but overcrowding leads to root competition and poor air circulation. This creates a humid microclimate that encourages fungal pathogens. Irrigation inefficiency is the third pillar of failure. Many systems are set to run for 20 minutes every morning regardless of weather. This leads to “shallow rooting,” where plants only develop roots near the surface because that is where the water resides. Using sensor data to trigger deep, infrequent watering cycles encourages roots to dive deeper, making the landscape more resilient to drought.
Seasonal Maintenance
Landscape management is a year round commitment that shifts with the solar cycle. In the Spring, your primary goal is to wake the garden up and check the integrity of your technology. Calibrate your Smart Garden Moisture Meters and replace any batteries. This is the time to apply a slow release fertilizer based on the moisture levels; nutrients move more efficiently through damp soil.
When Summer arrives, the focus shifts to stress management. Evapotranspiration rates are at their peak, and your sensors will likely show rapid dips in soil moisture. Adjust your irrigation to water in the early morning hours, around 4:00 AM, to minimize evaporation. In the Autumn, gradually reduce water frequency as plants enter dormancy. This is the best time for planting new trees, as the soil is warm but the air is cool. Finally, in the Winter, protect your equipment. If you live in a region with hard freezes, some sensors may need to be removed or insulated. Monitor the soil even in winter; “winter burn” on evergreens is often caused by desiccation when the ground is frozen and the plant cannot draw water to replace what is lost to the wind.
Professional Landscaping FAQ
How often should I check the data from my moisture meters?
Review your data twice weekly during the growing season. This allows you to spot trends, such as a localized dry spot, before the plants show physical signs of wilt or leaf scorch.
Can these sensors work in heavy clay soil?
Yes, but they require proper calibration. Clay retains moisture longer than sand, so your “refill” threshold will be different. Ensure the sensor has good contact with the soil to avoid false air pocket readings.
What is the ideal placement for a sensor near a large tree?
Place the sensor near the “drip line,” which is the outermost circumference of the tree canopy. This is where the most active feeder roots are located and where moisture uptake is most frequent.
Do I need a sensor for every single plant?
No, that is unnecessary. Instead, place one sensor in each distinct hydrozone. For example, one sensor for your turf area, one for your perennial border, and one for your shaded shrubbery is usually sufficient.
Will moisture meters help reduce my water bill?
Absolutely. By watering only when the soil reaches a specific depletion point, most users see a reduction in water waste by thirty to fifty percent. It prevents unnecessary cycles during rainy weeks or high humidity days.