
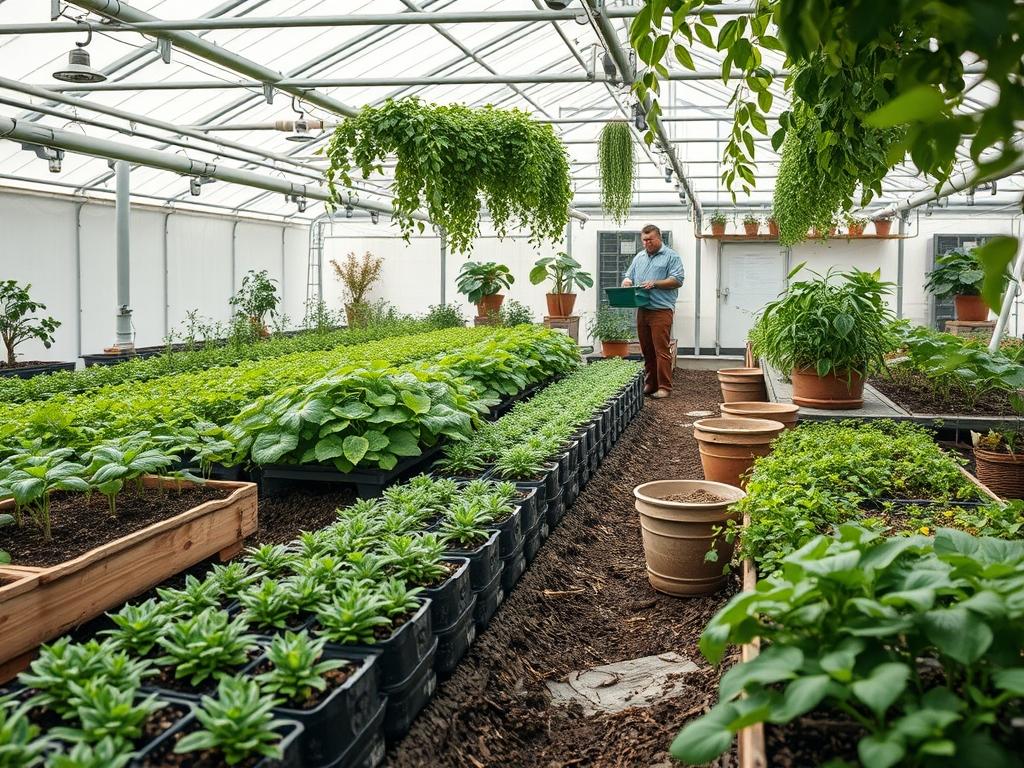
Integrating a sophisticated controlled environment into a residential or commercial landscape requires more than just a glass structure and a few benches. It demands a holistic approach to site morphology, where the transition between the natural terrain and the artificial microclimate is seamless. Modern property owners increasingly view the greenhouse as a luminous jewel in the garden, functioning both as a production hub and a visual focal point that enhances curb appeal. The challenge lies in harmonizing the technical requirements of automated greenhouse lighting with the aesthetic flow of the surrounding grounds. This involves careful consideration of light pollution, power infrastructure, and how the external glow affects the nocturnal atmosphere of the backyard. By treating the greenhouse as an extension of the outdoor living space, architects can design systems that respond to changing seasons while maintaining a high level of functional elegance.
Landscape Design Principles
When planning for automated greenhouse lighting, the primary landscape principle to observe is visual balance. A greenhouse that is overly bright can dominate a yard, washing out the delicate shadows of adjacent specimen trees or water features. To avoid this, architects utilize the concept of focal points by positioning the structure at the terminus of a primary axis, such as a formal flagstone walkway. This placement ensures the greenhouse serves as a destination rather than an after-thought.
Symmetry plays a vital role in formal garden layouts, especially when integrating structural elements. If a greenhouse is situated on one side of a central lawn, it should be balanced by a similarly scaled feature, such as a pergola or a dense grouping of evergreen shrubs. Elevation layers are equally important. By varying the height of the surrounding plantings, practitioners can soften the hard lines of the glass and metal. Low-growing groundcovers should transition into mid-sized perennials, creating a tiered effect that leads the eye toward the structure.
Lighting control within the greenhouse must be synchronized with the broader irrigation planning of the garden. High-intensity LED arrays generate specific heat signatures that can accelerate evaporation rates. Therefore, the architectural layout must account for the proximity of water lines and the placement of hose bibs or automated drip systems. Strategic walkways should provide a minimum of 36 inches of clearance, allowing for easy access to technical panels and light sensors without trampling sensitive root zones in the surrounding beds.
Plant and Material Selection
Selecting the right plant palette for both the interior of the greenhouse and the immediate exterior perimeter is essential for a cohesive look. Inside, the focus is on light-loving species that thrive under specific Daily Light Integral (DLI) targets. Outside, the goal is to choose materials that complement the structure and can withstand the localized heat or light reflected from the glass panels.
| Plant Type | Sun Exposure | Soil Needs | Water Demand | Growth Speed | Maintenance Level |
| :— | :— | :— | :— | :— | :— |
| Lycopersicon esculentum (Tomato) | Full Sun | Rich, well-draining | High | Fast | High |
| Buxus microphylla (Boxwood) | Full to Part Sun | Loamy, pH neutral | Moderate | Slow | Low |
| Lavandula angustifolia (Lavender) | Full Sun | Sandy, alkaline | Low | Moderate | Moderate |
| Hydrangea macrophylla | Part Shade | Rich, moist | High | Moderate | Moderate |
| Liriope muscari | Sun or Shade | Adaptable | Moderate | Fast | Low |
| Juniperus virginiana | Full Sun | Poor to average | Low | Fast | Low |
For hardscaping materials, professionals often recommend natural stone or permeable pavers for the greenhouse foundation. These materials provide a stable base for heavy growing benches and allow for efficient drainage of excess irrigation water. Using dark-colored mulch or river rock around the exterior perimeter can help absorb excess light spill, preventing the greenhouse from appearing too garish in a quiet garden setting.
Implementation Strategy
The successful deployment of automated greenhouse lighting begins with comprehensive site preparation. Grading is the first and most critical step. The site must be leveled to ensure that the structure sits flush, preventing stress on the glass frames and ensuring that high-voltage electrical conduits for the lighting system remain buried at a safe and consistent depth. A slight slope of one to two percent away from the foundation is ideal to handle heavy rainfall and prevent pooling.
Once the site is graded, developers should focus on the foundation and edging. Installing a concrete footer or a compacted gravel interior provides the necessary support for automated lighting gantry systems. During this stage, it is wise to run dedicated electrical lines specifically for the lighting controllers. These lines should be separated from the pump circuits to avoid electrical interference.
Step three involves the installation of the lighting units themselves. Mount full-spectrum LED fixtures at least 12 inches below the roofline to prevent heat buildup against the glazing. Integrating photosensors at various heights allows the automation system to adjust brightness based on real-time solar input; this is the core of effective automated greenhouse lighting. Finally, apply a 3-inch layer of hardwood mulch around the exterior to protect the foundation and provide a finished look. Adding steel edging between the mulch beds and turf areas keeps the lines crisp and professional.
Common Landscaping Failures
One of the most frequent mistakes in greenhouse integration is poor drainage planning at the foundation. If water collects at the base of the structure, it can cause the soil to heave, eventually cracking the glass or damaging the sensitive electronics used for lighting control. Another common error is root overcrowding. Planting large, fast-growing trees too close to the greenhouse may provide shade in the summer, but their roots can quickly invade the utility trenches, disrupting power for the automated systems.
Improper spacing is another hallmark of an amateur installation. If the lighting is too dense or placed too close to the foliage, “hot spots” can occur, leading to leaf scorch and uneven growth. Conversely, placing lights too far apart creates dark voids that decrease total yield. Soil compaction is a hidden danger during the construction phase. Heavy machinery used to install the greenhouse can crush the soil structure, leading to poor drainage and stunted growth for any perimeter plantings. Finally, many designers fail to account for irrigation inefficiencies. Over-spraying from lawn rotary heads can leave mineral deposits on the greenhouse glass, which significantly reduces the efficiency of both natural and automated lighting.
Seasonal Maintenance
Landscape management requires a calendar-based approach to remain effective. In the spring, the focus should be on cleaning the greenhouse glazing to maximize light penetration. This is also the time to test all sensors and recalibrate the automated greenhouse lighting timers to account for the increasing day length. Inspect the irrigation manifold for leaks and refresh the mulch in the surrounding beds.
Summer demands a focus on heat management. Automated systems should be programmed to dim or shut off during the peak of the day if solar radiation is sufficient. Check the exterior retaining walls for any signs of movement due to heat expansion. In autumn, clear fallen leaves from the gutters and the base of the structure to prevent rot and drainage blockages. This is the optimal time to prune any overhanging branches that might interfere with the lighting sensors.
Winter is the most critical season for automated lighting relyability. As natural light levels drop, the artificial system must compensate fully. Monitor the system for “ghosting” or flickering caused by cold-weather electrical strain. Ensure that the pathways leading to the greenhouse are kept clear of snow and ice using pet-safe de-icing salts, which are less corrosive to the metal frames and neighboring plant tissues.
Professional Landscaping FAQ
How does lighting affect greenhouse energy costs?
Automated greenhouse lighting significantly reduces waste by using sensors to dim lamps when sunlight is sufficient. While the initial investment in LED fixtures is higher, the long-term energy savings and improved plant health provide a quick return on investment.
Can I install lighting myself?
While simple plug-in lights are DIY-friendly, professional automated systems require a licensed electrician. Managing high-voltage lines in wet environments is dangerous. A landscape architect ensures that all wiring is safely integrated into the overall garden design.
What is the best light spectrum for growth?
Most professionals recommend full-spectrum LEDs that mimic natural sunlight. These fixtures provide blue light for vegetative growth and red light for flowering. Automated controllers can shift the ratio depending on the specific needs of the crop during its life cycle.
Does automated lighting disturb the neighbors?
Light pollution is a valid concern. To mitigate this, use blackout curtains or shields that direct light downward. Many automation systems include a “curfew” mode that dims the lights during late-night hours to comply with local ordinances and respect neighbors.
How often should I update my lighting software?
Check for software or firmware updates every six months. Manufacturers often release patches that improve sensor accuracy or energy efficiency. Regular updates ensure your automated greenhouse lighting system remains compatible with modern smart-home or garden-management platforms.