
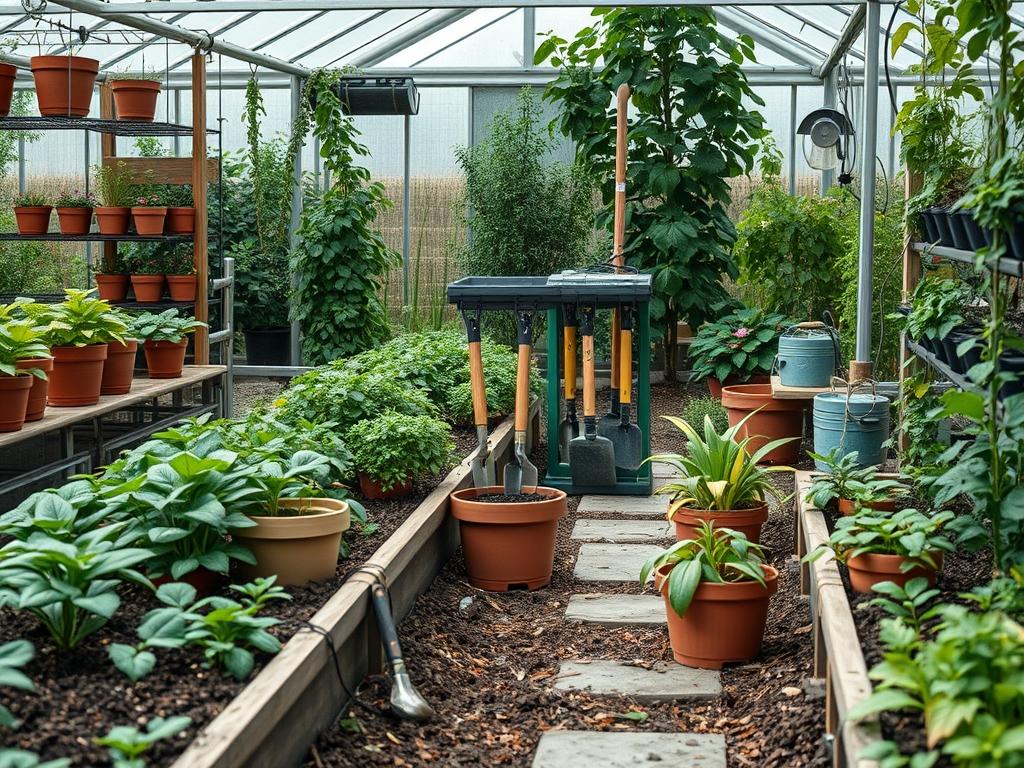
The modern garden has evolved into a sophisticated extension of the home, where technology and nature intersect with increasing frequency. As we integrate robotic lawnmowers, battery-powered blowers, and Wi-Fi enabled irrigation hubs into our outdoor spaces, the traditional, dusty potting shed no longer suffices. Effective landscape design now requires a dedicated focus on smart garden tool storage, ensuring that high-value electronics remain protected from the elements while maintaining the aesthetic integrity of the site. This challenge goes beyond mere organization. It involves site-specific climate considerations, strategic placement for signal strength, and a commitment to curb appeal that hides utility behind a veil of horticultural beauty. A well-planned storage solutions must provide a dry, temperature-stable environment for lithium-ion batteries while remaining accessible for daily maintenance. When a landscape architect approaches this problem, the goal is to create a seamless transition between the hardscaping and the functional zones. We look for ways to tuck these high-tech hubs into the natural topography, using retaining walls, specialized plantings, and clever grading to minimize their visual footprint. By addressing these needs during the initial design phase, a homeowner avoids the cluttered look of aftermarket plastic bins that detract from the property value.
Landscape Design Principles
Integrating smart storage into a master plan requires a deep understanding of symmetry and visual balance. The storage unit should never be a lonely island in the middle of a lawn. Instead, it should be anchored by focal points like a vertical garden or a decorative screen. We often use the principle of elevation layers to hide charging stations. For example, a recessed storage nook built into a stone retaining wall allows the technology to sit below the primary sightline of the patio. This maintains a clean horizon while providing easy access to autonomous mowers that need a flat, unobstructed path to their docking stations.
Walkways play a critical role in the functionality of smart storage. A path of natural flagstone or decomposed granite should lead directly to the storage hub, ensuring that heavy equipment can be moved without compacting the surrounding soil. This is where irrigation planning becomes vital too. You must ensure that high-tech cabinets are not within the direct spray radius of rotary nozzles. We utilize professional-grade drip irrigation in the beds surrounding storage areas to keep the moisture at the root zone and away from sensitive electronic enclosures. By creating these distinct zones, we achieve a balance between the organic needs of the plants and the technical requirements of the tools.
Plant and Material Selection
The following recommendations focus on species that provide structural screening and materials that withstand the thermal cycles common near electronic storage hubs.
| Plant Type | Sun Exposure | Soil Needs | Water Demand | Growth Speed | Maintenance Level |
| :— | :— | :— | :— | :— | :— |
| Boxwood (Buxus) | Full Sun to Shade | Well-Drained | Moderate | Slow | Medium (Requires Pruning) |
| Switchgrass (Panicum) | Full Sun | Adaptable | Low | Fast | Low (Cut back once yearly) |
| Emerald Green Arborvitae | Full Sun | Loamy/Moist | Moderate | Medium | Low (Screening Expert) |
| Dwarf Fountain Grass | Full Sun | Well-Drained | Low | Moderate | Low (Great for Edging) |
| Japanese Yew | Partial Shade | Acidic/Rich | Moderate | Slow | Medium (Deer Resistant) |
| English Ivy | Shade | Moist | Moderate | Fast | High (Needs Containment) |
Implementation Strategy
The successful installation of a smart tool storage zone begins with proper grading. The site must be leveled with a 2 percent slope away from the structure to prevent water from pooling near electrical components. Once the site is leveled, we lay down a geotextile fabric to prevent weed growth and soil migration. This is topped with a 4-inch base of compacted 3/4-inch crushed stone. This base provides a stable, well-draining platform for the storage cabinet and helps dissipate heat during the summer months.
Next, we establish the hardscaping footprint. Using steel edging or paver restraints, we define the boundary between the storage area and the garden beds. Within the beds, a 3-inch layer of double-shredded hardwood mulch is applied to regulate soil temperature and retain moisture for the screening plants. If the storage unit requires power for charging stations, the electrical conduits should be buried at least 18 inches deep and marked with warning tape before backfilling. Finally, we install the irrigation system, carefully mapping the emitters to avoid any potential splashback onto the cabinet doors or vents. This systematic approach ensures that the environment is as engineered as the tools it houses.
Common Landscaping Failures
The most frequent mistake in garden planning is the neglect of proper drainage. When water is allowed to collect around the base of a storage unit, it leads to increased humidity which can corrode battery terminals and damage internal circuits. Another common failure is root overcrowding. Homeowners often plant fast-growing shrubs too close to the storage foundation. Within three years, the aggressive root systems can heave the slab or interfere with underground wiring conduits. Proper spacing based on the mature width of the plant is essential.
Soil compaction is another silent killer of both plants and infrastructure. Constant foot traffic in a localized area around a tool chest will compress the pore spaces in the soil, preventing air and water from reaching plant roots. We mitigate this by using permeable pavers or stepped stones to distribute weight. Furthermore, many people fail to account for the heat output of charging stations. Placing a storage unit in a dead-air zone with no ventilation or shade can cause temperatures to soar, significantly shortening the lifespan of lithium-ion cells. Proper orientation and the use of deciduous trees for summer shade can solve this problem.
Seasonal Maintenance
Seasonal care ensures that both the landscape and the smart tools remain in peak condition. In the Spring, the focus is on clearing the drainage channels. We remove accumulated leaf litter from the base of the storage units and check for any signs of pest intrusion. Rodents are attracted to the warmth of charging stations, so sealing gaps with stainless steel wool is a priority during this time. We also apply a fresh layer of mulch to keep the root zones of the screening plants cool as the temperature rises.
During the Summer, the primary task is irrigation management. We check the smart controllers to ensure they are adjusting for heat waves and verify that no spray heads have become misaligned. In the Autumn, we prepare for the dormant season by pruning any overhanging branches that may drop debris on the storage roof. This is also the time to apply a pre-emergent herbicide to the gravel base to keep it clean throughout the winter. When Winter arrives, the priority shifts to battery health. We recommend moving sensitive electronics to a climate-controlled area or ensuring the storage unit’s internal heater is functioning. Snow should be cleared away from the vents and doors immediately to prevent moisture buildup from the freeze-thaw cycle.
Professional Landscaping FAQ
How do I choose the best location for smart tool storage?
Select a high-ground area with easy access to a power source. Ensure the site has strong Wi-Fi coverage and is screened from street view by native shrubs or fencing while remaining accessible for tool deployment.
What is the best way to prevent humidity inside my garden storage?
Install a storage unit with built-in ventilation and place it on a raised gravel bed. Use a vapor barrier beneath the structure and keep the surrounding foliage pruned to allow for consistent airflow around the exterior walls.
Do I need a concrete slab for my garden tool cabinet?
While concrete is durable, a compacted gravel base or heavy-duty pavers often provide better drainage. For larger, permanent structures housing heavy equipment, a 4-inch reinforced concrete slab is the professional standard for long-term stability.
Can I hide my robotic mower garage with plants?
Yes, but you must maintain a clear path for its sensors. Use low-growing perennials or ornamental grasses on the sides, but keep the entrance clear of trailing vines or mulch that could trigger the mower’s obstacle sensors.
How do I protect underground power lines from garden tools?
Always bury electrical conduits at a minimum depth of 18 inches and use Schedule 40 PVC. Place a metallic detection tape 6 inches above the conduit so that future digging projects can identify the line before making contact.