
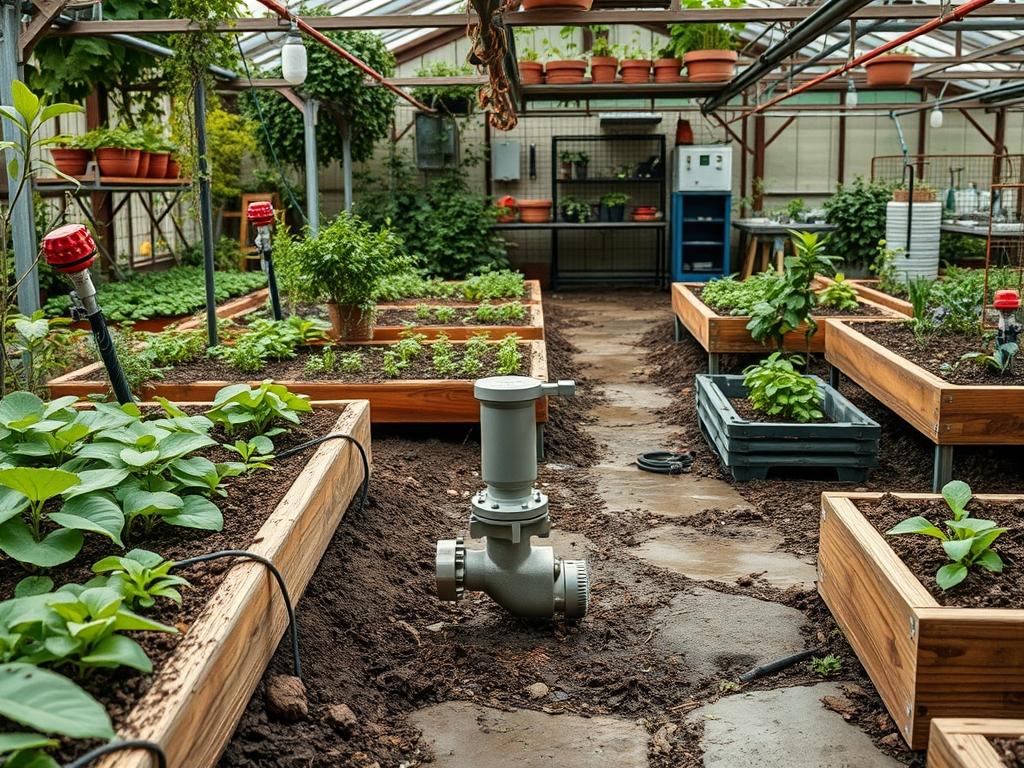
Modern homeowners balance aesthetic desires with the harsh reality of time constraints and variable weather patterns. Landscapes are living organisms that require precise hydration to maintain high curb appeal and structural integrity. The introduction of Automated Garden Valve Kits has bridged the gap between professional grade irrigation and the weekend enthusiast, allowing for granular control over microclimates within a single property. Proper integration of these systems ensures that specific garden zones, from high elevation planter boxes to low lying drainage basins, receive exactly what they need without manual intervention. This technical approach to flora management reduces water waste, prevents plant stress, and protects the financial investment of a well designed outdoor environment.
Landscape Design Principles
A successful landscape begins with a master plan that respects the natural topography and architecture of the home. Symmetry provides a sense of formality and order, often achieved by mirroring plant groupings or hardscape elements along a central axis like a walkway or entryway. However, visual balance does not always require identical sides; asymmetrical balance can be reached through the strategic placement of varying weights, such as a large Specimen Tree counterbalancing a cluster of smaller Evergreen Shrubs.
Modern irrigation planning relies on the concept of hydrozoning. This involves grouping plants with similar water requirements into distinct areas controlled by individual valves within your Automated Garden Valve Kits. By categorizing the yard into high, medium, and low water zones, you prevent the overwatering of drought tolerant species while ensuring thirsty perennials thrive. Elevation layers also play a critical role. Taller plants should be positioned toward the rear of a bed or against a structure to create a backdrop, while lower groundcovers and mid-tone flowers occupy the foreground. This layering creates depth and mimics natural ecological structures, making the garden feel more established and immersive.
Plant and Material Selection
Selecting the right biological components is as vital as the hardware that supports them. The following table outlines diverse options for contemporary landscapes designed around automated systems.
| Plant Type | Sun Exposure | Soil Needs | Water Demand | Growth Speed | Maintenance |
| :— | :— | :— | :— | :— | :— |
| English Lavender | Full Sun | Well Drained | Low | Moderate | Prune Annually |
| Japanese Maple | Partial Shade | Loamy, Acidic | Moderate | Slow | Low |
| Dwarf Boxwood | Full to Part Sun | Rich, Moist | Moderate | Slow | High Trimming |
| Blue Fescue | Full Sun | Sandy, Dry | Low | Fast | Divide Every 3 Years |
| Hosta | Deep Shade | Humus Rich | High | Moderate | Remove Dead Leaves |
| Creeping Thyme | Full Sun | Rocky, Poor | Low | Fast | Minimal |
When choosing materials for hardscaping, consider the porosity of the stone. Permeable Pavers allow water to infiltrate the ground naturally, reducing runoff and relieving pressure on your drainage system. For mulch, Double Shredded Cedar or Bark Mulch provides excellent moisture retention and temperature regulation for roots, which complements the efficiency of an automated valve system.
Implementation Strategy
The transition from a blueprint to a finished garden requires a logical sequence of operations. Begin with professional grading. Use a Transit Level or Laser Level to ensure the ground slopes away from the home foundation at a rate of at least two percent. This prevents hydrostatic pressure from damaging basement walls. Once the grade is established, map out your underground infrastructure. This is where the Automated Garden Valve Kits are installed. Dig a trench at least twelve inches deep to protect the Schedule 40 PVC Pipe or Polyethylene Tubing from frost and surface impact.
The manifold, which is the heart of the valve kit, should be housed in a Rectangular Valve Box with a gravel base for drainage. Connect the solenoids to a Smart Irrigation Controller using 18-Gauge Direct Burial Wire. After testing the valves for leaks, install your edging. Steel Edging or Paver Restraints provide clean lines and prevent turfgrass from encroaching into flower beds. Lay down a two inch layer of Textile Weed Barrier in non-planting zones, then finish with three inches of organic mulch. Ensure the mulch is pulled back four inches from the trunks of trees to prevent rot.
Common Landscaping Failures
Many DIY projects suffer from a lack of foresight regarding root expansion and soil physics. Root overcrowding is a frequent mistake; planting a Leyland Cypress too close to a fence or foundation leads to structural damage and nutrient competition. Always research the mature spread of a plant before digging. Soil compaction is another silent killer. Heavy foot traffic or construction equipment can crush soil pores, preventing oxygen and water from reaching the root zone. If the soil is compacted, use a Core Aerator to restore porosity before planting.
Irrigation inefficiencies often stem from poor pressure management. If your Automated Garden Valve Kits are pushing water at a pressure higher than thirty PSI without a Pressure Regulator, you will experience “misting” where water evaporates before hitting the ground. Conversely, inadequate drainage leads to “wet feet” and root rot. If you notice standing water for more than 24 hours after a rainfall, you may need to install a French Drain or a Dry Well to redirect excess moisture away from sensitive plant varieties.
Seasonal Maintenance
Maintaining a professional landscape is a year round commitment that changes with the sun’s angle and temperature.
- Spring: This is the season for activation. Flush your irrigation lines to remove debris that may have settled during winter. Inspect every nozzle and emitter for clogs. Apply a Pre-emergent Herbicide to prevent weed seeds from germinating and add a fresh layer of mulch to replenish what decomposed over the winter.
- Summer: During peak heat, adjust your Automated Garden Valve Kits to run in the early morning, ideally between 4:00 AM and 8:00 AM. This minimizes evaporation and allows foliage to dry during the day, which discourages fungal growth. Monitor for pests like Aphids or Spider Mites that thrive in dry heat.
- Autumn: Focus on soil health. Apply a layer of Compost or Organic Fertilizer to feed the soil biology before dormancy. This is also the best time to plant new trees and shrubs, as the cooler air and warm soil encourage rapid root development without the stress of summer heat.
- Winter: Protecting your hardware is the priority. Use a Compressor to blow out all water from the irrigation lines if you live in a freezing climate. Disconnect the controller or switch it to rain delay mode. Wrap sensitive species like Topiary Boxwoods in Burlap to prevent windburn and heavy snow damage.
Professional Landscaping FAQ
What is the benefit of a manifold system?
A manifold centralizes all valves in one location. This makes troubleshooting, repairs, and winterization significantly easier than having valves scattered across the property. It also simplifies the electrical wiring back to the main controller.
How many valves do I actually need?
The number of valves depends on your available water pressure and the diversity of your plants. Each distinct hydrozone or area with different sun exposure should have its own valve for maximum water efficiency.
Can I mix drip lines and spray heads?
It is generally discouraged to mix different types of emitters on a single valve. Drip lines and spray heads operate at different pressures and durations; mixing them leads to some areas being drowned while others remain dry.
Should I use a rain sensor with my kit?
Yes, a rain sensor is a vital upgrade for any automated system. It detects precipitation and signals the controller to skip scheduled cycles, saving water and preventing soil saturation during heavy storms.
Is PVC better than poly tubing for DIY?
PVC is more durable and handles higher pressure, making it ideal for the main supply lines. Poly tubing is more flexible and easier to install for individual garden beds where lower pressure is used.