
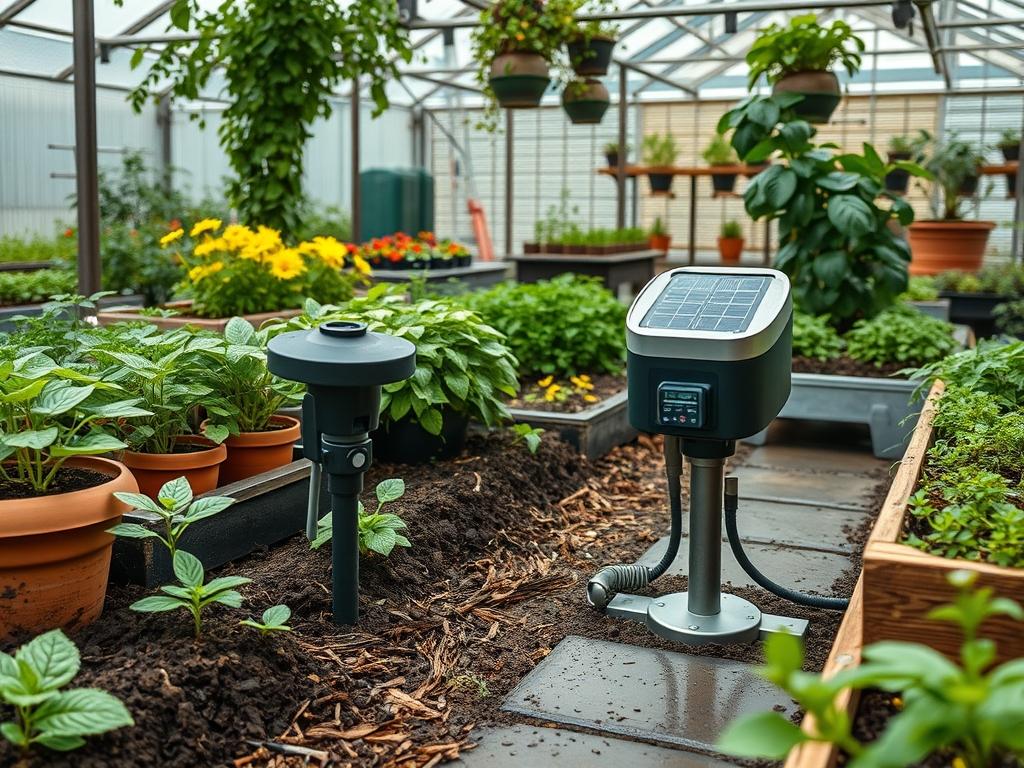
Outdoor environments undergo a dramatic transformation when the sun sets, shifting from vibrant canvases of texture and color to shadowed spaces that require careful navigation. For a landscape architect, the challenge lies in balancing aesthetic appeal with the rigorous demands of safety and functionality. Solar Powered Deck Sensors have emerged as a pivotal tool in this transition, offering a wireless, energy efficient solution that integrates into the architectural fabric of a home. When we design outdoor living areas, we consider the climate, the durability of materials, and the way light interacts with various elevations. A deck is more than a wooden or composite platform; it is a transitional zone between the controlled interior of the home and the organic unpredictability of the garden. By utilizing motion-activated sensors, we can define the edges of this zone, providing clear visual cues for residents and guests while maintaining a sophisticated atmosphere. Proper lighting ensures that curb appeal extends into the evening hours, highlighting the structural integrity of the build and the curated beauty of the surrounding greenery.
Landscape Design Principles
Effective landscape design relies on a structured hierarchy of elements that guide the eye and the body through space. Symmetry plays a major role in formal designs, where Solar Powered Deck Sensors are often placed in equidistant intervals along Stair Treads or Handrails. This repetition creates a sense of order and predictability, which is psychologically comforting to those moving through the space at night. However, in more naturalistic or asymmetrical designs, we focus on focal points. A focal point might be a Stone Fire Pit, a specimen tree, or a dramatic change in elevation. Placing sensors near these transitions ensures that the light draws attention to the structural changes, preventing trips and falls.
Elevation layers are perhaps the most critical consideration when integrating sensors. A multi-level deck requires specific lighting at every change in height. We often use a “layering” technique where low-voltage or solar lights are placed at the ground level, mid-deck, and overhead on structures like a Pergola. This prevents the “cave effect” where only the floor is illuminated. Visual balance is achieved by ensuring that no single area is over-illuminated while others remain in total darkness. Irrigation planning must also be synchronized with sensor placement. Even though solar sensors are generally weather-resistant, they should not be placed in the direct path of high-pressure Rotary Sprinklers. Moisture ingress can lead to corrosion of the internal circuitry over several seasons, so we plan the sensor locations alongside the Hydraulic Layout of the garden.
Plant and Material Selection
The following table outlines plants and materials that complement a deck environment where solar technology is utilized. We choose these based on their ability to frame the deck without obstructing the sunlight required to charge the sensors.
| Plant Type | Sun Exposure | Soil Needs | Water Demand | Growth Speed | Maintenance Level |
| :— | :— | :— | :— | :— | :— |
| Boxwood (Buxus) | Full Sun to Shade | Well-Drained | Moderate | Slow | Low to Medium |
| Lavender (Lavandula) | Full Sun | Sandy/Rocky | Low | Moderate | Low |
| Creeping Thyme | Full Sun | Poor to Average | Low | Fast | Low |
| Ornamental Grass | Full Sun | Adaptable | Low | Fast | Annual Pruning |
| Japanese Maple | Partial Shade | Acidic/Loom | Moderate | Slow | Medium |
| River Rock | N/A (Hardscape) | N/A | None | N/A | Very Low |
| Cedar Mulch | N/A (Organic) | N/A | None | N/A | Yearly Refresh |
Selecting the right plant life near your deck is essential for the functionality of Solar Powered Deck Sensors. If you choose high-growth shrubs like Privet, they may quickly overcast the solar panels, rendering the sensors useless by mid-summer. We recommend low-profile groundcovers or slow-growing evergreens that maintain a consistent height. This ensures the Photovoltaic Cells on the sensors receive at least six to eight hours of direct sunlight daily.
Implementation Strategy
Implementing a lighting and sensor plan requires a step-by-step approach that starts with the subgrade and ends with the final aesthetic touches. First, address the Grading of the area surrounding the deck. Water must flow away from the deck footings to prevent wood rot and soil instability. Once the grade is established, we implement Drainage solutions such as French Drains or Gravel Pits beneath the deck surface. This reduces humidity levels, which can extend the life of electronic deck components.
When placing the sensors, begin at the most hazardous areas. Stair Headers and Landings are the priority. Use a Power Drill with a 1/8-inch bit for pilot holes to prevent splitting the deck boards, especially if using Ipe or other dense hardwoods. Sensors should be spaced roughly 3 to 5 feet apart depending on the Lumen Output of the specific model. For pathways leading away from the deck, use Edging materials like Steel Header Flats or Paver Restraints to define the walkway. Apply a Mulch Depth of 3 inches to the surrounding garden beds; this suppresses weeds that might otherwise grow tall enough to shadow your solar sensors. Finally, ensure that any Hardscaping, such as stone retaining walls, is capped properly so that sensors can be mounted on a flat, stable surface.
Common Landscaping Failures
The most common failure we see in professional consulting is improper drainage. When water pools near the base of a deck, it creates a microclimate of high humidity that causes the battery seals in solar sensors to fail prematurely. Additionally, soil compaction near the deck footings can lead to shifting structures. If the deck moves even a fraction of an inch, the alignment of motion sensors may be thrown off, resulting in “dead zones” where the light does not trigger when a person approaches.
Another frequent mistake is root overcrowding. Homeowners often plant large trees too close to the deck to provide shade. Over time, the Root Flare can lift deck piers and the canopy can completely block the solar path. Improper spacing of the sensors themselves is also a concern. If sensors are placed too close together, their light output can “trick” the neighboring sensor into thinking it is still daytime, preventing it from activating. Finally, using the wrong type of Mulch can lead to issues. Fine-textured mulches can wash away during heavy rains and cover low-mounted sensors, while light-colored stones can cause glare that interferes with the infrared technology used in motion detection.
Seasonal Maintenance
Maintaining a landscape equipped with Solar Powered Deck Sensors requires a seasonal rhythm. During the spring, focus on cleaning. Pollen and dust accumulate on the sensor lenses, reducing their sensitivity and charging efficiency. Use a soft, damp cloth to wipe the Polycarbonate Covers. This is also the time to prune any “volunteer” weeds or fast-growing branches that have moved into the “solar window” of your devices.
In the summer, monitor the heat. High temperatures can cause the batteries in solar units to degrade. Ensure there is adequate airflow around the sensors. During the autumn, the primary task is leaf management. Falling leaves can quickly bury deck-mounted sensors or clog the Deck Joists, creating a fire hazard and blocking light. Sweep the deck regularly and check that the sensors are still securely fastened after the temperature fluctuations of the changing season. In winter, snow and ice are the main adversaries. If you live in a climate with heavy snowfall, manually clear the snow from the sensors after every storm. Cold weather naturally reduces battery capacity; if your sensors stop working in January, it is likely due to the shorter days and lower sun angle rather than a mechanical failure.
Professional Landscaping FAQ
Where is the most effective place to mount solar deck sensors?
Mount sensors on Stair Risers and near Deck Corners. These locations provide the highest safety ROI by illuminating changes in foot-level elevation and defining the perimeter of the structure for guests navigating in the dark.
Do solar sensors work in shaded backyard environments?
They require ambient light but perform best with direct sun. In heavily shaded areas, choose sensors with Remote Solar Panels that can be positioned in a sunnier spot via a connecting wire to ensure the batteries charge fully.
How do I prevent my sensors from being blocked by plants?
Utilize Dwarf Cultivars and maintain a strict pruning schedule. Keep a 12-inch “clear zone” around each sensor. Using Pre-emergent Herbicides in the surrounding soil can also prevent tall weeds from obstructing the photovoltaic cells.
Will heavy rain or irrigation systems damage the sensors?
Most professional-grade sensors have an IP65 Weatherproof Rating or higher. While they handle rain well, avoid submerging them or placing them in the direct path of high-pressure irrigation heads, which can force water past the rubber gaskets.
How often should I replace the batteries in my deck sensors?
Most Lithium-Ion or NiMH solar batteries last between two and three years. If you notice the light duration decreasing significantly even after a sunny day, it is time to open the housing and install fresh rechargeable cells.