
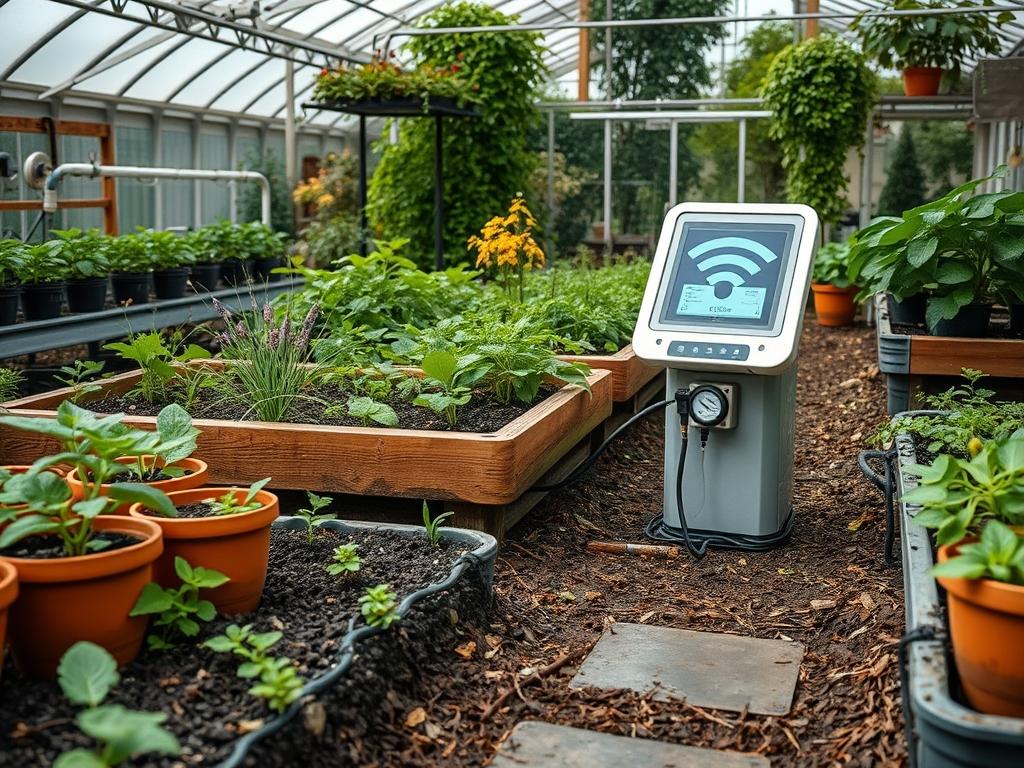
Modern outdoor spaces serve as more than just visual retreats; they have become functional extensions of the home office and digital entertainment suite. The primary challenge for a landscape architect is to integrate modern technology without compromising the organic rhythm of the environment. A Solar Powered Garden Wi-Fi hub provides a cable free solution for connectivity, but it requires a strategic approach to site orientation and botanical planning. If the hub is positioned purely for aesthetics, signal strength will likely suffer. Conversely, if it is placed solely for technical efficiency, it can become a jarring eyesore that breaks the visual flow of a curated garden. Success is found at the intersection of solar gain, radio frequency transparency, and traditional curb appeal.
Climate considerations play a massive role in hardware longevity and signal reliability. High humidity, heavy precipitation, and extreme temperature fluctuations dictate the choice of housing materials and the specific placement of the hub within the garden microclimate. By understanding the path of the sun throughout the year, a designer can ensure the Solar Panels receive at least 6 hours of direct sunlight, even during the shorter days of winter. This planning prevents the system from failing when it is needed most. Effectively blending these hubs into the landscape involves leveraging elevation and focal points, ensuring that the technology remains invisible while the connectivity remains robust.
Landscape Design Principles
Symmetry and visual balance are the cornerstones of a professional landscape. When integrating a Solar Powered Garden Wi-Fi system, the hub should be treated as a secondary focal point or hidden within an existing one. If your garden uses formal symmetry, place the hub housing inside a decorative Stone Pedestal or a custom Cedar Birdhouse that mirrors the dimensions of other features. This maintains the “rule of thirds” and prevents the eye from snagging on a piece of plastic hardware.
Elevation layers are critical for both signal propagation and aesthetics. Wi-Fi signals generally travel better when the transmitter is elevated above the densest part of the foliage. Incorporating the hub into a Retaining Wall or mounting it on a 10-foot Timber Post hidden behind mid-level shrubbery allows the signal to clear low-growth obstacles. You should also consider the “vertical garden” concept; using different heights of plantings to mask the mounting hardware while leaving a clear line of sight for the Solar Array.
Irrigation planning must be decoupled from tech placement. While your Drip Irrigation System targets the root zones of your Boxwoods, the hub location must remain a high and dry zone. Grading the site to ensure a 2 percent slope away from the base of the Wi-Fi mounting pole prevents water from pooling near sensitive electronics. Furthermore, walkways should be designed to provide easy access for maintenance without requiring you to trample delicate groundcovers. A simple path of Flagstone Pavers can lead to the hub, doubling as a design element that guides the visitor through the space.
Plant and Material Selection
The following table outlines plants that are compatible with the environmental needs of a garden tech zone. These species are selected for their predictable growth habits, which prevents them from unexpectedly blocking solar sensors or signal paths.
| Plant Type | Sun Exposure | Soil Needs | Water Demand | Growth Speed | Maintenance Level |
| :— | :— | :— | :— | :— | :— |
| Boxwood (Buxus) | Full Sun to Shade | Well-Drained | Moderate | Slow | Low |
| Lavender (Lavandula) | Full Sun | Sandy/Gritty | Low | Medium | Moderate |
| Blue Star Creeper | Partial Sun | Moist/Loam | Moderate | Fast | Low |
| Lomandra (Longifolia)| Full Sun to Shade | Adaptable | Low | Medium | Very Low |
| Creeping Thyme | Full Sun | Poor/Well-Drained | Low | Medium | Low |
| Japanese Maple | Partial Shade | Slightly Acidic | Moderate | Slow | Moderate |
When selecting materials for the hub enclosure, avoid heavy metals that cage the signal. Instead, opt for High-Density Polyethylene or Signal-Transparent Composites. For the base construction, Crushed Granite or River Rock provides excellent drainage and a clean, modern aesthetic that complements most plant palettes.
Implementation Strategy
The implementation process begins with a detailed site analysis. Use a Laser Level to determine the highest points of your property, as these are the optimal locations for a Solar Powered Garden Wi-Fi hub. Start by grading the area to ensure that no water can collect at the base of your installation. A solid foundation is essential; dig a hole at least 24 inches deep for the mounting post and fill it with Rapid-Set Concrete to prevent leaning over time.
Once the post is secure, install a Geotextile Fabric around the base to prevent weed growth. Cover this with 3 inches of Hardwood Mulch or Decorative Gravel. This creates a clean “utility zone” that looks intentional. When mounting the Solar Hub, ensure the panel is tilted at an angle equal to your latitude plus 15 degrees for optimal winter charging. Use Stainless Steel Fasteners to prevent rust streaks from marring the look of your wood or stone supports.
Next, plan your “signal paths.” Foliage with high water content, such as Hostas or dense Evergreens, acts as a natural barrier to Wi-Fi. Create “windows” in your landscaping by using lower-profile plants like Creeping Thyme or Blue Star Creeper in the direct line between the hub and your primary seating area. This ensures that the 1.2 GHz or 5 GHz frequencies can penetrate the space without being absorbed by water-heavy leaves. Finally, install Steel Edging around the tech zone to create a sharp, professional boundary between the utility area and the lush garden beds.
Common Landscaping Failures
One of the most frequent errors is failing to account for the “growth tail” of specific plants. A Leyland Cypress may look perfect next to a hub today, but its rapid growth will eventually shroud the Solar Panel in deep shade, killing the battery. Architects must research the mature width and height of every species within a 10-foot radius of the hub. Improper spacing leads to root overcrowding, which can eventually shift the foundation of mounting poles or underground conduits.
Soil compaction is another silent killer of garden technology. If the soil around the hub is stepped on frequently during installation, it loses its ability to drain. This leads to perched water tables that can corrode even “weatherproof” enclosures from the bottom up. Always use Aeration Tools after installation to restore soil health. Additionally, many homeowners make the mistake of placing hubs too close to Automated Sprinkler Heads. Even if a hub is rated IP67, constant high-pressure water blasts can eventually compromise the seals. Positioning the hub in a “rain shadow” or behind a structural barrier is a much safer long-term strategy.
Seasonal Maintenance
Spring is the time for a full system audit. Clear away any debris, such as fallen branches or winter mulch, that may have accumulated around the base of the hub. Clean the Solar Panel with a soft cloth and distilled water to remove the film of pollen and dust that accumulates during the spring bloom. Check the Steel Edging for frost heave and reset it if necessary to maintain clean lines.
During the summer, the focus shifts to moisture management and growth control. Rapidly growing vines like Clematis or Ivy can quickly wrap around a mounting post and reach the electronics. Prune these back aggressively to maintain a 12-inch buffer zone around the hardware. Ensure that the Drip Irrigation is not oversaturating the tech zone during the heat of July.
As autumn arrives, the primary threat is leaf litter. High tannin leaves can stain stone bases and clog drainage paths. Clear the area weekly to prevent the buildup of organic matter that could harbor pests or moisture against the hub’s base. This is also the time to check the battery health; cold weather reduces chemical efficiency, so ensuring a full charge before the first frost is vital.
In winter, the goal is protection. If you live in a region with heavy snow, use a Soft Brush to clear the Solar Panels after every storm. Do not use salt or chemical de-icers near the hub, as these will corrode the metal components and ruin the soil chemistry for your Native Plants. If the hub is located in an area prone to high winds, check the tension of all Bolts and Brackets to ensure the structure remains rigid against the winter gales.
Professional Landscaping FAQ
How far will a Solar Powered Garden Wi-Fi signal travel?
Most outdoor hubs cover between 2,000 and 3,000 square feet, depending on foliage density. Obstacles like Stone Walls or Dense Hedges will significantly reduce this range. Always test signal strength before finalizing the permanent mounting location of your hardware.
Will the solar battery die during a week of cloudy weather?
Professional grade Solar Powered Garden Wi-Fi systems include backup batteries designed to last 3 to 5 days without sunlight. Integrating high-efficiency Monocrystalline Panels ensures the system can still trickle charge even under heavy overcast skies or partial shade.
How do I hide the hub without blocking the signal?
Use “radio-transparent” materials like Lattice Wood, Plastic Fencing, or Thin Resin Statues. Avoid hiding the hub behind Metal Screens or Thick Concrete Walls, as these materials act as a Faraday cage and will completely block your wireless connectivity.
Is it safe to install a Wi-Fi hub near my existing irrigation?
Yes, provided the hub is elevated. Ensure the Electronic Enclosure is at least 12 inches above the highest reach of your Sprinkler Heads. Use a Gravel Base to prevent splashing mud from coating the sensors or the solar collection surface.
What is the best way to secure the mounting post?
Use a 4×4 Pressure-Treated Timber or a Powder-Coated Steel Pipe. Set the post in Concrete at a depth of at least one-third its total height. This prevents the hub from swaying in the wind, which can cause intermittent signal drops.