
The transition from late winter to the first signs of spring presents a significant challenge for the ambitious landscape designer. In temperate zones, the aesthetic value of a garden often remains dormant due to frozen soil and unpredictable frost cycles, which limits the functionality of the outdoor living space. By integrating solar thermal garden heaters into the site plan, a designer can effectively manipulate the local microclimate to extend the growing season by several weeks. This approach addresses the core landscaping challenge of thermal regulation without relying on expensive electrical heating systems. From a curb appeal perspective, these heaters can be disguised as architectural features, such as contemporary retaining walls or sleek garden borders, ensuring that the utility of the device does not compromise the visual harmony of the site. A successful installation improves outdoor functionality by allowing for early-season blooms and vibrant greenery, even while the surrounding neighborhood remains in a state of winter stasis.
Landscape Design Principles
When incorporating solar thermal elements, the landscape architect must prioritize symmetry and focal points to ensure the equipment looks intentional rather than accidental. Visual balance is achieved by mirroring thermal mass collectors across a central axis, perhaps flanking a main walkway or a formal seating area. These collectors, often consisting of black painted masonry or water filled reservoirs, act as focal points that draw the eye toward the structured elements of the garden.
Elevation layers are critical in this coordination. Placing solar heaters on a slightly raised elevation allows for better sun exposure and prevents the units from being shaded by low lying shrubs or perimeter fencing. This verticality creates depth in the landscape, providing a backdrop for lower plantings. Irrigation planning must also be synchronized with heat distribution; a localized heat source will increase evaporation rates. Therefore, a drip irrigation system should be routed directly beneath the mulch layer surrounding the heaters to provide consistent moisture to the soil without wasting water through surface evaporation.
Walkways should be designed to wrap around these thermal zones, allowing the homeowner to appreciate the early growth without compacting the soil. Using high thermal mass materials for the paths, such as dark slate or basalt pavers, further enhances the heat retention of the entire area. This synergy between hardscaping and thermal regulation creates a cohesive environment where every material choice serves a dual purpose of beauty and climate control.
Plant and Material Selection
The following table outlines species that thrive particularly well when supported by solar thermal heating systems. These selections are chosen for their resilience and their ability to jumpstart the landscape’s visual appeal in early spring.
| Plant Type | Sun Exposure | Soil Needs | Water Demand | Growth Speed | Maintenance Level |
| :— | :— | :— | :— | :— | :— |
| Spinach | Full Sun | Loamy/Rich | Medium | Fast | Low |
| Kale | Full Sun | Nutrient Dense | High | Medium | Low |
| Sugar Snap Peas | Partial Sun | Well-drained | Medium | Fast | Medium |
| Radishes | Full Sun | Sandy Loam | Low | Very Fast | Low |
| Butterhead Lettuce| Partial Sun | High Organic | Medium | Fast | Medium |
| Swiss Chard | Full Sun | Silt Loam | Medium | Medium | Low |
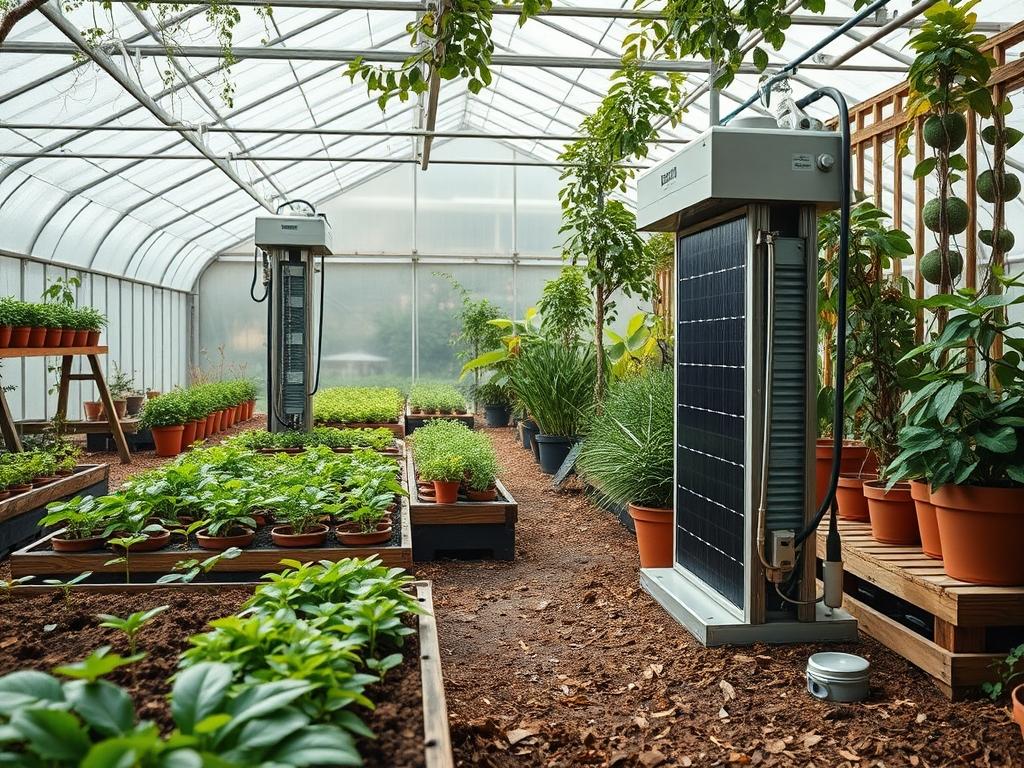
For the construction of the heaters, the primary materials involve high density polyethylene (HDPE), polycarbonate glazing, and 3/4-inch crushed basalt. These materials are selected for their durability and high heat absorption coefficients.
Implementation Strategy
The implementation of solar thermal heaters begins with a rigorous site assessment to map the sun’s path during the months of February and March. Once the optimal placement is determined, the grading process commences. The soil must be leveled to ensure that thermal mass containers, such as 55-gallon steel drums or custom concrete troughs, sit flush with the ground to prevent tipping and to maximize ground contact for heat transfer.
After grading, the construction of the “Water Wall” or passive collector begins. This involves placing the reservoirs in a linear or semi-circular arrangement behind the planting beds. For a more sophisticated look, these containers can be encased in a cedar frame with a clear polycarbonate cover facing south. This creates a greenhouse effect, trapping long-wave radiation. The area around the base should be finished with edging made of steel or stone to clearly define the thermal zone.
Drainage is the next priority. A 4-inch perforated drain pipe should be installed in a trench behind the heater to divert excess snowmelt away from the structure and the root zones. This prevents the soil from becoming waterlogged, which would otherwise cool the earth and counteract the heating system. Finally, a 3-inch layer of dark hardwood mulch is applied over the soil. The dark color of the mulch absorbs radiant heat during the day, while the thickness of the layer provides insulation for the roots during the cold nights.
Common Landscaping Failures
The most frequent mistake in thermal landscape design is the failure to account for proper drainage. If water pools around the base of a solar collector, it creates a heat sink that pulls energy away from the soil instead of radiating it into the root zone. This often happens when grading is done without considering the weight of the water-filled heaters, leading to soil compaction and localized sinking.
Another common failure is root overcrowding. Because the area near the solar heater is warmer, gardeners are often tempted to pack plants too tightly. This leads to poor air circulation, which can cause fungal outbreaks such as powdery mildew, especially in the high humidity found near water based heaters. Improper spacing also makes maintenance difficult, as it becomes impossible to weed or prune without disturbing the fragile early season roots.
Lastly, irrigation inefficiencies often arise when designers forget that heat increases the metabolic rate of the plants. Using a standard overhead sprinkler near a solar thermal unit results in rapid evaporation and can cause leaf burn if water droplets act as magnifying glasses in the sun. A subsurface irrigation line is the only professional solution to ensure the water reaches the roots where the thermal energy is most concentrated.
Seasonal Maintenance
Spring maintenance focuses on cleaning the polycarbonate glazing to ensure maximum light transmission. Pollen, dust, and dried mud can reduce the efficiency of a solar heater by as much as thirty percent. During the summer, the challenge shifts to preventing overheating. If the heaters remain in place, they should be covered with a light colored cloth or shaded by tall annuals like Sunflowers to prevent the soil from reaching temperatures that would stress the plants.
Autumn is the time for structural inspections. Check the sealants on any glazed units and ensure that water reservoirs are topped off to maintain their thermal mass. If the system uses active pumps for water circulation, these should be drained or winterized before the first deep freeze. Winter maintenance is relatively hands off, provided that snow is cleared away from the south facing collectors. A light dusting of snow can actually insulate the ground, but a heavy accumulation against the solar panels will block the energy required to keep the soil thawed for early planting.
Professional Landscaping FAQ
How much warmer does the soil stay with these heaters?
Typically, a well designed passive solar heater can maintain soil temperatures between 10 and 15 degrees Fahrenheit above the ambient ground temperature. This difference is often enough to prevent the root zone from freezing during light overnight frosts.
What is the best material for thermal mass?
Water has a higher specific heat capacity than stone or concrete, making it the most efficient medium. However, solid masonry or dark gravel provides better structural longevity and requires less maintenance than water reservoirs which may leak.
Can I use solar heaters in a shaded backyard?
Solar thermal systems require at least six hours of direct sunlight to function effectively. In heavily shaded yards, the heaters will not collect enough energy during the day to provide a meaningful temperature boost during the night.
How do I hide the heaters for better curb appeal?
You can disguise thermal mass by using decorative stone veneers or by integrating them into the base of a permanent seating wall. Using dark stained timber frames also allows the units to blend into a modern rustic landscape.
Do these systems require a pump or electricity?
Passive systems rely entirely on natural radiation and convection, requiring no external power. Active systems, which circulate warmed water through underground pex piping, require a small pump but offer much more precise control over the soil temperature.