
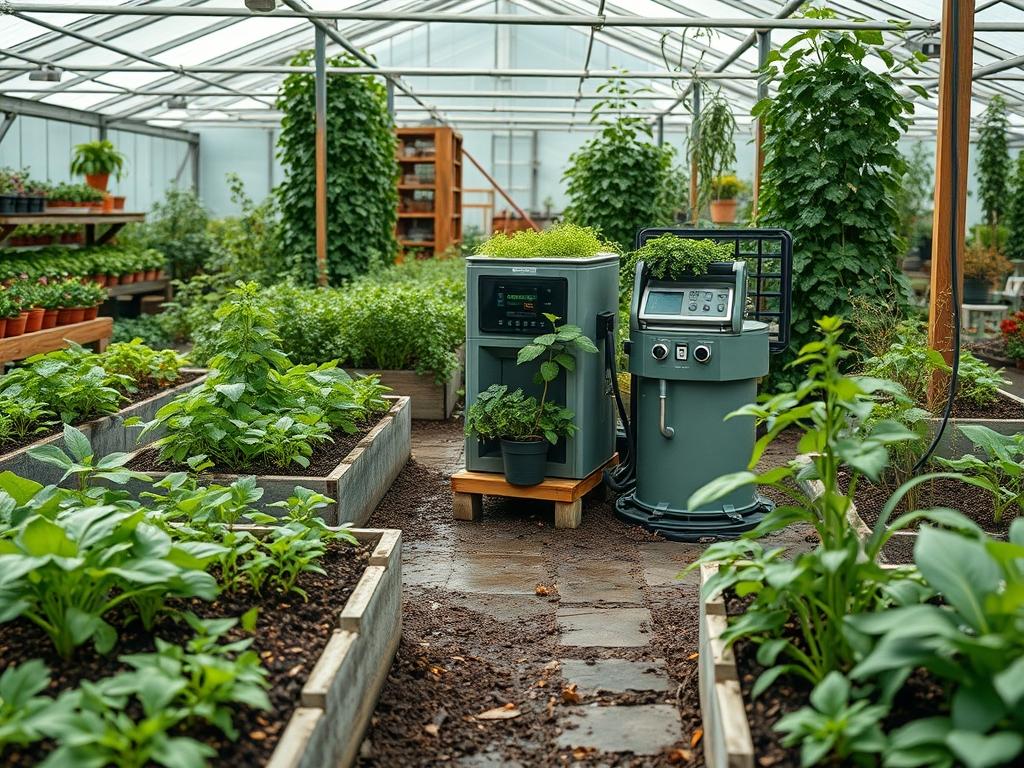
Modern outdoor living demands more than just a manicured lawn; it requires a sophisticated integration of technology and nature. As we transition toward smarter exterior environments, the shed has evolved from a simple storage unit into a high functioning utility center. Designing the best Automated Garden Power Hubs within or adjacent to these structures presents a unique landscaping challenge. It necessitates a balance between functional accessibility and aesthetic concealment. Every wire and conduit must be accounted for while maintaining the property curb appeal. A poorly planned power hub can result in cluttered industrial eye-sores that detract from the organic flow of the garden. Conversely, a well executed design elevates the shed to a command center that manages everything from smart irrigation to atmospheric lighting.
The climate plays a pivotal role in this architectural integration. In regions prone to heavy rainfall or snow, the elevation of the shed and its power hub must be carefully calculated to prevent moisture ingress. Soil stability must be assessed to ensure that the heavy machinery used during installation does not lead to long term compaction issues. Proper drainage ensures that the electrical components remain dry while also protecting the surrounding plant life from root rot. By treating the power hub as a core component of the landscape rather than an afterthought, designers can create a space that is both technologically advanced and naturally serene.
Landscape Design Principles
When integrating Automated Garden Power Hubs into a landscape, we must adhere to the principles of symmetry and visual balance. The shed often serves as a secondary focal point on a property. If the power hub is mounted on the exterior, it should be screened or housed in a way that aligns with the existing lines of the architecture. Using cladding that matches the shed or employing lattice panels can soften the industrial appearance. Symmetry allows the eye to travel across the garden without being interrupted by a cluster of electrical boxes or protruding conduits.
Elevation layers are equally important. By utilizing retaining walls or raised planters, you can create a tiered effect that hides the lower portions of the power hub. This prevents the shed from looking like a flat, utilitarian box. The design must also account for future growth. Landscaping near a power source requires a strict understanding of how root systems will interact with underground lines. We recommend keeping large, aggressive root systems at least 10 feet away from main electrical feeds.
Walkways should lead logically toward the hub for maintenance access. However, these paths do not need to be stark concrete. Using stepping stones or permeable pavers maintains a natural aesthetic while providing a firm surface for the technician. Visual balance is achieved when the weight of the shed is countered by a cluster of mid-sized shrubs or a small ornamental tree on the opposing side. This creates a harmonious environment where technology serves the garden rather than dominating it.
Plant and Material Selection
Selecting the right biological and mineral materials is the difference between a high maintenance nightmare and a thriving ecosystem. The plants surrounding your Automated Garden Power Hubs must be durable enough to withstand occasional foot traffic during inspections while providing enough density to act as a visual screen.
| Plant Type | Sun Exposure | Soil Needs | Water Demand | Growth Speed | Maintenance Level |
| :— | :— | :— | :— | :— | :— |
| Buxus sempervirens | Full Sun to Shade | Well-Drained | Moderate | Slow | Medium |
| Panicum virgatum | Full Sun | Adaptable | Low | Fast | Low |
| Ilex glabra | Full Sun to Part Shade | Moist, Acidic | Moderate | Medium | Low |
| Carex pensylvanica | Shade to Part Sun | Dry to Moist | Low | Medium | Very Low |
| Cornus sericea | Full Sun to Part Shade | Wet to Moist | High | Fast | Medium |
| Taxus x media | Part Shade to Shade | Well-Drained | Moderate | Slow | Low |
In addition to plant life, hardscaping materials are critical. River rock or crushed granite should be used around the base of the power hub to ensure rapid drainage and prevent soil splashing against the electrical enclosures. Using 3-inch mulch in the surrounding beds helps retain moisture for the plants while suppressing weeds that could interfere with the air intake of automated systems.
Implementation Strategy
The process begins with precise site grading. The area around the shed must slope away at a minimum gradient of 2 percent to ensure that water does not pool near the Automated Garden Power Hubs. Once the grade is established, the layout of the underground conduits is marked using marking paint. All electrical lines must be buried at a depth following local codes, usually between 18 and 24 inches, and encased in Schedule 40 PVC.
After the infrastructure is in place, we focus on the edging. Steel edging or heavy-duty plastic headers create a clean break between the turf and the utility beds. This prevents grass from creeping into the gravel base of the power hub. Next, a layer of non-woven geotextile fabric is laid down under any gravel or stone sections to prevent weed growth and soil mixing.
When planting, start with the largest structural plants first, such as Evergreen shrubs. These provide year-round screening for the shed. Once the structural elements are in place, the mid-tier grasses like Switchgrass are added for texture. Finally, groundcovers are installed to fill the gaps. The last step is the application of mulch and the installation of the smart irrigation emitters, which are tied directly back into the automated hub for localized control.
Common Landscaping Failures
The most frequent mistake in designing around power hubs is ignoring the soil compaction caused by construction. When heavy equipment moves around the shed, the soil becomes dense, preventing air and water from reaching plant roots. This leading to stunted growth or plant death. To remedy this, we use a core aerator before final planting to restore soil porosity.
Another common failure is improper drainage near the conduit entry points. If the soil settles over time, it can create a depression that traps water against the foundation of the shed. This moisture can wick into the electrical housing, causing short circuits. Additionally, many homeowners plant too close to the automated panels. As plants like Miscanthus reach their full size, they can block the ventilation required for smart transformers and power hubs, leading to overheating during the summer months.
Irrigation inefficiency is a further concern. Over-spraying from traditional pop-up heads can saturate the exterior of the power hub. It is essential to use drip irrigation in these zones to deliver water directly to the soil without risking electrical interference. Lastly, failing to use root barriers near underground lines can lead to future service disruptions as trees mature.
Seasonal Maintenance
Spring is the time for a thorough system audit. Check all conduit fittings for cracks caused by winter freeze-thaw cycles. Clear away any dead foliage from the previous year that may be clinging to the shed or the power hub. This is also the time to apply a fresh layer of bark mulch to keep the root systems cool as temperatures rise.
In the summer, the focus shifts to heat management. Ensure that the automated systems are not being smothered by rapid plant growth. Pruning Boxwoods or Hedges ensures that air can circulate around the electrical enclosures. Monitor the irrigation schedule through the hub to adjust for periods of high evaporation.
Autumn requires the removal of leaves and debris. Decaying organic matter holds moisture, which can lead to rust or mold on the shed exterior. Cut back ornamental grasses like Switchgrass to prevent them from becoming a fire hazard near electrical components. In winter, ensure that snow is not piled against the power hub. If the hub contains batteries or sensitive controllers, adding a layer of insulation wrap or ensuring the shed heater is functional will protect the longevity of the automation hardware.
Professional Landscaping FAQ
How deep should I bury the electrical conduits for the hub?
Typically, you must bury Schedule 40 PVC conduits at least 18 inches deep. Always check local building codes as some jurisdictions require 24 inches for residential high-voltage lines to ensure safety from garden tools and tilling.
What is the best way to hide a power hub?
Utilize Breathable lattice panels or a dense evergreen screen like Taxus baccata. These options provide excellent visual concealment while allowing necessary airflow to prevent the automated components from overheating during peak summer performance.
Can I run irrigation lines in the same trench as power?
It is generally discouraged. However, if necessary, maintain a minimum of 12 inches of horizontal separation. Never place water lines directly above electrical lines; this prevents leaks from saturating the power conduits and causing ground faults.
How do I prevent weeds from growing around the hub?
Install a heavy-duty non-woven geotextile fabric covered by 3 inches of ornamental stone or river rock. This creates a sterile zone that prevents weed seeds from contacting the soil while allowing for rapid water drainage.
Will plant roots damage my automated power hub?
Yes, aggressive roots can displace conduits or enter enclosures. Use physical root barriers and avoid planting large trees like Willows or Maples within 15 feet of the shed and its integrated electrical infrastructure.