
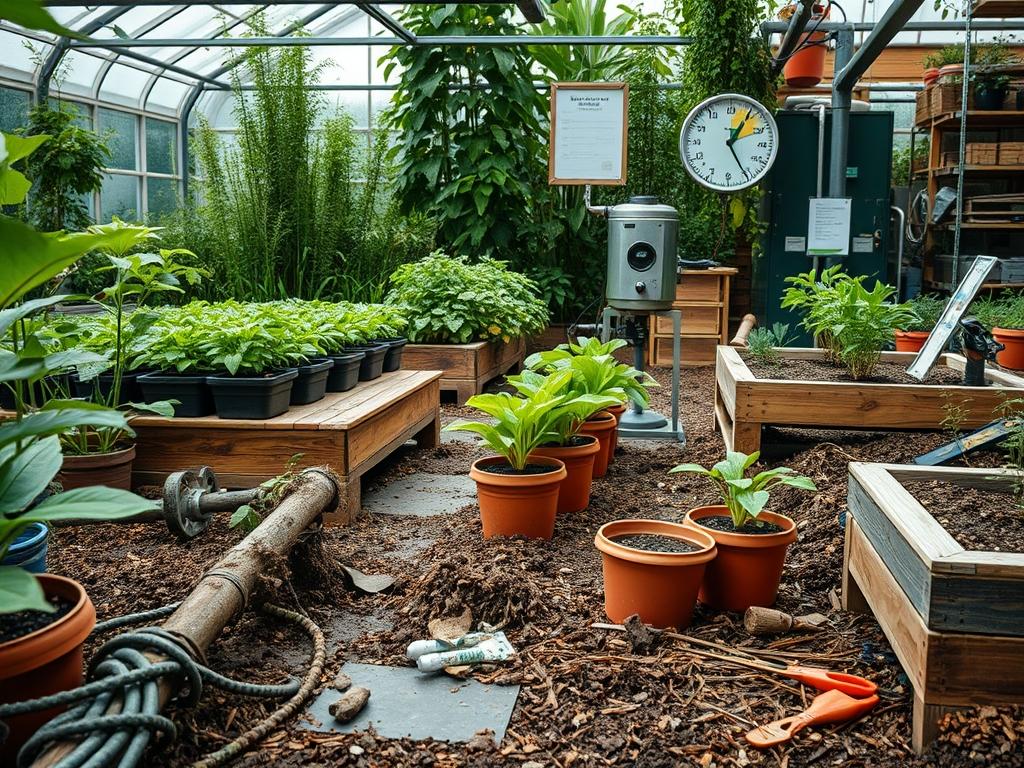
Modern residential landscaping faces a dual challenge: the desire for lush, vibrant aesthetics and the pressing need for resource conservation. Achieving breathtaking curb appeal requires more than just high-quality mulch or an expensive selection of boxwood; it necessitates a sophisticated understanding of water management. Accurate Hydro-Sensor Installation serves as the vital link between a static garden design and a thriving, responsive ecosystem. As climate patterns become increasingly unpredictable, the ability to monitor soil moisture levels in real-time ensures that your retaining walls remain stable and your perennials avoid the stress of both drought and waterlogging. A properly integrated sensor system transforms a basic backyard into a high-functioning outdoor living space where functionality meets environmental stewardship. Homeowners must view the landscape not as a collection of isolated plants, but as a biological machine that requires precise data to operate efficiently.
Landscape Design Principles
Landscape architecture relies on the delicate balance of symmetry and focal points to guide the eye across a property. However, the unseen infrastructure often dictates the success of these visual elements. When planning your irrigation layout, you must account for varying elevation layers. Water naturally pools in lower grades, meaning a sensor placed at the top of a slope will report much drier conditions than one at the base. This discrepancy can lead to overwatering the valley to satisfy the peak, eventually causing root rot in your low-lying hydrangeas. Effective Hydro-Sensor Installation requires segmenting the property into hydro-zones based on solar exposure, soil type, and plant needs.
A flagstone walkway or a concrete patio acts as a thermal mass, radiating heat and drying adjacent soil faster than shaded pockets situated under a cedar pergola. By placing sensors near these heat-retaining hardscape elements, you provide the irrigation controller with the data needed to prevent scorched margins along your paths. Furthermore, visual balance is achieved when plant growth is uniform. Sensors prevent the patchy, uneven appearance that occurs when one side of a symmetrical foundation planting receives more subterranean runoff than the other. Strategic placement of these devices ensures that your ornamental grasses and focal-point maples receive the exact 1 inch of water per week recommended for peak health.
Plant and Material Selection
Selecting the right plant palette is essential for a low-maintenance, high-impact landscape. The following table highlights common species and their specific environmental requirements, which should inform your sensor placement strategy.
| Plant Type | Sun Exposure | Soil Needs | Water Demand | Growth Speed | Maintenance Level |
| :— | :— | :— | :— | :— | :— |
| English Ivy | Part Shade | Well-Drained | Moderate | Fast | Medium |
| Lavender | Full Sun | Sandy/Rocky | Low | Moderate | Low |
| Japanese Maple | Filtered Sun | Loamy/Rich | High | Slow | High |
| Switchgrass | Full Sun | Clay/Varied | Low | Fast | Very Low |
| Hostas | Full Shade | Moist/Organic | High | Moderate | Low |
| Azaleas | Part Sun | Acidic/Peaty | Moderate | Slow | Medium |
Implementation Strategy
The process of accurate Hydro-Sensor Installation begins with a comprehensive site analysis. Before breaking ground with a trenching spade or a soil probe, identify the different microclimates of your yard. South-facing slopes will always require more frequent monitoring than north-facing shaded corners. Start by grading your beds to ensure a 2 percent slope away from the home foundation. This prevents water from pooling near the basement and provides a clean slate for sensor calibration. Use landscape fabric only in areas where weed suppression is more critical than deep moisture penetration, as some fabrics can interfere with the sensor’s ability to read surface-level saturation.
Once the grading is complete, determine the depth for each sensor. For most turfgrass, a depth of 3 inches is sufficient, but for shrubs and trees, you must place the sensor closer to the 6-inch or 8-inch mark to monitor the active root zone. Dig a narrow hole using a hand trowel, ensuring you do not disturb the surrounding soil structure too significantly. Place the sensor vertically and pack the soil back around it firmly to eliminate air pockets. Air gaps are the primary enemy of accuracy; if the sensor is touching air instead of soil, it will provide a false dry reading, leading to excessive water waste. Use waterproof wire connectors and PVC conduit to protect the lead wires from accidental damage during future edging or aeration tasks. Finally, apply a 3-inch layer of shredded hardwood mulch over the area to stabilize soil temperatures and protect the sensor from direct solar radiation.
Common Landscaping Failures
The most frequent failure in smart irrigation is the “shadowing” effect. This occurs when a homeowner installs a sensor too close to a building or under a wide roof eave. In these locations, the sensor is shielded from natural rainfall, causing it to trigger the sprinkler system even when the rest of the yard is perfectly saturated. Another common mistake involves improper soil compaction. If the soil around the sensor is too loose, water will bypass the device; if it is too tight, the sensor will hold moisture longer than the surrounding beds, preventing the system from turning on when the plants actually need it.
Irrigation inefficiency also stems from ignoring the “wicking effect” of certain geotextiles. If a sensor is placed directly beneath a heavy weed barrier, the fabric may trap moisture on the surface, leaving the sensor bone-dry while the top layer of soil appears wet. Additionally, many DIY installers fail to account for root overcrowding. As oak trees or large shrubs mature, their roots can physically displace a sensor or wrap around it, leading to skewed data. Always maintain a 12-inch buffer between the sensor and the main trunk of a woody plant to ensure the device is measuring general soil moisture rather than the direct uptake of a single large root.
Seasonal Maintenance
To maintain the integrity of your Hydro-Sensor Installation, a seasonal calibration schedule is mandatory. In the spring, remove the top layer of mulch to inspect the sensor leads for any signs of rodent damage or winter heave. This is the time to replace batteries in wireless units and perform a “bucket test” to ensure the sensors are reacting correctly to saturated conditions. As the summer heat intensifies, adjust your thresholds. The high evaporation rates of July and August mean that your soil might feel dry on the surface while remaining moist at the depth of the sensor. Trust the data, but verify it occasionally with a manual moisture meter.
Autumn maintenance focuses on debris management. Falling leaves can create a thick mat that prevents water from reaching the soil, potentially causing the sensor to report dry conditions while the plants are suffocating under wet compost. Clear the areas surrounding your sensor zones frequently. In colder climates, winterization is critical. While the sensors themselves are often buried below the frost line, the connection points at the valve box should be insulated with foam covers. If you use a system that is not rated for freezing temperatures, use a marking flag to locate the sensor before the first snow, allowing you to easily retrieve it without damaging your fescue or ryegrass turf.
Professional Landscaping FAQ
How many sensors do I need for a standard backyard?
Most residential landscapes require at least two sensors. One should be placed in the sunniest, highest-elevation zone, while the second should be located in a shaded or low-lying area. This provides a balanced data set for your irrigation controller.
Can I install sensors in pots and raised beds?
Yes, sensors are highly effective in stone planters and raised garden beds. These environments dry out much faster than the ground. Use a smaller, specialized sensor designed for container gardening to prevent overwatering your petunias or herbs.
Does mulch type affect sensor accuracy?
Heavy stone mulch or river rock can retain heat, which may speed up evaporation near the sensor. Organic mulch, such as pine bark, helps the sensor maintain a more consistent reading by regulating the temperature of the topsoil layer.
What tools are needed for a professional installation?
You will need a trenching spade, a hand trowel, wire strippers, and waterproof grease caps. A voltmeter is also helpful for testing the signal strength of the wires before you backfill the soil and apply topsoil.
How long do soil moisture sensors typically last?
High-quality stainless steel or ceramic sensors can last between 5 and 10 years. However, you should check the wiring every two years for corrosion and ensure the soil hasn’t pulled away from the sensor face due to natural shifting.