
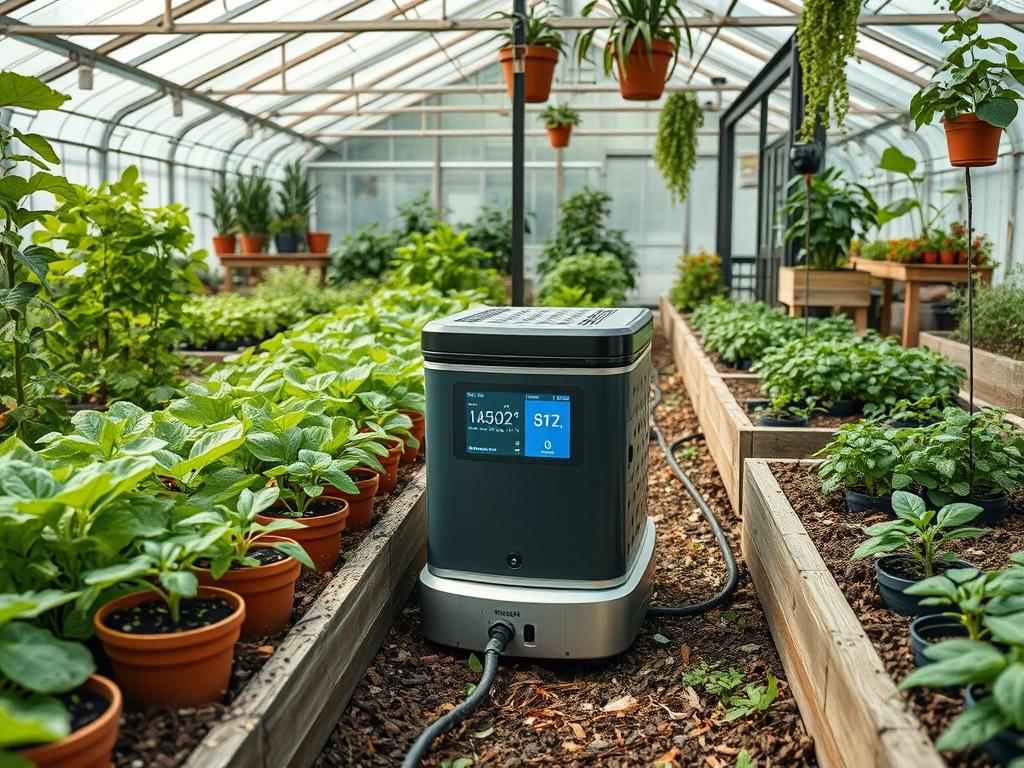
The evolution of modern landscape architecture has shifted from purely aesthetic arrangements to high-performance ecosystems that leverage precision technology. Managing a professional grade outdoor environment requires more than a visual eye; it demands an understanding of how climate volatility, soil biology, and mechanical efficiency intersect. The primary challenge for most property owners is the balance between high curb appeal and low-intensity manual labor. As weather patterns become more unpredictable, the integration of Automated Garden Device Tech has transitioned from a luxury to a fundamental necessity for maintaining landscape longevity. A well-designed garden must perform as an extension of the home, providing functional outdoor living space while mitigating environmental stressors through proactive management systems. By using smart controllers and interconnected hardware, we can finally achieve a landscape that matures gracefully without the constant threat of human error or neglect.
Landscape Design Principles
Successful landscape design rests on the mastery of spatial organization and visual hierarchy. When integrating Automated Garden Device Tech, professionals use symmetry to create clear boundaries and predictable patterns for automated maintenance systems. A symmetrical layout is not merely about mirroring plant groups; it serves to provide logical paths for Automatic robotic mowers and sensor arrays. Focal points, such as a large Specimen tree or a custom Water feature, guide the eye through the composition and act as central hubs for technical infrastructure. By clustering high-resource plants around these focal areas, we can concentrate sensor nodes and irrigation zones, reducing the complexity of the overall system.
Elevation layers are critical for creating depth and managing the hydrological profile of the site. A flat yard often suffers from poor visual interest and drainage issues; therefore, we utilize Retaining walls and tiered planters to create verticality. These layers permit the installation of Gravity-fed irrigation backups and allow different plant species to thrive in micro-climates tailored to their specific needs. For example, drought-tolerant species are placed on higher, well-drained tiers, while moisture-loving shrubs reside in the lower catchments.
Walkways and hardscaping are the skeleton of the garden. We design these paths not just for foot traffic, but as barriers that define “zones of operation” for smart devices. Using Steel edging or heavy Stone pavers ensures that mulch and soil stay off the paths, preventing sensors from becoming obstructed. Visual balance is achieved by contrasting these rigid hardscape lines with soft, flowing plant textures. The goal is to hide the technology within the design, ensuring that pipes, wires, and control boxes are obscured by Evergreen screens or integrated into the architectural structures of the home.
Plant and Material Selection
Selecting the right biological components is the most important step in ensuring the success of integrated tech systems. We prioritize native species that respond well to precision watering and nutrient delivery.
| Plant Type | Sun Exposure | Soil Needs | Water Demand | Growth Speed | Maintenance Level |
| :— | :— | :— | :— | :— | :— |
| Dwarf Boxwood | Full to Partial | Well-drained loam | Moderate | Slow | Low |
| Purple Coneflower | Full Sun | Sandy or Clay | Low | Fast | Low |
| Japanese Maple | Partial Shade | Slightly acidic | Moderate | Slow | Moderate |
| Panic Grass | Full Sun | Average / Moist | Moderate | Fast | Very Low |
| Creeping Thyme | Full Sun | Rocky / Poor | Low | Moderate | Low |
| Hydrangea Macrophylla | Shade / Morning Sun | Rich / Organic | High | Moderate | High |
| Fescue Sod | Full to Partial | Standard Topsoil | High | Fast | Moderate |
Materials such as Hardwood mulch, River rock, and Permeable pavers serve as the foundation for these plants. We recommend a 3 inch layer of mulch to suppress weeds and retain the moisture measured by your Soil moisture sensors. Using high-quality Topsoil with a balanced pH is essential for the electrical conductivity required by many ground-based sensors.
Implementation Strategy
The transition from a design on paper to a functioning automated landscape begins with site preparation. Proper Grading is the first priority. We ensure a 2 percent slope away from the home foundation to prevent basement flooding and protect sensitive outdoor electronics. Once the grade is established, we install the primary PVC conduits for both irrigation and low-voltage power. These subterranean channels protect the “nerves” of your Automated Garden Device Tech from accidental damage during future planting or aerating.
Next, we establish the Hardscape elements. Whether it is a Bluestone patio or a Cedar deck, the hardscape provides the permanent boundaries for your automated tools. For instance, a Concrete mow strip installed at the edge of the grass allows a robotic mower to cut the very edge of the lawn, eliminating the need for manual string trimming.
After the structure is in place, we focus on drainage. We install French drains and Catch basins in areas prone to pooling. These systems are often equipped with Digital flow meters that alert the homeowner to excessive runoff. Finally, planting occurs in stages. We start with the largest trees and move down to ground covers. Each planting hole is amended with Organic compost to provide a buffer for the roots during the initial establishment phase. Once the plants are in the ground, the Drip irrigation emitters are pinned directly to the root balls, ensuring that every drop of water is used efficiently.
Common Landscaping Failures
The most frequent failure in modern landscaping is the misalignment between drainage and irrigation. Many property owners install high-end Smart controllers but ignore underlying soil compaction. If the soil is too dense, water cannot penetrate to the root zone, causing the sensors to read “dry” even when the surface is saturated. This leads to a cycle of over-watering and root rot.
Root overcrowding is another common mistake. Designers often plant for “instant impact,” placing Arborvitae or other screening trees too close together. As these plants mature, they compete for the same nutrients and water, eventually leading to stunted growth or mass die-offs. In an automated system, this can lead to sensor interference, as dense foliage blocks wireless signals between the hub and the field devices.
Furthermore, improper spacing of Outdoor Wi-Fi extenders can create “dead zones” where a smart valve or mower loses its connection, causing the system to default to a manual schedule or shut down entirely. Lastly, failing to account for the growth height of plants can lead to the obstruction of Security cameras or Motion-activated lighting. It is imperative to maintain a “line of sight” for both the aesthetic views and the technological requirements of the property.
Seasonal Maintenance
A tech-forward landscape requires a specific maintenance calendar to ensure all mechanical and biological parts remain in sync.
In the Spring, the focus is on system reactivation. We perform a “wet test” of the Irrigation zones, checking for cracked pipes or clogged Microspray heads. This is also the time to recalibrate Soil sensors and replace batteries in any wireless nodes. We apply a fresh layer of Bark mulch to replace what decomposed over the winter and use a Broadcast spreader to apply an initial round of Pre-emergent herbicide.
Summer maintenance revolves around resource management. As temperatures rise, we adjust the Automated Garden Device Tech to increase the frequency of watering while monitoring for heat stress. We use Hand pruners to remove spent blooms on flowering perennials, which encourages a second flush of color. If a robotic mower is in use, the Steel blades should be inspected and sharpened every 4 weeks to ensure a clean cut that doesn’t fray the grass blades.
Autumn is for preparation and planting. This is the ideal time to plant new trees, as the cooler air and warm soil promote root growth. We also perform a “blow out” of the Irrigation lines using an Air compressor to prevent freezing damage. We collect fallen leaves specifically from the lawn area to prevent them from smothering the turf or clogging the Automated mower docking station.
Winter is a period of dormancy for plants but a time for data review. We analyze the water-usage logs from the previous year to optimize the schedules for the coming spring. Any mobile devices, such as Portable soil probes or Robotic mowers, should be cleaned and stored in a temperature-controlled environment like a Garage or shed to preserve their battery life.
Professional Landscaping FAQ
What is the best way to start with automated gardening?
Begin with a high-quality Smart irrigation controller. Controlling water usage based on local weather data provides the fastest return on investment and immediately improves plant health. Once the water system is stabilized, you can add sensors or robotic mowers.
How do I prevent my smart devices from failing in the rain?
Ensure all outdoor electrical connections are housed in Weatherproof NEMA-rated enclosures. Use UV-rated cabling for any exposed wires. Properly grade your soil to ensure that water always flows away from the base of electronic pedestals and docking stations.
Can automated systems handle large gardens with diverse plants?
Yes, by using a “multi-zone” strategy. Assign different Solenoid valves to specific plant groups like succulents, turf, or vegetable beds. Each zone can then be programmed with its own unique watering duration and frequency through the central app.
Is organic mulch better than stone for automated gardens?
Hardwood mulch is generally superior for plant health because it improves soil structure. However, River rock is better around technical equipment because it does not move easily, stays clean, and does not harbor moisture that could damage or corrode electronic sensors.
How often should I check my automated garden sensors?
Perform a physical inspection of all Outdoor sensors every 3 months. Look for debris, insect nests, or overgrown foliage that might be blocking the sensor. Use a damp cloth to clean the lenses of any optical sensors or solar panels.