
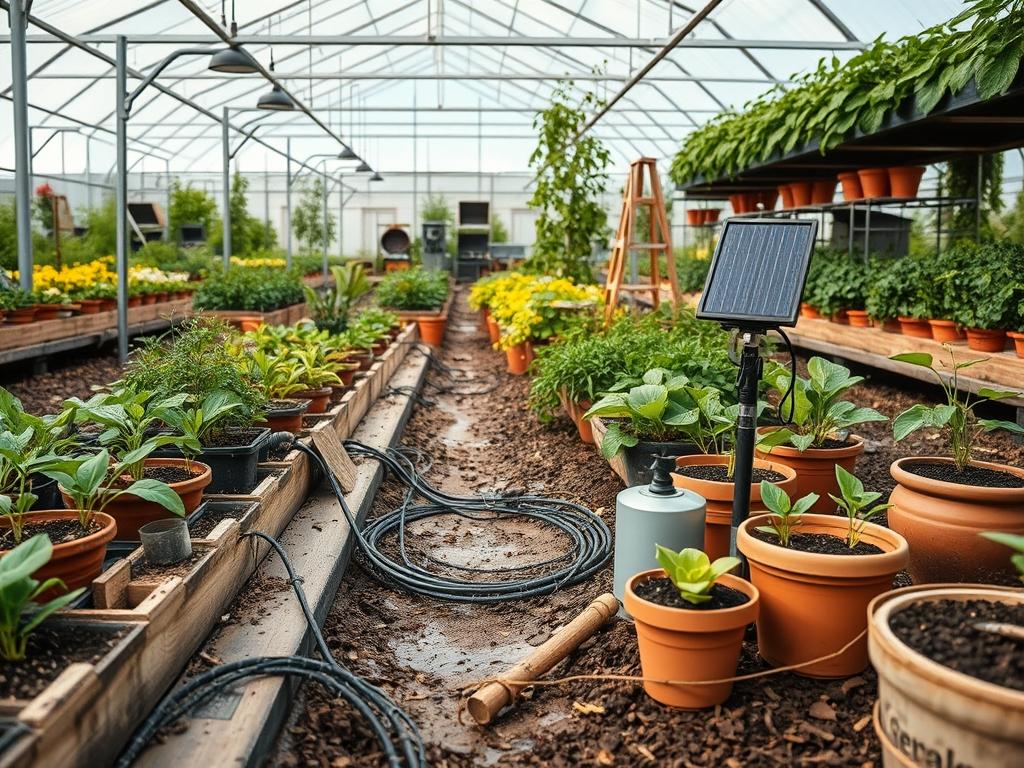
The modern landscape serves as a bridge between structural architecture and the natural world. Achieving a balanced outdoor environment requires more than a casual arrangement of greenery; it demands a strategic alignment of topography, botany, and technology. As climate patterns become increasingly erratic, the reliance on traditional grid-tied watering systems has proven both costly and inflexible. This is where the integration of a Solar Powered Irrigation Pro system transforms a standard yard into a resilient ecosystem. By harvesting energy directly from the sun, homeowners and developers can maintain lush, high value aesthetics while significantly reducing the carbon footprint of their property maintenance. Proper planning ensures that curb appeal remains high even during peak summer heat, while the functionality of the outdoor living space stays intact.
Modern landscaping is essentially the management of light, soil, and moisture. Without a reliable delivery method for water, even the most expensive Native Plants will fail to thrive. The goal of a professional consultant is to design a space that feels spontaneous yet functions with surgical precision. This involves understanding how water moves across the Elevation of a lot and how to use the Solar Powered Irrigation Pro to counteract gravity and evaporation. By prioritizing sustainable infrastructure, we create landscapes that are not just beautiful, but also self-sustaining and logically structured.
Landscape Design Principles
Design excellence begins with Symmetry and Visual Balance. When viewing a property from the street, the eye naturally seeks a sense of order. This is often achieved through the use of Focal Points, such as a specimen tree or a stone water feature, framed by lower Elevation Layers. A professional layout uses height gradients to create depth; placing taller shrubs like Emerald Green Arborvitae toward the rear or property lines and transitioning to shorter perennials and groundcovers near Walkways.
Irrigation planning must be the skeleton upon which the design is built. A Solar Powered Irrigation Pro system allows for decentralized watering zones, meaning you are no longer tethered to a single exterior faucet or a proximity to the home power grid. This flexibility enables the creation of “island” gardens in large estates without the massive cost of trenching electrical lines. Each zone is calibrated to the specific thirst of its inhabitants. For instance, a grouping of Fountain Grass requires far less frequent hydration than a bed of Hydrangeas. By grouping plants with similar hydration needs, known as hydrozoning, you maximize the efficiency of your solar-charged Battery Banks.
Pathways and Walkways serve as the veins of the garden, directing foot traffic and protecting the roots of delicate plants. Using materials like Crushed Granite or Natural Flagstone provides a permeable surface that allows rainwater to reach the soil. When these paths intersect with garden beds, a clear definition using Landscape Edging prevents soil migration and keeps the aesthetic crisp. The final layer of design is the application of Mulch, which acts as a thermal blanket for the soil. A depth of 3 inches of organic mulch is the industry standard for moisture retention and weed suppression.
Plant and Material Selection
Choosing the right flora is a delicate balance of local hardiness and aesthetic goals. The following table provides a selection of versatile plants that integrate well with high efficiency irrigation systems.
| Plant Type | Sun Exposure | Soil Needs | Water Demand | Growth Speed | Maintenance Level |
| :— | :— | :— | :— | :— | :— |
| Lavender | Full Sun | Well-draining / Sandy | Low | Moderate | Low |
| Hostas | Full Shade | Rich / Loamy | High | Moderate | Low |
| Switchgrass | Full Sun | Variable / Heavy Clay | Low | Fast | Low |
| Boxwood | Part Sun | Well-draining | Moderate | Slow | Moderate |
| Hydrangea | Part Shade | Rich / Moist | High | Fast | Moderate |
| Creeping Thyme | Full Sun | Sandy / Poor | Low | Moderate | Low |
| Japanese Maple | Part Sun | Acidic / Loamy | Moderate | Slow | High |
Selecting materials for the Solar Powered Irrigation Pro setup is equally vital. High quality Polyethylene Tubing is preferred for its UV resistance, while Pressure Compensating Emitters ensure that every plant receives the exact Gals Per Hour (GPH) required, regardless of the distance from the water source. For the energy component, Monocrystalline Solar Panels are recommended for their higher efficiency in smaller footprints, ensuring the 12-volt Pump has ample power even on overcast days.
Implementation Strategy
The transition from a blueprint to a thriving garden requires a methodical approach to implementation. The process begins with proper Grading. A professional landscape must slope away from any permanent structures at a minimum of 2 percent to prevent foundation water damage. Once the grade is established, the installation of Retaining Walls can help manage steeper slopes and create tiered planting beds that add vertical interest.
The next phase involves the installation of the Solar Powered Irrigation Pro infrastructure. Start by positioning the solar array in a location that receives at least 6 hours of direct sunlight. Secure the PV Panels to a sturdy mount and run the wiring through PVC Conduit to protect it from the elements and garden tools. The water reservoir, whether it is a rain barrel or a dedicated tank, should be placed on a level surface.
Trenching for the main water lines should be done at a depth of at least 8 inches to avoid damage from aerators or shovels. As you lay the lines, use Landscape Staples to secure the tubing before covering it with soil and Mulch. This is the time to install Drip Emitters directly at the base of each plant. Unlike traditional sprinklers that lose a large percentage of water to wind and evaporation, drip systems deliver moisture directly to the root zone.
Once the hardware is in place, the planting begins. Dig holes that are twice as wide as the root ball but no deeper. This ensures the soil is loose enough for new roots to expand. After planting, apply a 2-inch layer of Hardwood Mulch across the entire bed. The final step is to program the Digital Timer on your solar system. Setting the watering schedule for the early morning hours, around 5:00 AM, allows plants to hydrate before the sun reaches its peak intensity.
Common Landscaping Failures
Failure in the landscape often stems from a lack of foresight regarding the maturity of the plants. Root Overcrowding is a classic mistake where young shrubs are planted too close together for immediate impact, only to choke each other out within three years. Always research the mature width of a species and provide at least 12 inches of buffer space beyond that measurement.
Another frequent error is poor Drainage management. Water that pools in low spots creates anaerobic soil conditions that lead to root rot. If a site has heavy clay soil, the installation of a French Drain or the addition of Expanded Shale can improve porosity. Furthermore, Soil Compaction from heavy machinery during construction can kill the microbial life in the earth. Using a Core Aerator before planting is essential to reintroduce oxygen to the root zone.
Irrigation inefficiency is perhaps the most costly failure. Many systems are set to a fixed duration regardless of the weather. A Solar Powered Irrigation Pro system should ideally be paired with a Soil Moisture Sensor. This prevents the system from running after a heavy rainstorm, which saves water and prevents the leaching of nutrients from the soil. Finally, avoid the use of “black plastic” weed barriers; these prevent the soil from breathing and eventually become a mess of shredded plastic and weeds. Use high quality Filter Fabric or simply thick layers of organic mulch instead.
Seasonal Maintenance
Landscape management is a year round commitment that evolves with the seasons. In the Spring, focus on system activation and soil health. Clear any debris from the Solar Panels to ensure maximum charging. Test all Emitters for clogs and clean the Water Filters. This is also the time to apply a slow release fertilizer to your Native Plants and refresh the Mulch to maintain that 3 inch depth.
Summer is the period of high demand. Monitor the Battery Voltage of your solar system to ensure it is surviving the heat. If the weather is exceptionally dry, you may need to increase the watering frequency for High Demand plants like Hydrangeas. Keep a close eye on the foliage; wilting in the evening is a sign of stress, whereas wilting in the afternoon sun is often a natural defense mechanism.
As Autumn arrives, begin the process of hardening off your plants. Gradually reduce the watering frequency to encourage the plants to enter dormancy. This is the best time for major Pruning of deciduous trees and for planting new Bulbs. Ensure the Rain Barrels or reservoirs are cleaned of fallen leaves to prevent clogging the pump.
During Winter, the primary goal is protection. In colder climates, the Solar Powered Irrigation Pro system should be winterized. This involves draining the lines using a Compressed Air blow-out and storing the 12-volt Pump and Battery in a temperature controlled environment. While the plants are dormant, periodically check the Retaining Walls for shifts caused by the freeze-thaw cycle and ensure that Evergreens are not being damaged by heavy snow loads.
Professional Landscaping FAQ
Can a solar irrigation system work in shady yards?
Yes, provided the Solar Panels are mounted in a sunny location nearby. You can run extension wires up to 50 feet from the panels to the battery and pump located in the shade.
What is the best way to prevent clogged emitters?
Always install a 200 Mesh Filter at the beginning of your irrigation line. This captures fine sediment and organic matter before it reaches the small openings of the Drip Emitters.
How much mulch do I really need?
A consistent depth of 3 inches is ideal. Any thinner and it will not suppress weeds or hold moisture; any thicker and it can actually prevent oxygen from reaching the roots.
Are native plants always low maintenance?
Native Plants are adapted to the local climate but still require a “settling in” period of about one year. During this time, consistent irrigation is necessary for root establishment.
How do I handle irrigation on a steep slope?
Use Pressure Compensating Emitters and install the main header line at the top of the hill. Breaking the slope into terraces with Retaining Walls also helps manage water runoff effectively.