
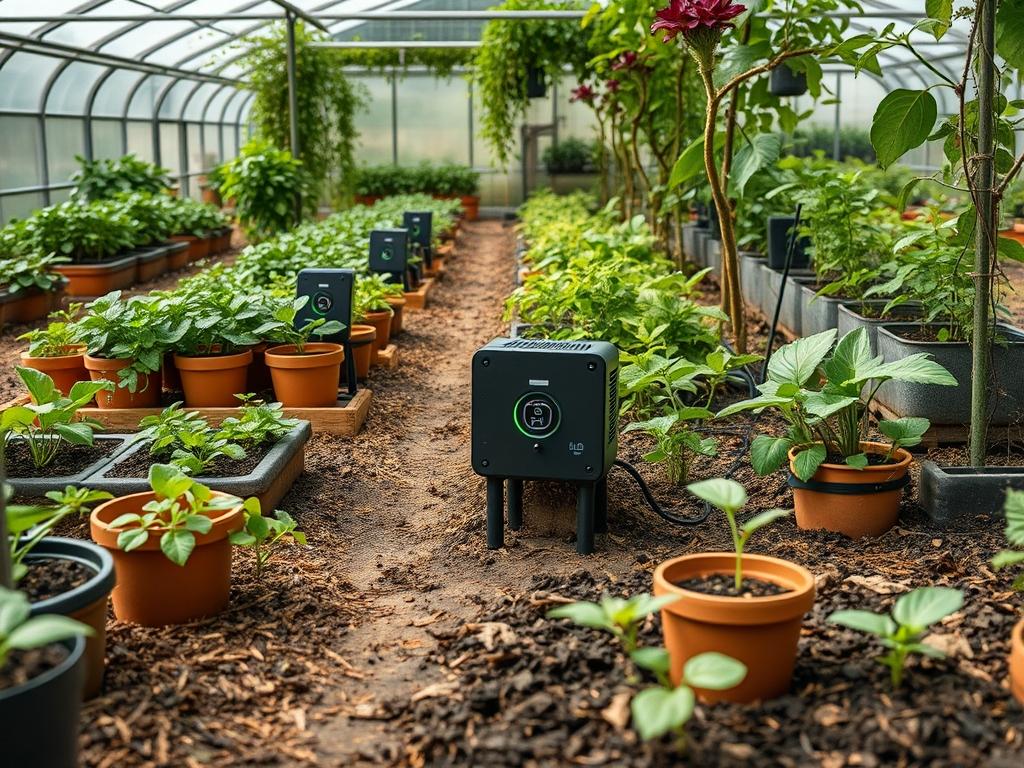
The integration of modern technology into a meticulously designed landscape represents the next frontier of residential and commercial outdoor management. When we approach the installation of Smart Garden Sensor Hubs, we are not merely placing plastic boxes in the dirt; we are establishing a digital nervous system that must coexist with biological variables and architectural constraints. The primary challenge lies in balancing aesthetic curb appeal with the brutal physics of radio frequency propagation. A hub hidden too deeply behind a dense boxwood hedge may disappear from sight, but it will also likely fail to communicate with the peripheral sensors monitoring your drip irrigation system. Consequently, climate considerations such as humidity and extreme temperature fluctuations play a pivotal role in hardware longevity. A successful design ensures that the functional goals of water conservation and plant health are met without sacrificing the visual harmony of the site.
Landscape Design Principles
Effective placement of Smart Garden Sensor Hubs requires an understanding of site elevation and line of sight. Signal range is dictated by the density of the objects between the transmitter and the receiver. In a balanced landscape design, symmetry and focal points are often used to guide the eye, but for technology, we must consider elevation layers. Placing a hub at a higher elevation, perhaps integrated into a retaining wall or mounted near an outdoor kitchen, allows the signal to travel over low-growing groundcovers and ornamental grasses. If a garden features significant topographical changes, the hub should occupy a central, high point to minimize the “shadowing” effect caused by hills or sunken patio areas.
Visual balance is equally critical. We want the technology to be invisible to the casual observer while remaining accessible for maintenance. By utilizing the principle of layering, we can place hubs behind mid-sized perennials or near architectural pillars that provide a structural backdrop. Irrigation planning must also be synchronized with hub placement. Since sensors are often located in high-moisture zones, the hub must be positioned to avoid direct spray from oscillating sprinlers or high-pressure nozzles, even though most modern units are weather-resistant. A well-planned walkway can also serve as a hidden conduit for low-voltage wiring if the hub requires a hardwired power source, keeping the soil surface clean and Professional.
Plant and Material Selection
The following table provides a guide for selecting plants that complement a tech-integrated landscape, considering how their growth patterns might affect signal range over time.
| Plant Type | Sun Exposure | Soil Needs | Water Demand | Growth Speed | Maintenance Level |
| :— | :— | :— | :— | :— | :— |
| Lavender | Full Sun | Well-drained | Low | Moderate | Low |
| Dwarf Boxwood | Full to Partial | Loamy | Medium | Slow | Medium |
| Switchgrass | Full Sun | Adaptable | Low | Fast | Low |
| Japanese Maple | Partial Shade | Slightly Acidic | Medium | Slow | High |
| Creeping Thyme | Full Sun | Sandy/Dry | Low | Moderate | Low |
| Fescue Grass | Full to Partial | Rich Organic | High | Fast | Moderate |
Implementation Strategy
The successful deployment of Smart Garden Sensor Hubs begins with a comprehensive site survey. Start by marking the locations of all planned peripheral sensors using landscape marking paint. Once the sensor grid is established, identify the geometric center of the layout. This is usually the ideal location for the hub, provided there is a clear path to your home Wi-Fi or cellular gateway. If you are working with a backyard layout that exceeds 100 feet in length, consider a multi-hub configuration or the use of signal repeaters housed in IP65-rated enclosures.
Grading must be completed before any hardware is permanently installed. Ensure the area around the hub base is sloped away from the unit to prevent standing water during heavy rain events. For mounting, use galvanized steel brackets or pressure-treated timber posts set at least 12 inches into the ground. When adding mulch, maintain a depth of 3 inches but leave a small gap around the mounting post to prevent moisture rot and insect nesting. If your design includes hardscaping, such as flagstone paths or paver patios, run PVC conduit beneath the stone during the initial excavation phase. This allows for future expansion of the sensor network without the need to tear up your masonry work later.
Common Landscaping Failures
One of the most frequent mistakes in digital landscaping is failing to account for the water content in living tissues. A lush, hydrated Privet hedge acts as a literal wall to high-frequency signals. During the peak of the growing season, a signal that was strong in early spring may drop significantly as the foliage thickens. Another common failure is burying hubs or placing them too close to the ground. Soil is an incredible insulator; it absorbs radio waves quickly. Always aim for a mounting height of at least 18 inches above the finished grade.
Interference from other materials is another hurdle. Placing a hub directly against a metal fence or near a large air conditioning compressor can lead to signal bounce and data loss. Furthermore, root overcrowding occurs when hubs are placed too close to aggressive growers like Willow trees or Bamboo. As the root systems expand, they can heave mounting posts or crush underground wiring. Soil compaction is also a silent killer of both plants and technology. Heavily compacted soil prevents proper drainage, leading to a humid microclimate that can corrode even the best stainless steel fasteners and electronic contacts over time.
Seasonal Maintenance
Landscape management is a year-round commitment that changes with the tilt of the earth. In the spring, your focus should be on inspecting the physical integrity of the Smart Garden Sensor Hubs. Check for any damage caused by winter frost heave and ensure that the 2-inch layer of fresh cedar mulch is not touching the electronics. As the summer heat intensifies, monitor the hub for signs of overheating, especially if it is placed in a high-exposure area. Providing a small wooden shingle overhang can offer necessary shade without obstructing the signal.
Autumn requires a shift toward debris management. Falling leaves from Oak or Maple trees can accumulate around sensors and hubs, trapping moisture and potentially blocking solar panels if the units are light-powered. Clean all surfaces with a microfiber cloth and perform a signal strength audit before the plants enter dormancy. During winter, the primary threat is snow accumulation and ice. In regions with heavy snowfall, ensure your hubs are mounted high enough to remain above the expected snow line. This prevents the signal from being buried under several feet of frozen water, which would effectively sever the connection between your garden and your smart home interface.
Professional Landscaping FAQ
What is the best way to hide a sensor hub?
Place the device behind non-woody perennials or inside a hollow landscape rock. These materials allow radio waves to pass through much more effectively than metal or dense stone structures, maintaining range while preserving the visual aesthetic of the garden.
How does irrigation affect hub performance?
Excessive moisture can lead to mineral buildup on the exterior of the hub. Position your device at least 5 feet away from high-volume spray heads and ensure the base is elevated to avoid contact with saturated shredded bark mulch.
Can I mount hubs on retaining walls?
Yes, but avoid mounting them directly against poured concrete or rebar-reinforced blocks. Use a wooden standoff bracket of at least 4 inches to create a gap, which reduces signal interference caused by the density of the wall materials.
What tools are essential for installation?
You will need a power drill, level, trenching spade, and wire strippers for hardwired units. For wireless setups, a portable signal strength meter or a dedicated smartphone app is vital to test the range before finalizing the mounting location.
How often should I move my sensors?
As your shrubs and trees mature, their canopy density increases. Perform a signal check every two years. You may need to relocate the hub or prune back the leafy branches to maintain a clear line of communication across the property.