
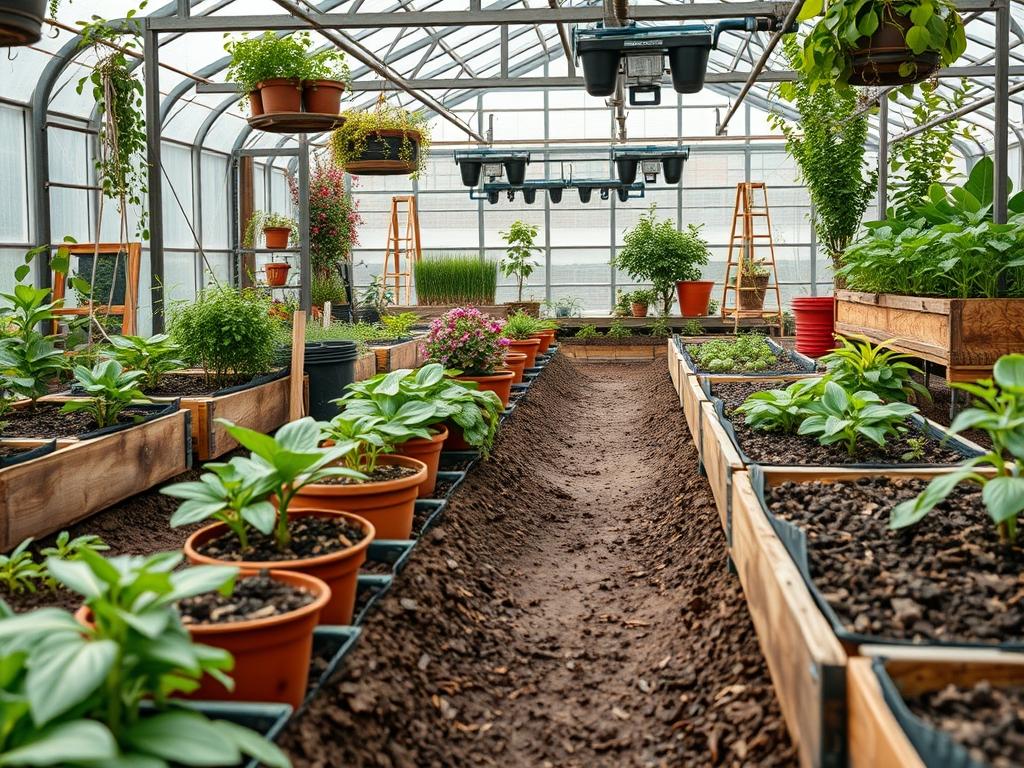
Integrating advanced technology into a traditional landscape requires a delicate balance between organic aesthetics and technical precision. As a landscape architect, I see many homeowners struggle with the transition from manual gardening to automated systems. The primary goal is to enhance curb appeal and outdoor functionality while minimizing physical labor through data-driven decisions. High-end property owners now demand ecosystems that respond to environmental shifts in real time. This evolution necessitates a deep understanding of how smart hardware interacts with living biology. By following specific Smart Garden Device Tips, you can create a resilient, self-regulating environment that thrives regardless of your personal schedule or local weather fluctuations.
Success begins with a comprehensive site analysis. You must evaluate the microclimates within your yard, noting areas of high wind, deep shade, or poor drainage. A well-planned landscape does more than just look beautiful; it manages water runoff, provides privacy, and increases the market value of your home. Incorporating technology into this plan requires placing Soil Moisture Sensors and Smart Irrigation Controllers in zones that mirror the natural water needs of your vegetation. This ensures that every drop of water is used efficiently, preventing the waste commonly associated with traditional timer-based systems.
Landscape Design Principles
Effective design relies on the principles of symmetry and visual balance. When planning your garden, identify a central focal point, perhaps a large Specimen Tree or a custom Retaining Wall, and build your layers outward. Elevation plays a crucial role here. Using Grading techniques to create varying heights adds depth and prevents the landscape from feeling flat or uninspired. Sharp, clean lines are maintained through the installation of Steel Edging or Paver Borders, which define the transition between turf and planting beds.
Strategic placement of Smart Outdoor Lighting can transform the environment after sunset. By using LED Path Lights and Up-lights connected to a central Smart Hub, you can program sequences that highlight architectural features or dense foliage. This not only improves safety along Stone Walkways but also extends the usability of your outdoor living space. Irrigation planning must be subterranean. By burying Drip Irrigation Lines beneath 3 Inches of Wood Mulch, you deliver water directly to the root zone, reducing evaporation and suppressing weed growth.
Visual layering is achieved by placing taller species at the back of the border and shorter perennials in the foreground. This creates a stadium effect that ensures every plant receives adequate sunlight. The integration of Weather Stations allows the entire system to adjust based on humidity, temperature, and forecasted rainfall. If the system detects a high probability of rain, it will automatically bypass the scheduled watering cycle, saving resources and protecting plant health.
Plant and Material Selection
Selecting the right plant material is the cornerstone of any sustainable landscape. The following table provides a guide for common selections that pair well with automated monitoring systems.
| Plant Type | Sun Exposure | Soil Needs | Water Demand | Growth Speed | Maintenance |
| :— | :— | :— | :— | :— | :— |
| Lavender (Lavandula) | Full Sun | Well-Drained | Low | Moderate | Prune Yearly |
| Japanese Maple (Acer palmatum) | Partial Shade | Loamy/Acidic | Moderate | Slow | Low |
| Hosta (Hosta spp.) | Full Shade | Rich/Moist | Moderate | Fast | Divide Every 3 Years |
| Common Boxwood (Buxus) | Sun to Shade | Neutral pH | Moderate | Slow | High Trimming |
| Switchgrass (Panicum virgatum) | Full Sun | Diverse | Low | Fast | Cut back in Spring |
| Oak (Quercus) | Full Sun | Deep/Strong | Moderate | Slow | Minimal |
When choosing materials for hardscaping, consider longevity and permeability. Porous Pavers and Crushed Granite allow water to seep back into the water table rather than running off into storm drains. Using Woven Landscape Fabric beneath gravel paths prevents soil mixing and weed intrusion, ensuring your design remains crisp and professional for years.
Implementation Strategy
The transition from a blueprint to a finished garden involves several critical stages. Initially, you must address the Grading of the land. Ensure that the soil slopes away from the foundation of your home at a rate of at least 1 Inch per Foot for the first 10 Feet. This prevents basement flooding and foundation rot. Once the grade is established, install your heavy hardscaping elements like Natural Stone Retaining Walls or Concrete Patios. These structures define the boundaries of your living zones.
Next, layout your Irrigation Manifolds and Smart Valves. It is much easier to bury cabling and pipes before the plants are in the ground. Use Schedule 40 PVC Pipe for main lines and Polyethylene Tubing for lateral lines. After the infrastructure is hidden, begin the planting process. Dig holes that are twice as wide as the root ball but no deeper than the original container. This encourages lateral root growth, which stabilizes the plant.
Finally, apply a thick layer of Organic Mulch. This serves as a protective blanket, regulating soil temperature and retaining moisture. For areas with high foot traffic, install Decomposed Granite Paths bordered by Heavy Duty Edging. These materials provide a stable surface for walking while maintaining a natural, organic appearance that complements the surrounding greenery.
Common Landscaping Failures
The most frequent mistake in landscape design is poor Drainage management. Water that pools around the base of plants can cause Root Rot, a condition that is often fatal. To combat this, install a French Drain or a Dry Creek Bed in low lying areas to redirect excess moisture. Another common error is Root Overcrowding. While a dense garden looks great on day one, plants need room to breathe and mature. Always research the ultimate spread of a species before spacing them in your beds.
Improper spacing often leads to poor air circulation, which invites fungal diseases like Powdery Mildew. Furthermore, many homeowners ignore the issue of Soil Compaction. Over time, heavy foot traffic or construction equipment can squeeze the air out of the soil, making it impossible for roots to penetrate or for water to reach them. Using a Power Aerator annually can help mitigate this. Finally, irrigation inefficiencies occur when owners use a one-size-fits-all approach. Different zones must be programmed separately to account for the varying needs of turf versus ornamental shrubs.
Seasonal Maintenance
Landscape management is a year round commitment that changes with the cycles of nature. In the Spring, focus on cleanup and preparation. Remove winter debris, test your Soil pH, and apply a Slow-Release Fertilizer. This is also the time to check your Smart Garden Device batteries and update any software to ensure the sensors are communicating effectively with your WiFi Router.
During Summer, the priority shifts to hydration and pest control. Use your Smart Controllers to monitor for sudden spikes in soil temperature. If the heat becomes extreme, you may need to add a manual watering cycle in the early morning hours. Autumn is for renewal. It is the best time to plant new trees and shrubs, as the cooler air and warm soil promote rapid root establishment. Prune back perennials and clear falling leaves to prevent them from choking out the lawn.
In Winter, protect your investment from the freeze. Drain your Irrigation Pipes and blow them out with compressed air to prevent cracking. Use Burlap Wraps for sensitive evergreens to protect them from winter burn caused by freezing winds. While the garden is dormant, use this time to analyze the data collected by your Smart Sensors over the past year. Reviewing water usage patterns and plant growth rates will help you make informed adjustments for the upcoming growing season.
Professional Landscaping FAQ
How do I choose the right smart controller?
Select a Smart Controller that is EPA WaterSense certified. Ensure it is compatible with your local Weather Station data and supports the number of zones in your garden. Connectivity and a user friendly mobile interface are essential features for long term management.
What is the benefit of using native plants?
Native plants are adapted to your local climate and soil conditions. They require less supplemental water, few chemical fertilizers, and provide essential habitats for local pollinators. Integrating them reduces the workload on your Smart Gardening systems and promotes local biodiversity.
How deep should my mulch layer be?
Maintain a depth of 2 to 3 Inches of mulch. This is sufficient to suppress weeds and retain moisture without suffocating the soil. Keep the mulch a few inches away from the trunks of trees to prevent moisture related bark decay.
Can smart devices help with drainage issues?
While they cannot move soil, Moisture Sensors can alert you to areas that remain saturated for too long. This data confirms where you need to install physical solutions like Sump Pumps, French Drains, or Catch Basins to handle excess water.
How often should I calibrate my soil sensors?
Check your Soil Sensors at the start of every spring. Ensure they are placed at the correct root depth for the plants they monitor. Clean the contact points and verify that the readings match a manual probe to ensure data accuracy.