
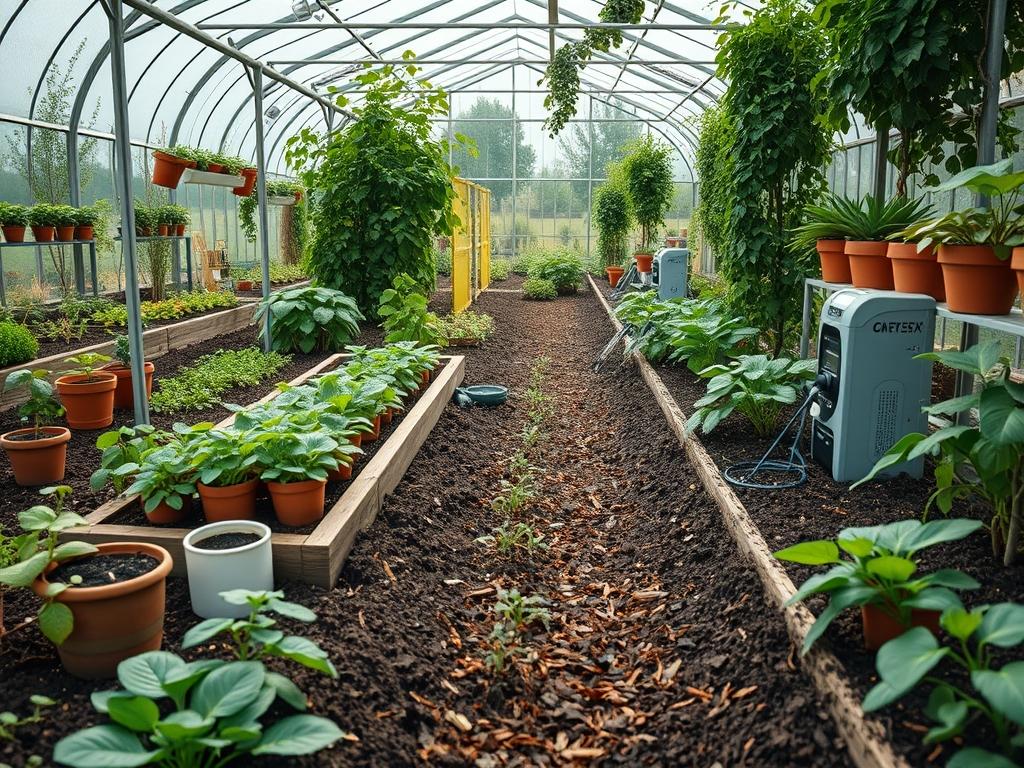
Modern outdoor environments require a sophisticated balance between aesthetic appeal and ecological efficiency. A residential landscape is no longer just a collection of flora; it has become an integrated living system that demands precise management to survive fluctuating climate patterns. When planning a premier outdoor space, the selection of a Smart Garden Device Setup serves as the foundational infrastructure that bridges the gap between high-end design and sustainable growth. This technology allows homeowners to monitor soil moisture, automate nutrient delivery, and manage lighting sequences through data-driven insights. However, the hardware is only as effective as the landscape design it supports. A poorly graded yard or an incorrectly zoned irrigation map will lead to resource waste and plant stress, regardless of how advanced the sensors are. Professional consultants view the smart setup as a partner to the physical environment, requiring careful consideration of drainage patterns, hardscaping layouts, and specific microclimates within the property boundaries.
Landscape Design Principles
Successful landscape architecture begins with a rigorous analysis of the site’s physical characteristics. Symmetry and visual balance provide the framework for curb appeal, but functional zoning ensures long-term viability. When integrating a Smart Garden Device Setup, designers must establish clear focal points that draw the eye while serving as strategic locations for sensor arrays. For instance, a central fountain or a specimen tree like a Ginkgo Biloba can house discreet weather stations that transmit local atmospheric data to the main controller.
Elevation layers are equally critical in the planning phase. Most properties benefit from a tiered approach where the foreground, midground, and background are defined by varying plant heights and textures. High-elevation areas tend to dry out faster due to wind exposure and gravity, while lower elevations collect moisture. Your smart system must be programmed to recognize these topographical differences. Instead of a blanket watering schedule, the use of smart valves allows for customized hydro-zones.
Walkways and hardscaping should be planned with future connectivity in mind. Installing a 4-inch PVC conduit beneath stone paths during the initial construction phase allows for the easy expansion of low-voltage wiring or fiber-optic cables. This prevents the need to disrupt established turf or pavers later. Furthermore, the use of retaining walls can help manage sloped terrain, creating level planting beds that facilitate more uniform water absorption and more accurate sensor readings.
Plant and Material Selection
| Plant Type | Sun Exposure | Soil Needs | Water Demand | Growth Speed | Maintenance Level |
| :— | :— | :— | :— | :— | :— |
| Lavender (Lavandula) | Full Sun | Sandy, Alkaline | Low | Moderate | High (Pruning) |
| Oakleaf Hydrangea | Part Shade | Rich, Acidic | Medium | Slow | Low |
| Blue Star Creeper | Full/Part Sun | Moist Loam | High | Fast | Medium |
| Japanese Maple | Dappled Sun | Well-drained | Medium | Slow | High (Care) |
| Boxwood (Buxus) | Full/Part Sun | Flexible | Moderate | Slow | Medium |
| Switchgrass | Full Sun | Any | Low | Fast | Low |
The selection of materials extends beyond the plants themselves. Using non-woven geotextile fabric beneath gravel paths prevents weed intrusion while maintaining permeability. For mulch, a 3-inch layer of double-shredded hardwood is preferred for moisture retention and temperature regulation. These physical barriers work in tandem with moisture sensors to ensure the root zones remain stable during heat waves.
Implementation Strategy
The actual execution of a garden layout requires a systematic approach to site preparation. First, the professional must address grading. Use a laser level to verify that the ground slopes away from the home foundation at a minimum of two percent. This prevents basement flooding and ensures that smart sensors are not submerged during heavy rain events. Once the grade is established, the installation of French drains or trench drains provides a controlled exit for excess runoff.
After the drainage infrastructure is in place, the edging process defines the boundaries between turf, garden beds, and hardscapes. Use 14-gauge steel edging or heavy-duty aluminum strips to create clean, permanent lines. This physical separation prevents invasive grass species from encroaching on delicate flower beds and protects embedded sensors from damage by string trimmers or lawn mowers.
Next, the irrigation manifold is installed. In a modern Smart Garden Device Setup, the distribution of water is handled via a smart controller connected to individual solenoid valves. Use polyethylene tubing for drip lines in shrub beds to deliver water directly to the root base, minimizing evaporation. Once the plants are positioned according to the design plan, apply organic compost to the topsoil to improve cation exchange capacity, then finish with the specified mulch depth.
Common Landscaping Failures
One of the most frequent errors in landscape management is the failure to account for soil compaction. Heavy machinery used during construction can crush the air pockets in the soil, leading to anaerobic conditions where roots cannot breathe. Even the most expensive Smart Garden Device Setup cannot save a plant trapped in compacted clay. Use a broadfork or core aerator to restore soil structure before planting.
Another common mistake involves improper spacing. It is tempting to plant densely for immediate impact, but this leads to root overcrowding and poor air circulation within three to five years. Always consult the mature width of a species before digging. For example, a young Emerald Green Arborvitae might look small today, but it requires significant space to reach its full potential without competing for nutrients.
Irrigation inefficiencies often stem from “clashing” zones. This occurs when high-water plants, such as Astilbes, are placed on the same valve as drought-tolerant Succulents. A smart system can only control the zone as a whole; it cannot differentiate between individual plants on the same line. Furthermore, failing to calibrate sensors to the specific soil texture, be it sandy or clay-heavy, will result in false readings and improper hydration.
Seasonal Maintenance
Landscape management is a year-round commitment that shifts with the biology of the plants. In the spring, the focus is on reactivation. This includes testing the backflow preventer, flushing out irrigation lines to remove winter debris, and applying a slow-release granular fertilizer. It is also the time to update the firmware on all smart devices and replace batteries in wireless sensors.
Summer maintenance centers on stress mitigation. As temperatures rise, use the data from your Smart Garden Device Setup to adjust watering windows to the early morning hours, typically between 4:00 AM and 7:00 AM. This reduces the risk of fungal diseases that thrive on wet leaves overnight. Monitor the mulch depth and replenish any areas where the soil has become exposed.
Autumn is the season for preparation and perennial care. Cut back spent foliage and plant spring-flowering bulbs like Tulips or Daffodils. This is also the ideal time for overseeding the lawn with Tall Fescue or Kentucky Bluegrass. Finally, winter maintenance involves winterizing the system. Blow out all water lines using an air compressor to prevent pipe bursts and store sensitive electronic components, such as smart plug controllers, indoors if they are not rated for extreme freezing.
Professional Landscaping FAQ
How do I choose the right location for my smart hub?
Place the hub in a central, elevated location with a clear line of sight to the garden. Use a WiFi extender or mesh network node if the signal must pass through thick masonry or stone walls.
Can I mix different brands of smart garden tools?
Yes, provided they support a common protocol like Matter, Zigbee, or Z-Wave. Using a centralized software platform allows you to synchronize moisture sensors from one brand with valves or lighting from another.
What is the best way to hide garden sensors?
Tuck sensors behind low-profile foliage or use artificial rock covers designed to blend into the landscape. Ensure the probe remains in direct contact with the soil and the transmitter stays clear of dense metal obstructions.
How often should I recalibrate my moisture sensors?
Recalibrate sensors twice a year, specifically after the last frost in spring and before the first freeze in autumn. Use a manual soil moisture meter to verify that the digital readings match the physical conditions of the earth.
Is drip irrigation better than traditional sprinklers?
Drip irrigation is superior for flower beds and shrubbery because it delivers water to the roots and reduces evaporation. However, traditional rotary nozzles are more effective for large turf areas that require uniform surface coverage.