
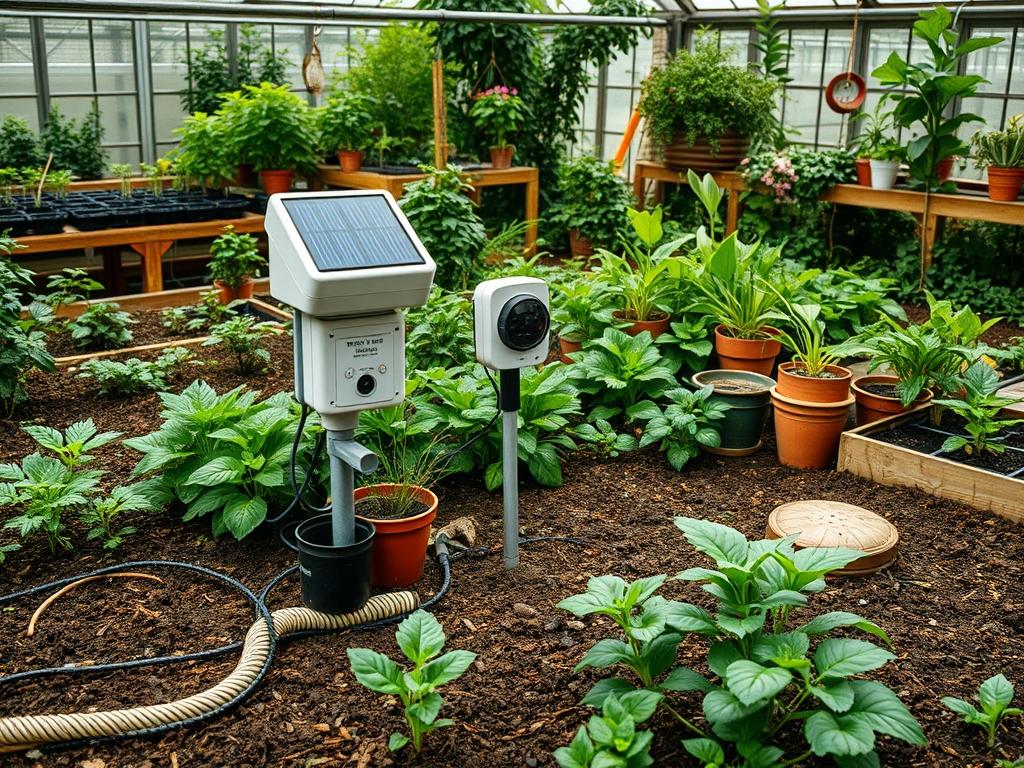
Integrating modern technology into a cohesive landscape design requires a delicate balance between aesthetic elegance and functional utility. When homeowners seek to enhance their perimeter security, the introduction of devices like Solar Powered Garden Alarms often presents a unique challenge for the landscape architect. These devices must be positioned to receive maximum ultraviolet exposure while remaining discretely tucked within the foliage or hardscaping to preserve curb appeal. Effective garden planning considers more than just the visual impact of a retaining wall or a perennial border; it addresses how every individual component, from the irrigation controller to the infrared sensor, interacts with the microclimate and topography of the site. A well executed plan ensures that safety measures do not detract from the serenity of the outdoor environment, but rather, they become an invisible layer of the overall infrastructure that supports a high quality of life.
Achieving this harmony involves understanding the seasonal shifts in sunlight and how they affect the operational capacity of photovoltaic components. In northern latitudes, the lower winter sun may cause shadows from a cedar fence or a dense boxwood hedge to fall directly over solar panels, rendering them ineffective. Therefore, the architectural layout must account for these moving shadows during the initial site analysis. By coordinating the placement of security hardware with the natural topography and the growth patterns of selected vegetation, a landscape can remain both beautiful and secure. This approach transforms a simple backyard into a sophisticated, smart landscape that responds to its environment without sacrificing the organic feel of a private sanctuary.
Landscape Design Principles
Professional landscape design relies on the core concepts of symmetry, focal points, and elevation layers to guide the eye and define the space. When incorporating security elements, we use the principle of defensible space to establish clear boundaries without creating a fortress-like atmosphere. Symmetry allows for the balanced placement of Solar Powered Garden Alarms on either side of a stone walkway or entry gate, making them appear as deliberate design choices rather than afterthoughts. Focal points, such as a custom water feature or an ornate specimen tree, allow for the strategic concealment of sensors within the surrounding landscape material, ensuring they cover high traffic areas while remaining subtle.
Elevation layers are perhaps the most critical factor in modern garden security. By utilizing various heights, such as ground cover, mid sized shrubs, and high canopy trees, we create a multidimensional environment that discourages intrusion. Placing sensors at a 3 foot height within a tiered planting bed allows for optimal motion detection while minimizing false triggers from small pets or low flying birds. Furthermore, the integration of hardscaping elements like paver paths and limestone curbing helps provide a stable foundation for mounting equipment. This structured approach prevents the equipment from shifting over time due to soil expansion or heavy rain, which is a common issue in poorly planned installations.
Plant and Material Selection
The following selection focuses on plants and materials that complement the installation of security systems by providing structure and coverage without obstructing the necessary line of sight or light access for solar components.
| Plant Type | Sun Exposure | Soil Needs | Water Demand | Growth Speed | Maintenance Level |
| :— | :— | :— | :— | :— | :— |
| Dwarf Boxwood | Full to Partial | Well-drained Loam | Moderate | Slow | Low |
| Blue Star Creeper | Full Sun | Moist Soil | High | Medium | Low |
| Little Lime Hydrangea | Part Shade | Rich, Organic | Moderate | Fast | Medium |
| Japanese Forest Grass | Shade/Part Sun | Humus rich | High | Slow | Low |
| Feather Reed Grass | Full Sun | Any / Adaptable | Low | Medium | Low |
| Creeping Thyme | Full Sun | Sandy, Gritty | Low | Fast | Very Low |
| Stonecrop Sedum | Full Sun | Well-drained | Very Low | Medium | Very Low |
Implementation Strategy
The successful implementation of a smart landscape begins with meticulous site grading. Before any plants are installed, the land must be shaped to facilitate proper drainage and to provide the necessary clearings for security sensors. A transit level or laser level is often used to ensure that the grade slopes away from the home at a minimum of 2 percent. This prevents water from pooling around the bases of your Solar Powered Garden Alarms, which could lead to electrical failure or ground instability. Once the grading is finalized, the hardscaping markers are set, establishing the primary walkways and retaining walls that define the garden structure.
After the structural elements are in place, the edging process begins. Using steel edging or heavy duty plastic borders clarifies the transition between the lawn and the planting beds. This is the ideal stage to run any necessary underground conduit for wired backups, even when using solar powered units. When placing the devices, ensure they are positioned on the southern edge of the garden beds to maximize sun exposure. Surround the base of each unit with a 3 inch layer of hardwood mulch or river rock to suppress weeds that might grow tall enough to block the solar panels. This layer also provides a clean finish and helps regulate soil temperature for the surrounding root systems.
Finalize the layout by checking the line of sight for every sensor. Ensure that no aggressive growers, such as climbing ivy or wisteria, are planted near the hardware, as their rapid growth can quickly engulf the technology. Instead, use structured plants like Feather Reed Grass, which provides a vertical accent without the risk of entangling the equipment. The marriage of softscaping and hardscaping should result in a clean, modern aesthetic where the technology is a silent partner in the overall garden experience.
Common Landscaping Failures
One of the most frequent mistakes in residential landscaping is the failure to account for the mature size of plants. A small juniper may look perfect next to a sensor today, but in five years, its expansive root system and dense foliage can create a “blind spot” for the equipment and even lift the base of the device out of the ground. This root overcrowding also leads to competition for nutrients, which can kill off surrounding decorative ground covers. Proper spacing is essential; always refer to the maximum spread listed on the plant tag before digging your holes.
Another critical failure is improper drainage management. If the French drain system is blocked or if the soil compaction is too high, water will sit in the planting beds. For electronic components, even those rated for outdoor use, constant immersion in mud or sitting water is a recipe for disaster. Furthermore, irrigation inefficiencies often result in “overspray,” where high pressure sprinkler heads blast the solar panels with hard water. Over time, the mineral deposits from the water create a white film on the photovoltaic glass, significantly reducing the charging efficiency of your Solar Powered Garden Alarms.
Seasonal Maintenance
To ensure the longevity of both your plants and your security systems, a structured maintenance schedule is required. In the spring, the primary focus is on pruning and cleaning. Remove any winter debris from the Solar Powered Garden Alarms and prune back any branches that may have grown over the sensors during the dormant season. This is also the time to apply a fresh layer of organic mulch to preserve moisture for the coming heat. Summer maintenance involves monitoring the irrigation system to ensure it is not saturating the areas around your electronic hardware and checking the solar panels for dust or pollen buildup.
As autumn arrives, the focus shifts to leaf management. Thick layers of fallen leaves can block the lower sensors of a security system and create a slipping hazard on patios or walkways. Ensure that the perennials are cut back to their appropriate heights to maintain clear sightlines throughout the winter. During the winter months, your primary task is snow removal. Be careful not to pile snow onto the planting beds where your alarms are located, as the weight can snap the mounting poles or damage the internal sensors. A light dusting of snow should be brushed off the solar panels frequently to allow them to maintain a charge during the shorter days.
Professional Landscaping FAQ
How do I choose the best spot for a solar alarm?
Locate an area that receives at least 6 hours of direct sunlight. Ensure the site has a clear view of the protected zone, free from dense foliage or architectural obstructions like large pillars.
What mulch is best for areas with security hardware?
Use double shredded hardwood mulch or lava rock. These materials stay in place during heavy rain and do not blow around, which prevents debris from interfering with the motion sensors or the solar panels.
Can I hide my garden alarms inside bushes?
This is not recommended. While you can place them near thin, airy plants like ornamental grasses, dense bushes will block the solar intake and the infrared signal. Aim for concealment through strategic placement rather than burial.
How does soil type affect the installation of garden devices?
In heavy clay soil, devices may lean as the ground shifts with moisture. In sandy soil, they may require a small concrete base or a longer stake to remain upright and maintain an accurate field of view.
Will my irrigation system damage the solar panels?
Modern outdoor electronics are typically water resistant, but constant high pressure spray can cause wear. Position drip irrigation at the base of plants or adjust rotary heads to spray away from the units to avoid mineral buildup.